DTF printing. Three letters that changed how a lot of us think about custom apparel.
I remember when I first heard about it. Thought it was just another gimmick. Another “revolutionary” printing method that would disappear in two years. But here we are. And DTF is everywhere now.
So what is it exactly?
DTF stands for Direct-to-Film printing. You print your design onto a special PET film, apply adhesive powder, cure it, then heat press it onto fabric. That’s the simple version.
The complicated version? That’s what this whole guide is about.
What makes DTF different from the other methods—screen printing, DTG, vinyl—is flexibility. You can print on pretty much any fabric. Any color. Dark shirts, light shirts, cotton, polyester, blends. Doesn’t matter.
No pretreatment. No weeding. No minimum orders.
For small business owners and print shops, that’s kind of a big deal.
Understanding DTF Printing Technology
Let me break this down a bit more.
The basic idea is simple. You’re creating a transfer. But not like the old iron-on transfers you did as a kid that cracked after two washes. This is different.
You print your design in reverse onto a clear PET film using special DTF ink. The ink has CMYK colors plus white. The white is important—it creates the base layer that makes colors pop on dark fabrics. After printing, you shake hot melt adhesive powder onto the wet ink. The powder sticks where the ink is. Shake off the excess. Then you cure it in an oven or with a heat press to melt the powder into a solid adhesive layer.
Now you’ve got a transfer ready to go.
Heat press it onto the garment. The adhesive bonds with the fabric fibers. Peel off the film. Done.
Why are businesses switching to this? Because it solves problems. Screen printing is great for bulk orders but terrible for one-offs. DTG works but only on certain fabrics and needs pretreatment. Vinyl takes forever to weed and doesn’t do photo prints well.
DTF just… works. On most things. Most of the time.
What is a DTF Printer?
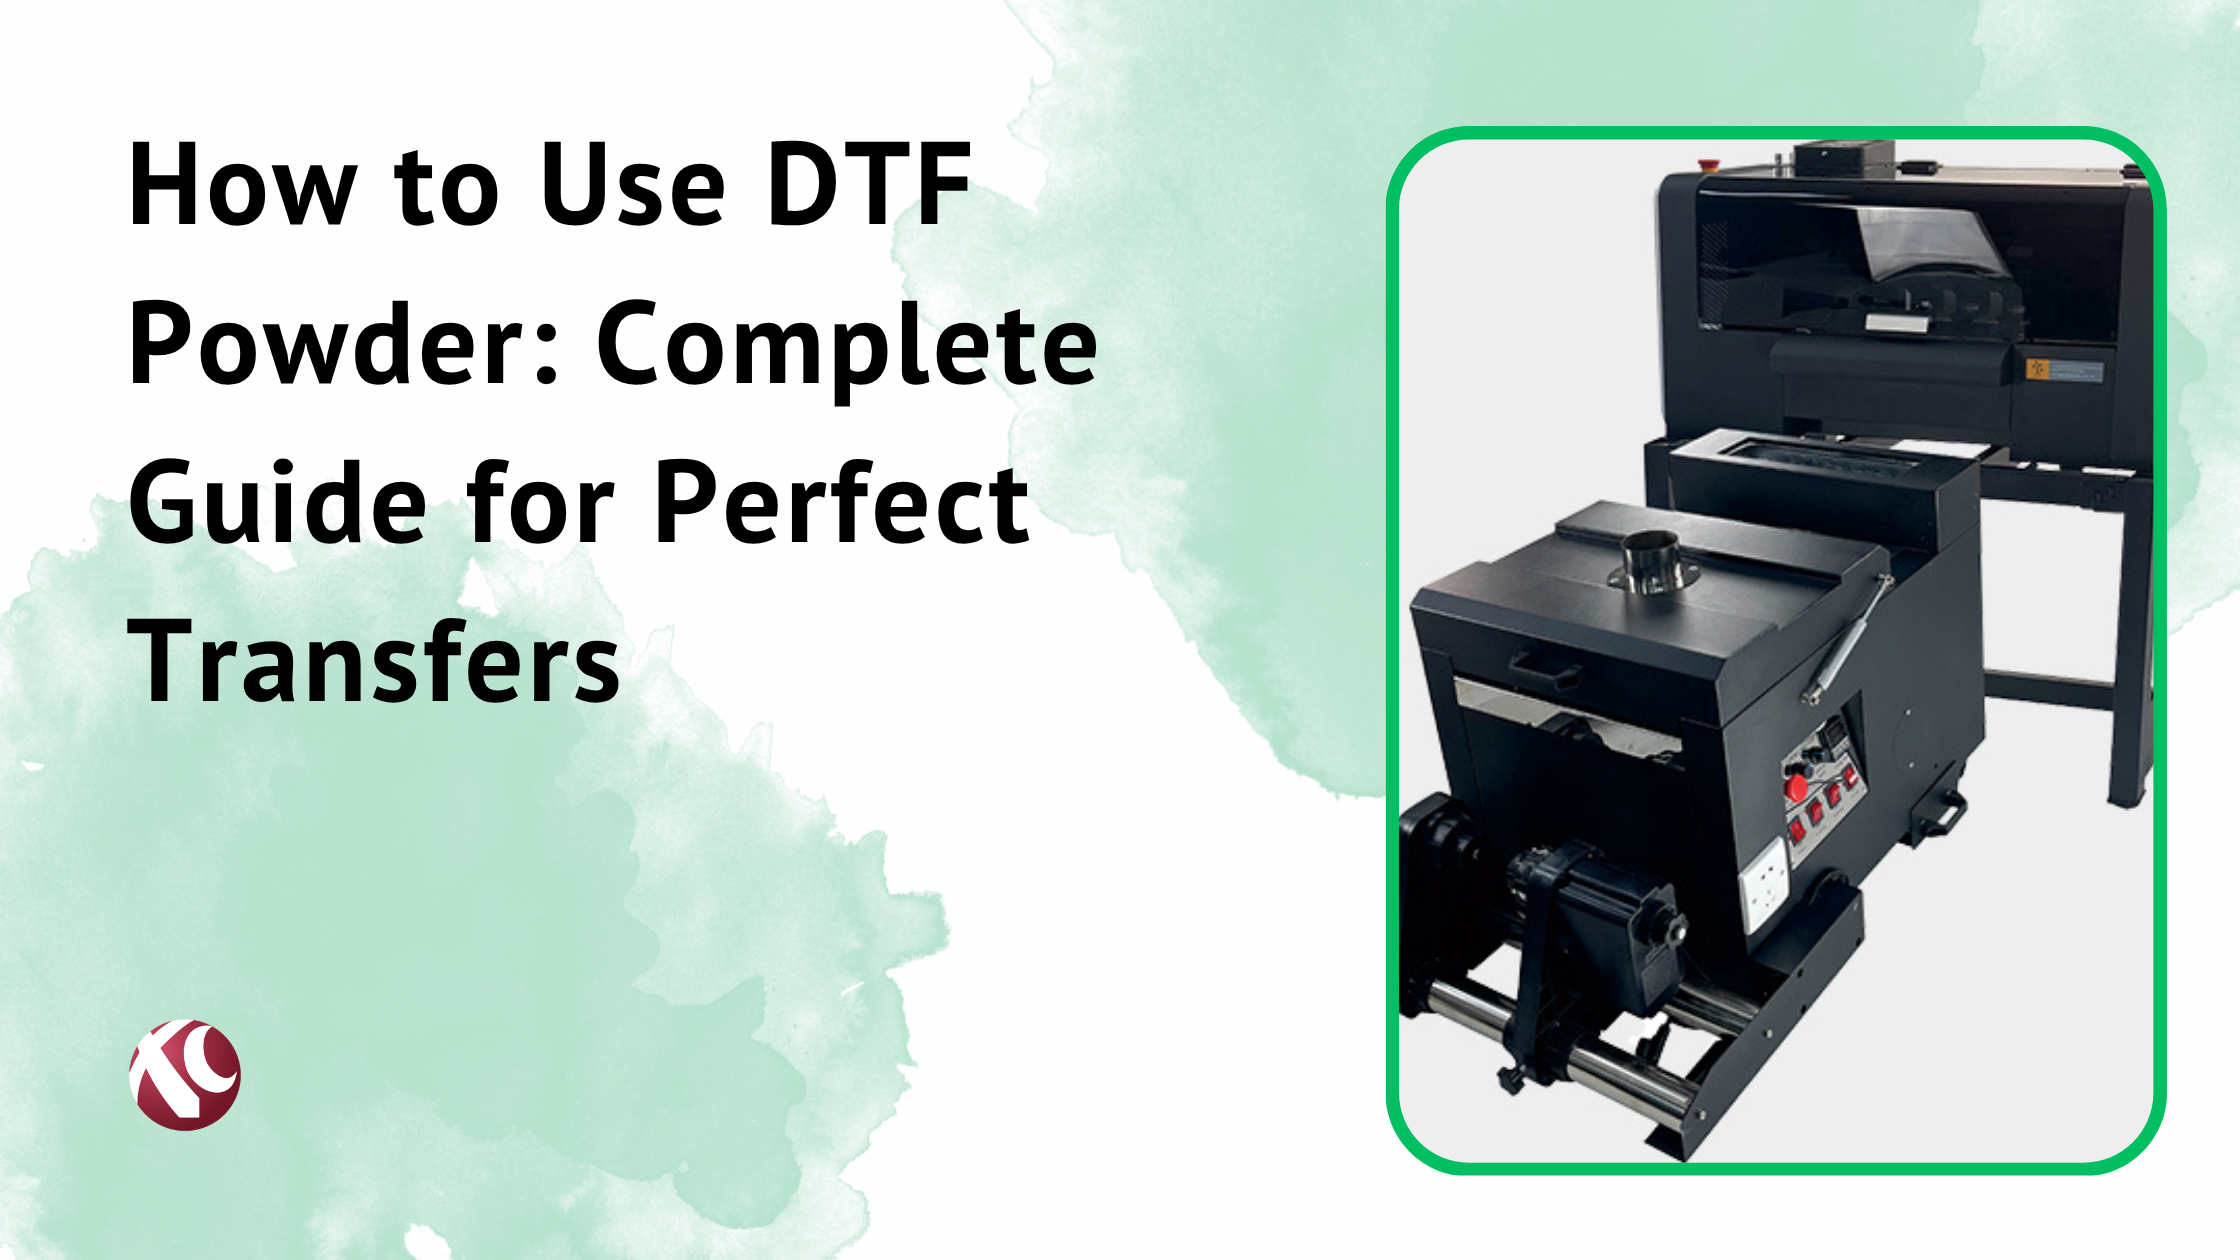
A DTF printer is basically a modified inkjet printer. But don’t let “modified inkjet” fool you—these are specialized machines built specifically for this process.
The printer itself has print heads designed to handle the thicker DTF inks, especially the white ink. White ink is notorious for clogging because of the titanium dioxide particles. Good DTF printers have circulation systems to keep the white ink moving.
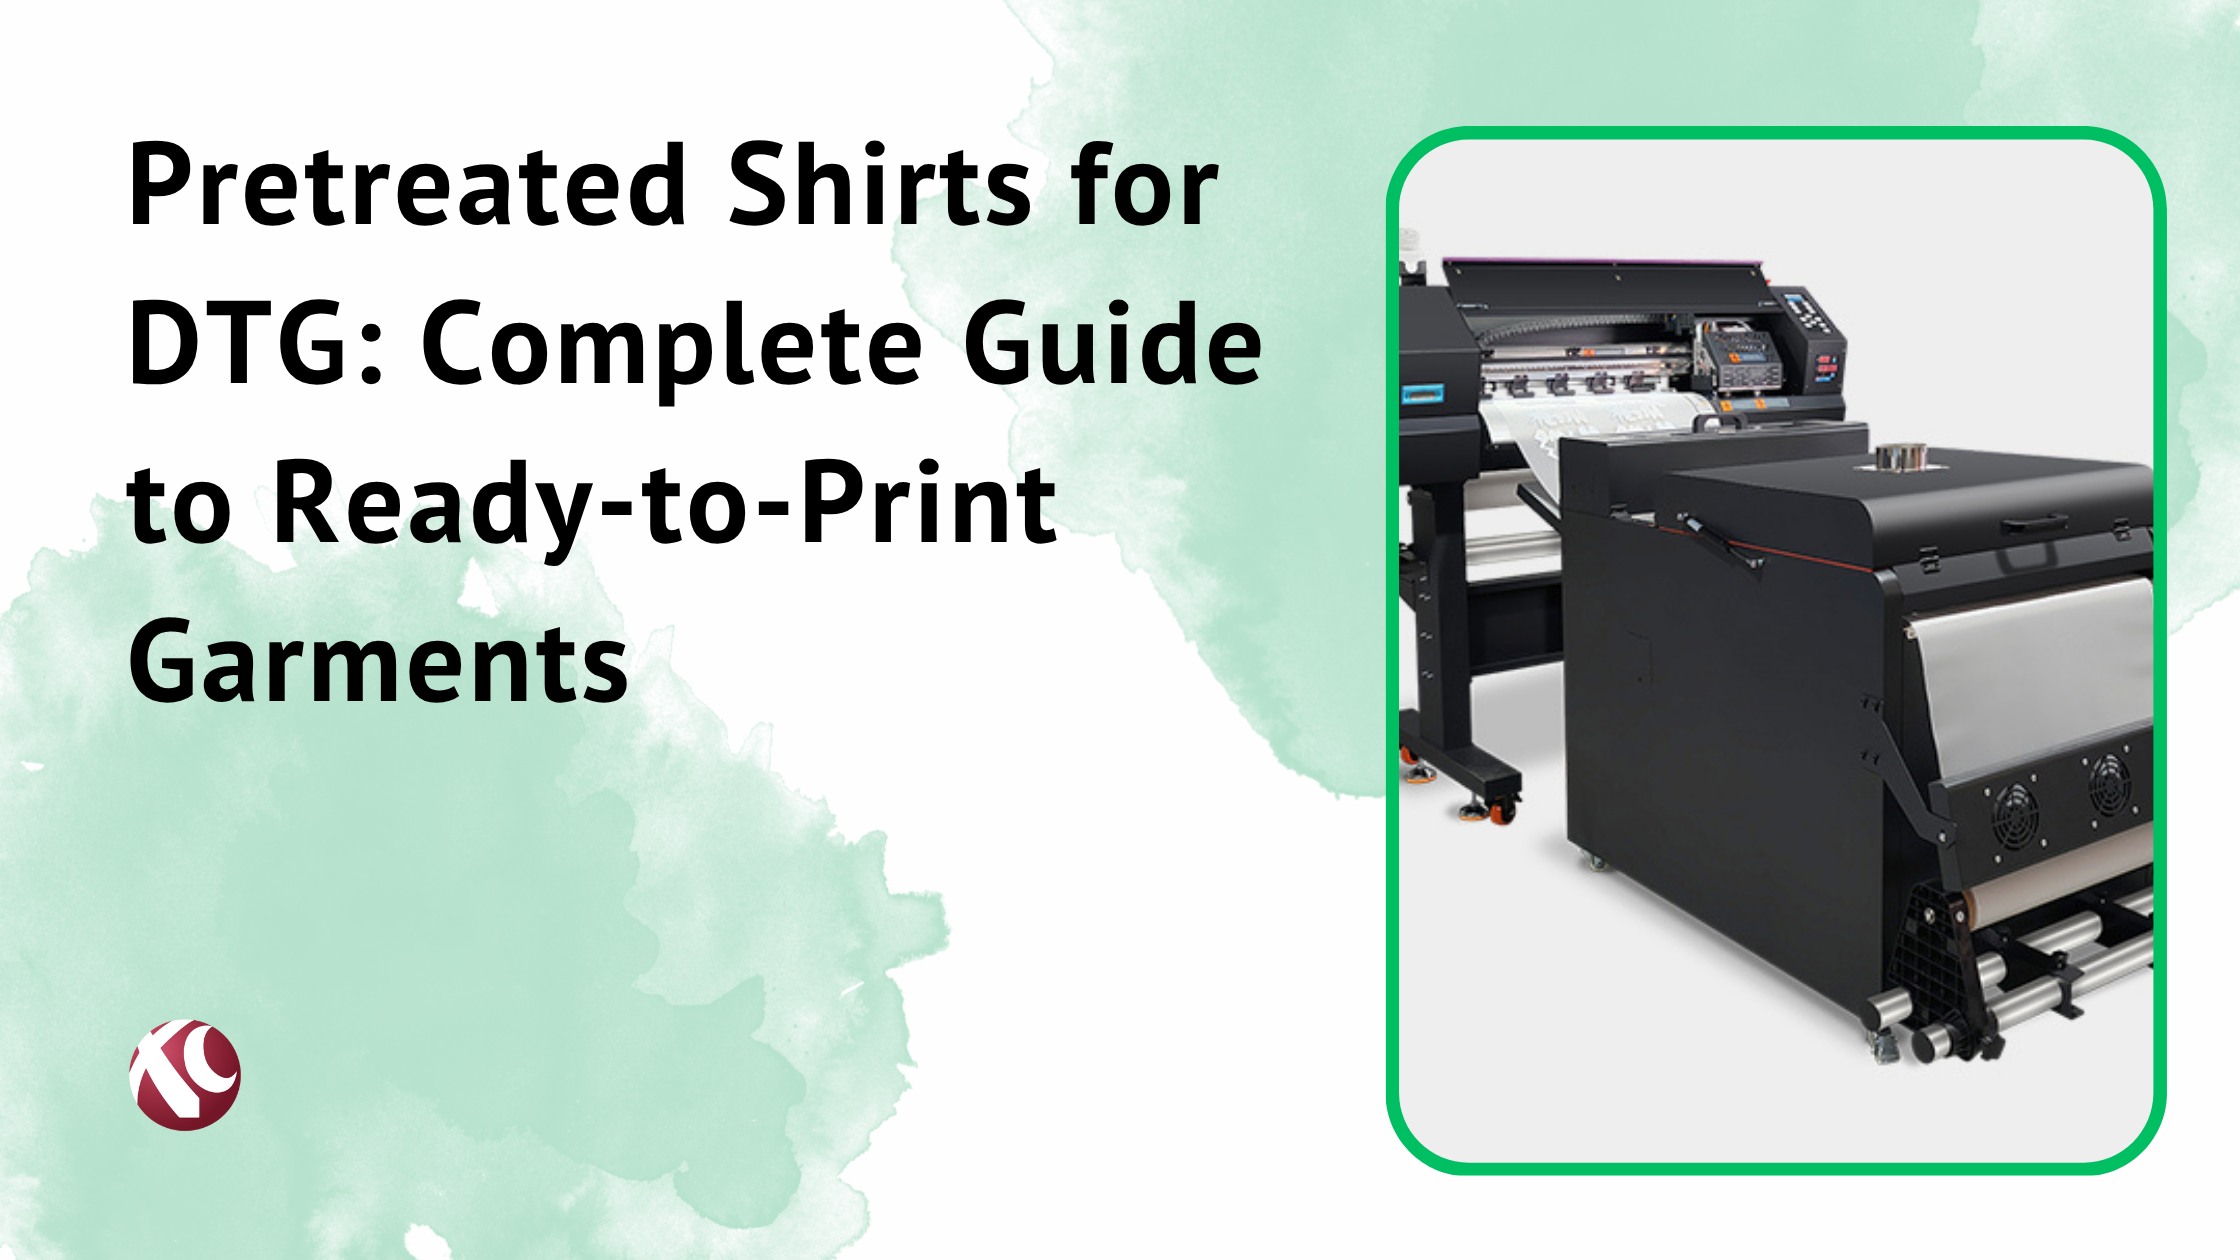
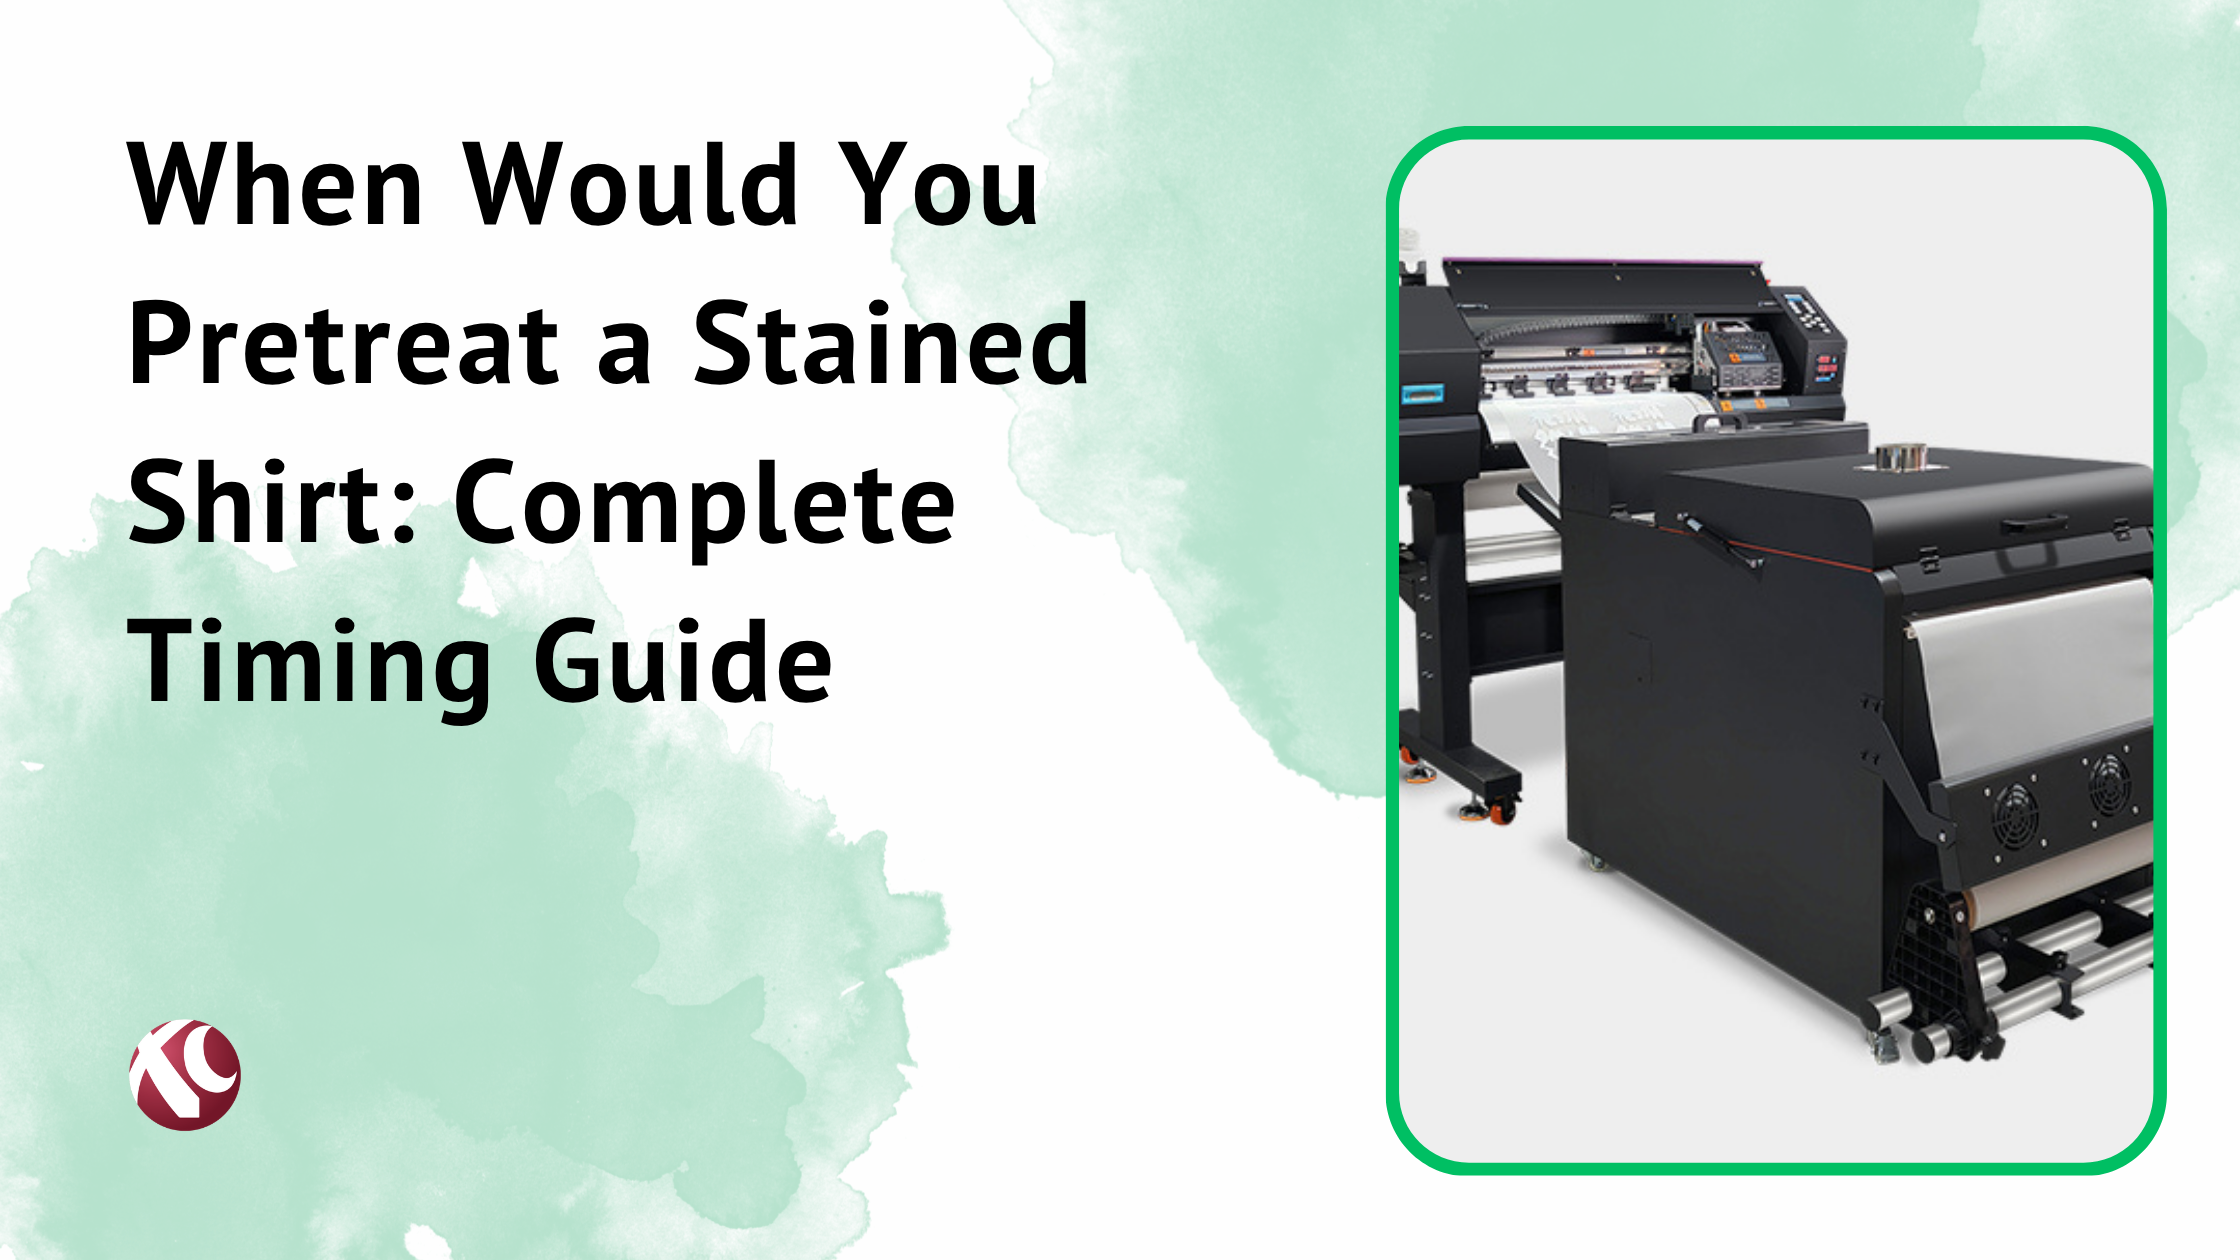
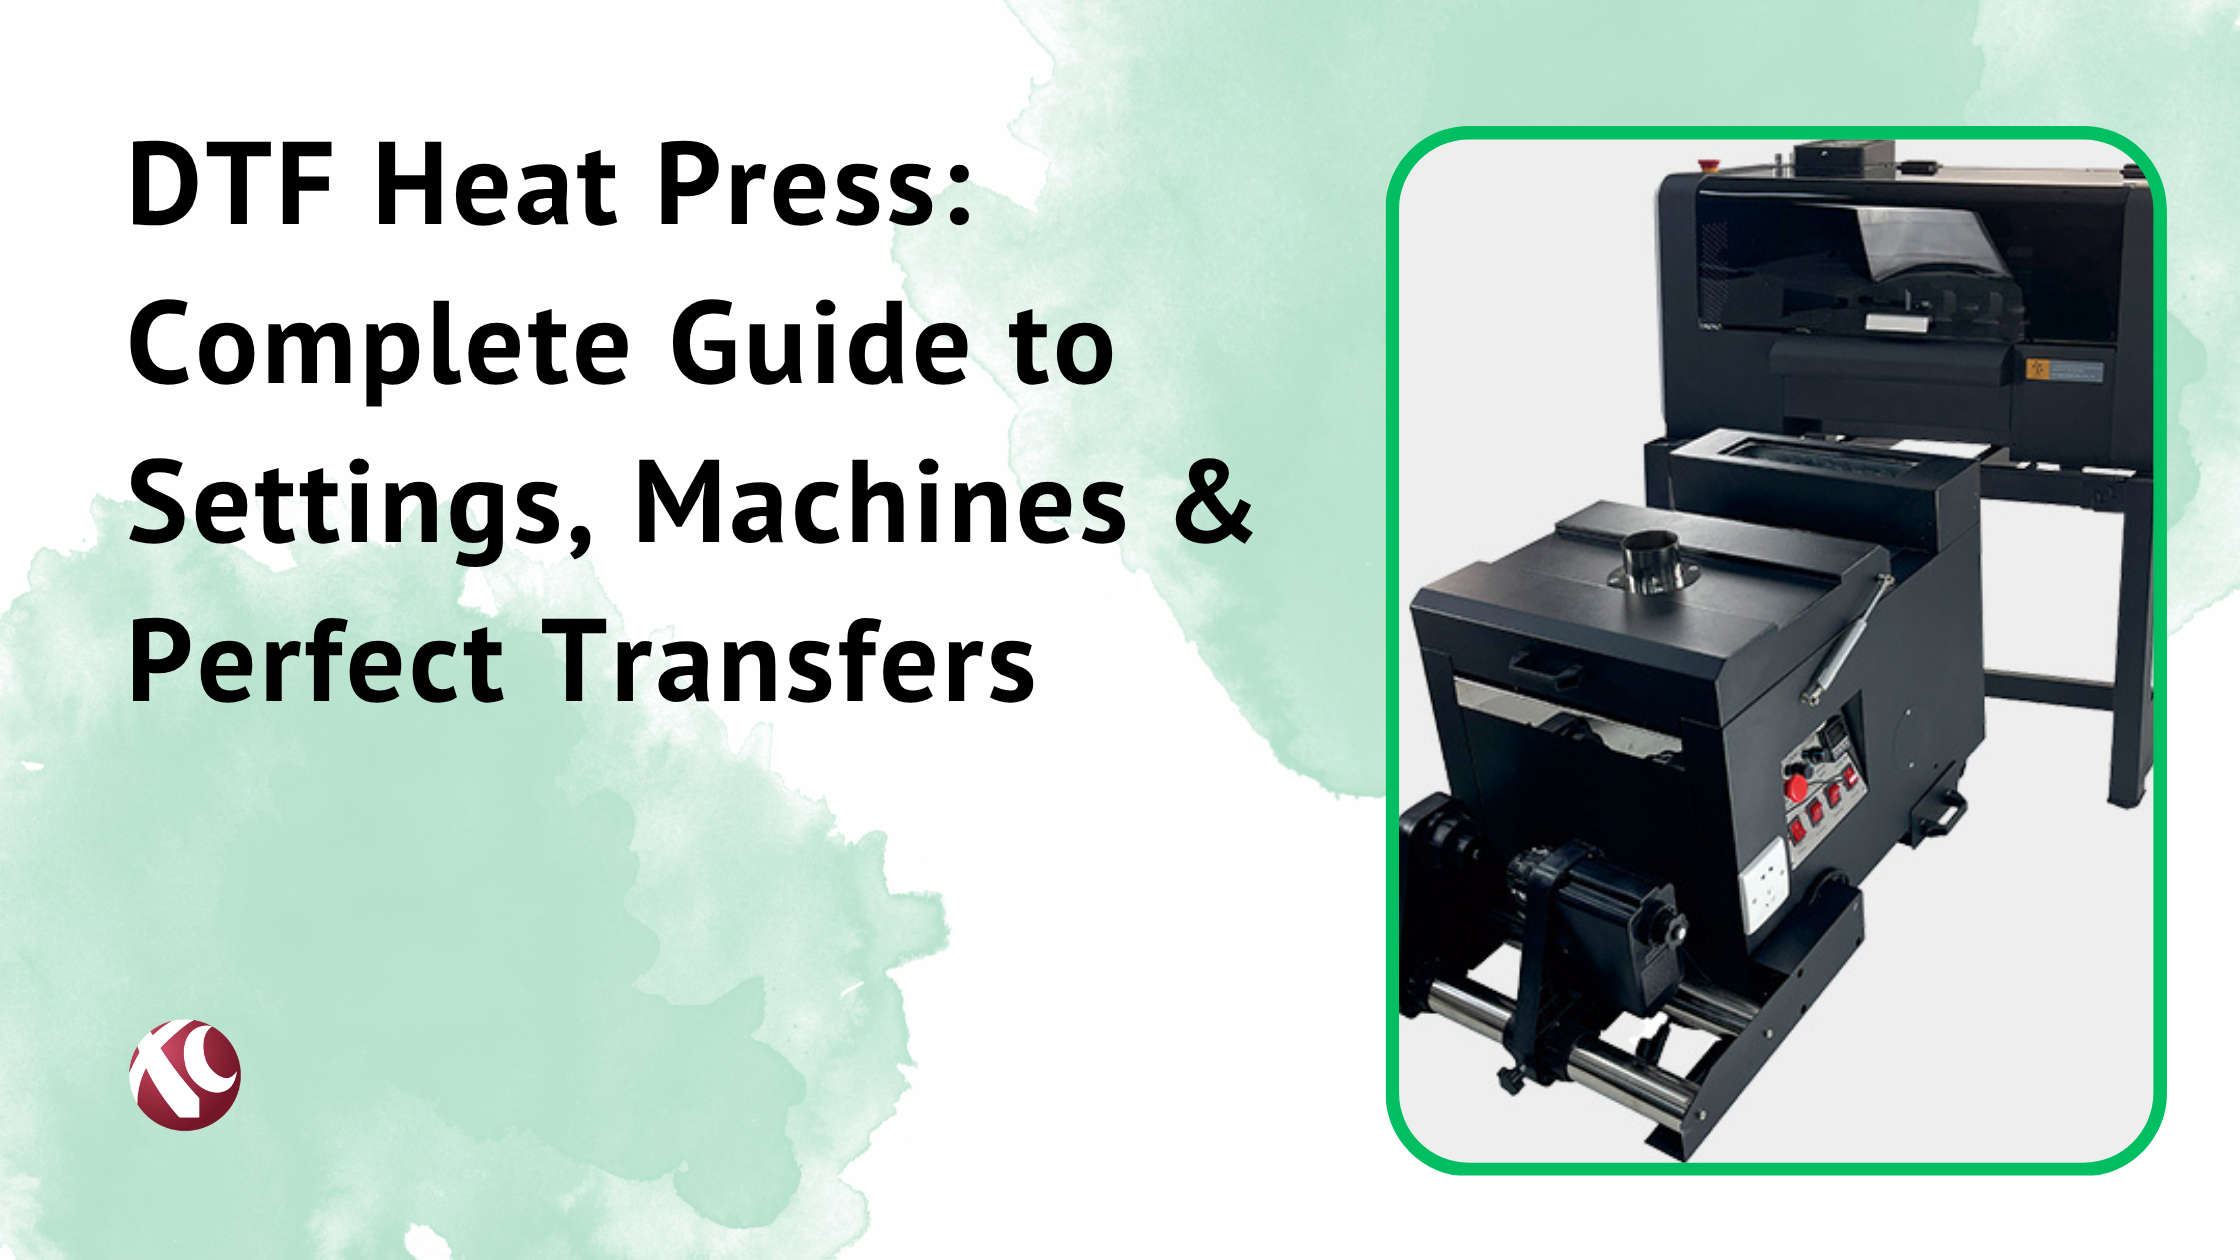
Most setups include more than just the printer. You’ve got the printer unit itself. A film feeding system to keep the PET film moving smoothly. A powder shaker that applies the adhesive evenly. Some machines have built-in curing ovens. Others need a separate heat press for curing.
Space requirements? More than you’d think. You need room for the printer, the shaker, a curing station, and a heat press for transfers. Plus storage for films, powder, and ink. A small garage setup is doable but tight.
Key Components of DTF Printing Systems
Here’s what you actually need:
- DTF Printer machine — The core unit. Entry-level machines run A3 size. Bigger operations use 60cm or larger formats.
- Special DTF ink (CMYK + White) — Not regular inkjet ink. These are pigment inks formulated for adhesion and durability. The white ink is crucial for dark fabrics.
- PET film rolls — Clear polyester film with a coating that holds the ink. Comes in different thicknesses. Different peel types too—hot peel and cold peel.
- Hot melt adhesive powder — TPU powder. It’s what bonds the print to the fabric. Without it, nothing sticks.
- Heat press machine — For the final transfer. Needs consistent temperature and even pressure. Cheap heat presses cause problems.
- Powder shaker/application system — Some people do this by hand for small runs. Most use an automatic shaker for consistency.
Each component matters. Cheap out on one and you’ll have issues.
How Does DTF Printing Work?
Okay. Let’s walk through the actual process. Because understanding the workflow helps you troubleshoot when things go wrong. And things will go wrong sometimes.
The process has five main stages. Design prep, printing, powder application, curing, and transfer. Each stage has its own quirks. Each stage has ways to mess up. But once you get it dialed in, it becomes pretty routine.
I’ll break down each step.
Step 1: Design Preparation
Your design file needs to be set up correctly. This isn’t optional.
Resolution matters. 300 DPI minimum. Lower than that and you’ll see pixelation. Most RIP software will let you upscale, but garbage in, garbage out.
Speaking of RIP software—you need it. RIP stands for Raster Image Processor. It handles color management, controls the white ink layer, and communicates with your printer properly. Some printers come with basic RIP software included. Others need third-party options.
The white underbase is the key thing to understand. On dark fabrics, you need white ink underneath your colors so they show up properly. The RIP software usually generates this automatically based on your design. But you can tweak it. More white = more opacity but stiffer feel. Less white = softer but might look washed out on black shirts.
File formats: PNG with transparency works best. TIFF is fine. Avoid heavy compression.
Step 2: Printing on Film
Once your file is ready, you send it to print.
The printer lays down the colored inks first—cyan, magenta, yellow, black. Then it prints the white layer on top. Yes, on top. Remember, you’re printing in reverse. When you transfer it, the white becomes the base layer against the fabric.
Print speed affects quality. Slower = more ink = more vibrant but wetter. Faster = less ink = might look faded. You’ll find your sweet spot.
Watch for banding. Those horizontal lines that show up when print heads aren’t aligned or when ink isn’t flowing right. Regular maintenance prevents most of this.
The film feeds through and comes out with wet ink on it. This is where timing matters for the next step.
Step 3: Powder Application
This part is kind of satisfying, actually.
While the ink is still wet, you apply the adhesive powder. The powder only sticks where there’s ink. That’s the whole trick.
Automatic shakers do this evenly. They coat the entire print, vibrate to distribute, then shake off the excess into a collection tray. Manual application works but it’s inconsistent. And slow.
Even coverage matters. Too little powder and you’ll have spots that don’t adhere. Too much and… actually, too much usually falls off during the shake. But clumps can be an issue.
The type of powder matters too. Finer grain powders give softer prints. Coarser powders might be more durable but feel stiffer. Most people use medium grain for general use.
Step 4: Curing/Melting
Now you heat it.
The powder needs to melt and fuse with the ink. This happens around 160-170°C (320-340°F). Curing ovens do this continuously—the film moves through on a conveyor. Heat presses can work too for small batches.
Undercured powder doesn’t melt fully. It’ll look dusty or grainy. The transfer won’t adhere right.
Overcured powder can yellow the white ink or make the transfer too brittle.
Finding the right temperature and dwell time for your specific materials is part of the learning curve. Every setup is slightly different.
After curing, the transfer is ready. You can store these for months if needed. That’s actually a nice advantage—print a bunch of transfers when you have time, press them later when orders come in.
Step 5: Transfer to Garment
Final step. This is where it becomes a real shirt.
Position your transfer on the garment. Ink side down against the fabric. Put it in the heat press.
Temperature: Usually around 160-170°C again. Some films want hotter, some cooler. Check your film specs.
Pressure: Medium to firm. Too light and it won’t bond. Too heavy and you might scorch or leave press marks.
Time: 10-15 seconds typically. Varies by material and film type.
Then you peel.
Hot peel means you remove the film immediately while it’s still warm. Gives a slightly shinier finish.
Cold peel means you wait for it to cool completely. Takes longer but some people prefer the matte look.
Either way, the design should be bonded to the fabric. Feel it. Should be slightly raised but flexible. Not thick like vinyl. Not cracking.
Done right, these prints last 50+ washes easy.
What Is DTF Printing Used For?

This is where it gets interesting.
DTF isn’t just for t-shirts. Though yeah, t-shirts are the bread and butter.
DTF Printing on Shirts and Apparel
The question everyone asks: “What is DTF printing on shirts?”
It’s probably what you’ve seen without knowing it. That local band tee with the photographic print. The custom hoodie from that online store. The youth sports jerseys with names and numbers.
DTF works on cotton. Works on polyester. Works on 50/50 blends. Works on tri-blends. Light colors, dark colors, heather grays, whatever.
That’s the whole point.
Other methods force you to limit your offerings. “Sorry, we can only print on 100% cotton.” Or “Dark shirts cost extra because of pretreatment.” DTF doesn’t care. Same process for everything.
T-shirts, hoodies, tank tops, jerseys, leggings, bags, caps (with the right press), socks, tote bags—if it’s fabric and you can get a heat press on it, you can probably DTF it.
Commercial and Business Applications
Small custom apparel businesses. Print-on-demand fulfillment. Promotional product companies. Event merchandise. Corporate branding. Schools and teams. Churches and organizations.
The business model that works best with DTF is low-volume, high-variety. One customer wants three shirts with their dog’s face. Another wants fifty staff polos with a logo. Another wants a one-off sample before committing to a bulk order.
DTF handles all of that.
No setup costs per design. No minimum orders. Fast turnaround. That’s why it’s eating into screen printing’s market share for certain job types.
Bulk production? It can do that too, but screen printing still wins on pure volume economics. Anything under 50 pieces though? DTF is often cheaper and faster.
What Makes DTF Printing Different?
People always want comparisons. Fair enough. Let’s do the head-to-heads.
DTF vs DTG (Direct-to-Garment) Printing
DTG is the other “modern” method. Prints directly onto fabric using inkjet technology. No transfer involved.
DTG advantages: Softer hand feel since the ink soaks into fibers. No transfer edge. Great for cotton.
DTG disadvantages: Needs pretreatment spray on dark fabrics. Doesn’t work great on polyester—the ink can bleed. Slower. Print heads clog more. Generally more expensive per print.
DTF advantages: No pretreatment. Works on any fabric color. Works on poly. Faster production. Lower consumable costs.
DTF disadvantages: Transfer has a slight feel you can notice. Very slight. But it’s there.
For most practical purposes? DTF wins on versatility. DTG wins on ultra-premium cotton-only applications where hand feel is critical.
DTF vs Screen Printing
Screen printing is the old reliable. Been around forever. Still king for volume.
Screen printing advantages: Lowest cost per print on huge runs. Very durable. Can do specialty inks (metallic, glow, puff). No equipment for each color—just screens.
Screen printing disadvantages: Setup time and cost. Each color needs a separate screen. Minimums make sense economically. Complex photographic designs are basically impossible. Dark-to-light gradients are hard.
DTF advantages: No setup. Full-color photographic prints easy. No color limits. Profitable on single pieces.
DTF disadvantages: Slower for bulk. Higher cost per piece at scale. Can’t do specialty ink effects (yet).
The crossover point? Usually somewhere around 24-50 pieces of the same design. Below that, DTF wins. Above that, screen printing gets more economical.
DTF vs Vinyl/Heat Transfer
Vinyl is the beginner’s entry point. Cricut and Silhouette made it accessible to everyone.
Vinyl advantages: Low startup cost. Easy to learn. Great for simple text and graphics.
Vinyl disadvantages: Requires weeding (removing excess material by hand). Time-consuming for complex designs. Can’t do photographic images. Multi-color designs require multiple layers of vinyl. Thicker feel.
DTF advantages: No weeding. Full color. Photographic quality. Faster production. Softer feel than vinyl.
DTF disadvantages: Higher equipment cost. Learning curve.
If you’re doing names on the back of sports jerseys? Vinyl might still make sense. Single color, simple. But for anything with detail or multiple colors? DTF destroys vinyl.
Advantages of DTF Printing
Let me list out the wins. Then we’ll talk limitations too, because nothing’s perfect.
Works on Any Fabric Type
This is the big one. I’ve already said it a few times but it’s worth emphasizing.
Cotton. Polyester. Nylon. Leather (yes, leather). Canvas. Denim. Blends of all types.
Dark fabrics. Light fabrics. Same process.
No pretreatment chemicals. No special prep. Just press and go.
That simplicity changes your business model. You can say yes to more orders. You don’t have to turn away the customer who wants something on a poly-blend hoodie.
Vibrant, Durable Prints
The colors pop. Especially on dark fabrics where that white underbase makes everything punch.
Durability is solid. 50+ washes is standard if you’ve done everything right. The prints stretch with the fabric without cracking. They don’t peel at the edges if properly applied.
Hand feel is soft. Not like thick vinyl. There’s a slight texture where the print is, but it’s flexible and moves with the garment.
Photographic prints look photographic. Gradients blend properly. Fine details hold up. That’s something screen printing and vinyl just can’t match.
Cost-Effective for Small Businesses
“What is the best DTF printer for small business?” is a question I see constantly.
The answer depends on volume, but here’s why DTF makes sense for small operations:
Low startup compared to screen printing. No screens, no exposure units, no washout booths.
No minimum orders. One shirt is profitable. Three shirts is profitable. You’re not eating costs on setup.
No per-design setup fees. Changing designs takes seconds. Different design for every single customer? No problem.
Consumables are reasonable. Film, ink, powder. A few bucks per print depending on size.
You can start with entry-level equipment around $3,000-$5,000 for a basic system. Build from there.
Simple Production Process
Compared to screen printing, the learning curve is gentler.
A few days of practice and you can produce sellable quality. A few weeks and you’re probably pretty consistent.
There’s no weeding like vinyl. No screen burning. No registration issues for multi-color prints.
Design on screen. Print. Powder. Cure. Press. Done.
That simplicity means faster training for employees too.
Limitations of DTF Printing
Okay. The honest part.
DTF isn’t perfect. Here’s what to know:
Initial equipment investment — Not as cheap as a vinyl cutter. A complete system runs several thousand dollars minimum. Financing helps, but it’s still real money.
Ongoing consumable costs — Film, ink, and powder add up. Cheaper than DTG consumables, but not free. You need to price jobs correctly.
Learning curve for quality — Easy to produce okay prints. Harder to produce consistently excellent ones. Color management, temperature dialing, curing times—there’s finesse involved.
Heat press dependency — Your transfers are only as good as your press. Uneven pressure or temperature fluctuations cause problems. Cheap presses cause expensive headaches.
Maintenance — White ink especially needs attention. Print heads clog if you ignore them. Daily maintenance routines aren’t optional.
Slight hand feel — It’s not invisible like a perfectly screen printed design. Some customers notice. Most don’t care, but some do.
None of these are dealbreakers. Just realities.
What Is a DTF Printer Used For? Complete Applications
Let’s expand on who’s actually using this technology.
Small Business and Startups
The classic use case. Custom t-shirt businesses. Etsy shops. Local print services.
You can run a DTF business from a spare bedroom. Seriously. People do. Garage setups are common.
Side hustles that grow into full-time businesses. Low barrier to entry compared to other print methods.
Print-on-demand fulfillment from home. Integration with online stores.
Professional Print Shops
Established shops adding DTF to their offerings. Expanding capability without hiring screen printers.
Quick turnaround jobs that don’t make sense for screen setup.
Sampling before committing to bulk screen runs. Show the customer exactly what they’ll get.
Filling gaps in the product line. “Yes, we can do that.”
Promotional and Corporate Branding
Company merchandise. Employee uniforms. Event giveaways.
Trade show swag. Conference shirts. Team building gear.
Corporate clients often have varied needs—different sizes, sometimes different colors, sometimes personalization. DTF handles the variety.
Sports and Teams
Youth leagues. Adult recreational teams. School athletics.
Names and numbers on jerseys. Team logos. Fan merchandise.
This was vinyl territory for a long time. DTF is taking over because you can do full-color crests, photographic elements, gradients—stuff vinyl can’t touch.
Fashion and Design
Small fashion brands doing limited runs.
Custom clothing lines that can’t afford factory minimums.
Artistic apparel where every piece is unique or semi-unique.
Design school students producing portfolio pieces.
What Is the Best DTF Printer?
Now we’re getting into the purchase decision stuff.
Factors to Consider When Choosing a DTF Printer
Before you buy anything, think through these:
- Print width — A3 is entry level. 60cm (24″) is mid-range. Wider formats exist for high volume.
- Production volume — How many prints per day? Per week? Size accordingly.
- Print head technology — Epson i3200 heads are reliable. XP600 heads are cheaper but less durable. I’ve seen people happy with both.
- Automation features — Built-in powder shaker? Built-in dryer? All-in-one systems vs modular setups.
- Bundle vs separate — Some sellers offer complete packages with press, printer, everything. Easier. Sometimes more expensive.
- Budget — What can you actually spend? Finance options exist.
- Technical support — Crucial. A company that answers the phone matters when you’re troubleshooting.
- Ink system quality — Bulk ink systems vs cartridge systems. Ink compatibility. Will you be locked into expensive consumables?
- Software compatibility — What RIP software works? How’s the color management?
- Warranty and parts — Can you get replacement parts quickly? What’s covered?
Best DTF Printer for Small Business
“What is the best DTF printer for small business?” comes down to value and reliability.
For most small operations:
- A3 to 60cm width range hits the sweet spot
- Entry investment between $3,000 and $8,000
- All-in-one systems reduce complexity
- Epson-based print heads tend to be more reliable
- Good support matters more than the cheapest price
Don’t buy the cheapest thing you find. Also don’t overspend on features you won’t use.
Professional Grade DTF Printers
Going bigger? Industrial models exist.
Wider formats for larger prints or higher volume. Multiple print heads for speed. Heavy-duty construction for constant operation.
These run $15,000 and up. Way up sometimes.
For established businesses expanding, or operations printing hundreds of transfers daily, they make sense. For startups? Overkill.
DTF Printer Components and Accessories
Let’s talk consumables and accessories. You’ll be buying these repeatedly.
DTF Inks
CMYK plus white. That’s your color set.
Pigment-based inks are standard. They sit on top of the film rather than soaking in.
White ink is the high-maintenance one. Titanium dioxide particles settle. Good printers have circulation systems. Bad ones clog constantly.
Ink quality varies wildly between brands. Cheap ink causes problems. Clogged heads. Poor color. Adhesion issues. Buy from reputable suppliers.
Shelf life matters. Don’t stock more than you’ll use in a few months.
DTF Films
PET film with a special coating. The coating holds the ink and releases cleanly during transfer.
Thickness varies. Thicker films feed more reliably but cost more.
Hot peel vs cold peel. Different peeling temperatures and characteristics. Most people develop a preference.
Store film properly. Humidity affects it. Dust affects it.
Cost per meter varies. Buying in bulk saves money but only if you’ll use it before quality degrades.
Hot Melt Powder
TPU powder. Thermoplastic polyurethane. Gets tacky when heated, bonds with fabric fibers.
Grain size affects feel. Finer = softer but might not cover as thoroughly. Coarser = stiffer but more reliable adhesion sometimes.
White powder or black powder available. White for light fabrics (less visible). Black for dark fabrics (color doesn’t show through).
Store in dry conditions. Humidity causes clumping.
Heat Press Requirements
Don’t skimp here.
Even pressure across the entire platen. Uneven pressure = uneven transfers. You’ll see it.
Accurate temperature. Plus or minus a few degrees matters.
Clamshell vs swing-away designs. Swing-away presses make positioning easier. Clamshell takes less space.
Size matters. 15×15″ is standard for most shirts. Larger for oversized prints.
Digital temperature readout minimum. Even better if you verify with an infrared thermometer.
Setting Up Your DTF Printing Business
Practical stuff now.
Initial Investment and Costs
Let’s talk real numbers.
Entry-level complete system: $3,000 – $6,000 Mid-range system: $6,000 – $12,000 Professional setup: $15,000+
That includes printer, shaker, and basic supplies. Heat press might be separate ($300-$1,500 depending on quality).
Consumables per print:
- Film: $0.20 – $0.50 depending on size and quality
- Ink: $0.30 – $0.80 depending on coverage
- Powder: $0.10 – $0.20
- Total: roughly $0.60 – $1.50 per print for a standard chest-size design
Add labor, overhead, garment cost, shipping, and profit margin to get your selling price.
ROI timeline? Depends entirely on how much you sell. Some people pay off equipment in three months. Others take a year.
Space and Environmental Requirements
Minimum workspace? Maybe 10×10 feet. Tight but doable.
Comfortable workspace? 15×20 feet or more.
You need:
- Table space for the printer
- Area for the powder shaker
- Curing station (heat press or small oven)
- Transfer press station
- Storage for supplies
- Workspace for handling garments
Ventilation matters. Some fumes during curing. Not toxic at proper temperatures but not great to breathe constantly. A vent fan helps.
Power: Standard outlets work for small setups. Larger equipment might need dedicated circuits.
Temperature and humidity: Moderate is best. Extreme cold affects ink flow. Extreme humidity affects powder and film.
Learning Curve and Training
Honest assessment: two weeks of daily practice gets most people to acceptable quality.
A month of consistent work gets you to reliable production.
Common beginner mistakes:
- Not curing powder fully
- Wrong heat press temperature
- Peeling too fast or too slow
- Poor color management
- Skipping maintenance
Resources for learning: YouTube has tons of tutorials. Manufacturer support varies—some are helpful, some aren’t. User forums and Facebook groups are surprisingly useful.
Testing matters. Waste some film and powder learning. It’s cheaper than ruining customer orders.
Suppliers and Consumables
Finding reliable suppliers takes some trial and error.
Local suppliers mean faster restocking. But sometimes limited selection.
International suppliers (especially from China) offer lower prices. Longer shipping. Quality varies.
Buy samples before committing to bulk orders. Test everything.
Build relationships with suppliers. When you have problems, you want someone who’ll help.
Common DTF Printing Problems and Solutions
Things go wrong. Here’s what to do.
Powder Not Adhering Properly
Symptoms: Bare spots after shaking. Powder falls off before curing.
Causes:
- Ink not wet enough (printing too early, or too much delay before powder)
- Temperature too cold (environment)
- Film or powder quality issues
- Ink quantity too low
Solutions:
- Print immediately before powdering
- Warm up your workspace
- Try different powder brand
- Increase ink density in RIP settings
Colors Not Matching Design
Symptoms: Prints look different from screen. Colors dull, shifted, or wrong.
Causes:
- No color profile or wrong color profile
- Monitor not calibrated
- Poor ink quality
- RIP software settings wrong
Solutions:
- Install and use proper ICC profiles
- Calibrate your monitor (even basic calibration helps)
- Buy quality ink
- Check RIP color management settings
Film Peeling or Cracking
Symptoms: Transfer doesn’t stick. Edges lift. Print cracks when stretched.
Causes:
- Pressure too low
- Temperature wrong (usually too low)
- Powder not cured fully
- Film not compatible with fabric
- Fabric contaminated (softener residue, etc.)
Solutions:
- Increase press pressure
- Verify temperature with external thermometer
- Extend curing time
- Try different film type
- Pre-press garment to remove moisture and residue
White Ink Issues
Symptoms: Clogged nozzles. Streaky white. Faded white. No white at all.
Causes:
- Ink settling in lines
- Infrequent printing
- Poor ink quality
- Head clog
Solutions:
- Run printer daily, even just a test print
- Set up circulation system if available
- Use quality white ink
- Clean heads regularly. Deep clean if needed.
- Store printer properly during downtime
White ink is the number one maintenance headache. Accept that early.
DTF Printing Quality Tips
Getting from “good enough” to “really good” takes attention to detail.
Design Optimization for DTF
300 DPI minimum. 600 DPI if you have it.
Design in CMYK color space for more accurate color expectations.
Think about the white underbase. Does it need to be solid? Can you fade edges for a softer blend?
Add bleed if printing edge-to-edge designs. Small margin of error for positioning.
Use PNG files with transparency. No weird white boxes around your design.
Printer Maintenance Best Practices
Daily:
- Print a nozzle check
- Clean print heads if needed
- Check ink levels
- Circulate white ink
Weekly:
- Deep clean heads
- Clean around print area
- Check film path for debris
Monthly:
- Deep maintenance
- Check all components
- Clean or replace any filters
- Calibrate if needed
Don’t skip maintenance. A clogged head mid-job ruins your day.
Perfect Transfer Technique
Verify temperature with an external thermometer. Heat press displays lie sometimes.
Pressure should be firm but not crushing. If you see platen marks, too much pressure.
Position transfer carefully. Use heat tape if needed to prevent shifting.
Press time: start at manufacturer recommendation. Adjust based on results.
Peel method: try both hot and cold peel. See what you prefer and what works best with your film.
After peeling, you can press again briefly with parchment paper. Smooths out any texture. Optional.
Quality Control Checklist
Before printing:
- Nozzle check good?
- Enough ink?
- Film feeding properly?
- Design file correct?
After printing:
- Full coverage?
- No banding or streaks?
- Colors look right?
After curing:
- Powder melted completely?
- No raw powder visible?
- Film stored properly if not pressing immediately?
After transfer:
- Edges adhered?
- No peeling?
- Colors accurate on fabric?
- Stretch test passes?
Do a wash test periodically. Actually wash a sample. Make sure it holds up.
Is DTF Printing Right for Your Business?

Decision time.
When DTF Printing Makes Sense
Small to medium order sizes. If most of your jobs are under 50 pieces, DTF economics work.
Diverse fabric needs. If customers want cotton, poly, blends, darks, lights—DTF simplifies everything.
Complex designs. Full-color, photographic, gradients. DTF handles these easily.
Fast turnaround. No setup time means quick delivery.
Custom and personalized products. Different design every order. No problem.
Low minimum business model. Print-on-demand, custom singles, samples.
When to Consider Alternatives
Very large bulk orders. Hundreds or thousands of the same design. Screen printing wins on cost.
Extreme budget constraints. Need lowest possible startup cost. Vinyl cutting is cheaper to start.
Specialty effects. Metallic inks, glow-in-dark, puff printing. Screen printing or specialty methods.
Ultra-premium positioning. When every detail matters and customers are paying top dollar—sometimes embroidery or other specialty methods convey more value.
Getting Started with DTF Printing
Alright. You’ve decided. Now what?
Choosing Your Equipment
Do your research. This article helps but isn’t the only source.
Watch comparison videos. Read forums. See what actual users say about different machines.
Request demos if possible. See the machine run before buying.
Starter packages simplify decisions but compare what’s included.
Financing makes expensive equipment accessible. Just understand the terms.
Training and Resources
YouTube tutorials cover basically everything.
Manufacturer support varies. Some are excellent. Some are useless. Factor this into your buying decision.
User communities on Facebook are helpful. People share problems and solutions freely.
Invest in practice materials. You’ll waste some film and powder learning. Budget for it.
Start with samples for yourself. Don’t practice on customer orders.
First Projects and Testing
Start simple. Single-color design on white shirt. Nail that first.
Add complexity gradually. Dark fabrics. Multi-color. Photographic.
Document everything. What settings worked. What didn’t. You’ll forget otherwise.
Build a sample portfolio. Show potential customers what you can do.
Ask for feedback. Real opinions help you improve.
What does DTF stand for in printing?
Direct-to-Film. You’re printing directly onto a film, then transferring to fabric.
The name distinguishes it from DTG (Direct-to-Garment), where you print directly onto the fabric itself.
How long do DTF prints last?
50+ washes with proper application. Some last much longer.
Care instructions matter. Wash inside out. Avoid high heat drying. No bleach.
Quality of materials affects durability. Good ink and powder last longer than cheap stuff.
Can I use a regular inkjet printer for DTF?
No. Regular inkjet printers don’t have white ink. They’re not designed for DTF inks. The heads can’t handle the viscosity.
There are conversion kits for certain Epson models, but they’re finicky. Not recommended for serious production.
Buy a proper DTF printer.
What fabrics work with DTF printing?
Most of them.
Cotton: Yes Polyester: Yes Poly-cotton blends: Yes Tri-blends: Yes Nylon: Yes Denim: Yes Canvas: Yes Leather: Yes (with right settings) Silk: Careful, but possible
Basically, if you can heat press it without destroying it, you can probably DTF print on it.
How much does DTF printing cost per shirt?
Rough estimate: $1 to $3 per print for a standard chest-size design.
Breakdown:
- Film: $0.20-0.50
- Ink: $0.30-0.80
- Powder: $0.10-0.20
- Electricity and misc: $0.05-0.10
Add the blank garment cost. Labor. Overhead. Profit margin.
Selling price varies by market but $15-25 for a custom printed tee is common.
Is DTF printing eco-friendly?
Complicated answer.
Better than some methods. No water usage like screen printing cleanup. No wasted screens.
Not perfect. PET film is plastic. Powder is plastic. Ink has chemicals.
Proper disposal matters. Don’t throw powder or ink down drains.
Compared to alternatives? Probably similar overall impact. Maybe slightly better than screen printing, maybe slightly worse than certain eco-focused DTG options.
It’s a factor to consider but not a major selling point either way.