Curing is the step that makes or breaks your DTF transfers. Get it right and your prints survive 50+ washes. Get it wrong and the design peels off the first time someone runs a load of laundry.
I’ve seen a lot of people rush through curing or skip proper technique because they’re excited to press their design onto fabric. Makes sense. The printing part feels like the main event. But curing? That’s where the actual durability gets built.
The process isn’t complicated once you understand what’s happening. You’re heating adhesive powder until it melts and bonds with your printed ink. Temperature ranges from about 160-180°C (320-350°F) depending on your equipment. Timing varies too. Some methods take 60 seconds. Others need 3 minutes.
This guide covers everything. What curing actually does. What temperature to use. How long to cure. Every equipment option from heat guns to professional curing ovens. Plus troubleshooting for when things go sideways.
What is DTF Powder Curing?
DTF powder curing is the heat-activated process that transforms loose adhesive powder into a bonded layer on your printed film. Two things happen during curing. The adhesive activates. And the powder fuses with the ink underneath.
Before curing, your powder looks grainy. Sparkly. Loose particles sitting on top of wet ink. After curing, that same surface looks smooth and glossy. Almost like a gel. That visual transformation tells you the chemical process worked.
The temperature range is typically 160-180°C (320-350°F), though this varies by equipment type. At these temperatures, the hot-melt adhesive powder undergoes chemical cross-linking. Molecular chains bond to each other and integrate with the ink layer.
What you end up with is a heat-reactive adhesive layer. It’s solid at room temperature. But apply heat again during final pressing, and it re-softens to bond with fabric.
How DTF Powder Curing Works
The science isn’t complicated when you break it down.
DTF powder is made of hot-melt adhesive. Polyurethane-based usually. At room temperature, it’s just powder. Apply heat and it reaches melting point. The powder liquefies and flows together.
But melting alone isn’t enough. Chemical transformation happens during proper curing. The polymer chains cross-link. They bond to each other and fuse with the ink on the film. This creates an integrated layer instead of just melted powder sitting on top.
The cured powder becomes heat-reactive glue. Stable when cool. Re-softens when you apply heat during final pressing. That’s how it bonds to fabric.
Think of it like this. Raw powder is like individual grains of sand. Cured powder is like those grains fused into a solid sheet. The sheet can soften again with heat but won’t fall apart.
For beginners: don’t overthink the chemistry. Just know that proper temperature plus proper time equals proper bonding. Visual cues tell you when it’s done.
What Temperature to Cure DTF Powder?
Temperature depends heavily on which curing method you’re using. No universal number works for everything.
Curing Oven / Conveyor Dryer: 100-110°C (212-230°F). Lower temperature because exposure time is longer.
Heat Press (hover method): 110-120°C (230-250°F). Some sources go as high as 300-350°F depending on equipment calibration.
Heat Gun: 150-160°C (300-320°F). Higher because exposure is less consistent.
Convection Oven: 120-150°C (250-300°F).
These ranges exist because time and temperature work together. Lower temp, longer time. Higher temp, shorter time. You can’t just crank temperature and rush through the process.
One thing I’ve learned: equipment displays lie. They say 300°F but actual surface temperature might be 270°F or 330°F. Get an infrared thermometer and verify. It costs less than wasting materials on failed cures.
How Long to Cure DTF Powder?
Timing matters as much as temperature. Maybe more. Under-cure for 30 seconds and your transfer fails. Over-cure by the same amount and colors yellow.
Here’s the thing most guides don’t emphasize enough: you cannot consider time without temperature. They’re locked together. A setting that works at 320°F won’t work at 280°F.
Curing Time by Equipment Type
Curing Oven / Conveyor Dryer: 2-3 minutes at 100-110°C. Longest time, lowest temperature. The even heat distribution means consistent results.
Heat Press (hover method): 60-90 seconds at higher temperatures. Some sources recommend 120-180 seconds for lower-temp setups. Wide range because heat presses vary so much.
Heat Gun: No set time. Continuous circular motion until powder turns glossy. Could be 60 seconds on a small design. Could be several minutes on a large one.
Flash Dryer: 30-60 seconds at 320-350°F. Quick and intense.
Visual cues matter more than timers. Curing is complete when powder stops looking grainy and turns smooth, glossy, uniform. If your timer says done but the powder still looks sandy, it’s not done.
DTF Powder Curing Methods: Equipment Options
Three main ways to cure DTF powder. Dedicated curing oven. Heat press. Heat gun. Each has trade-offs.
Newer all-in-one shaker-oven units combine powder application and curing in a single machine. Convection ovens work in a pinch for hobby use.
Your choice depends on budget, production volume, consistency requirements, and what equipment you already own. Someone printing 10 transfers a week has different needs than someone printing 500.
1. Curing with a Dedicated Curing Oven (Conveyor Dryer)
Best for high-volume production where consistency matters.
How it works: Place transfer on a conveyor belt. It moves through a tunnel of controlled heat. Emerges cured on the other end.
Temperature: 100-110°C (212-230°F) Time: 2-3 minutes
Why professionals use them: Even heat distribution eliminates cold spots. Hands-off automated process means you can focus elsewhere. Multiple sheets cure continuously without stopping. Consistent results across hundreds of transfers.
The downsides: Higher initial investment. Requires dedicated space. Overkill for hobby or low-volume work.
If you’re running a business and scaling up, this is the path. Set your parameters once and trust the process.
2. Curing DTF Powder with a Heat Press
Best for beginners, small batches, and anyone who already owns a heat press. Most people start here.
How it works: Place your powdered transfer powder-side-up on the lower platen. Hover the upper platen 1-2cm above the film without touching. Apply heat without pressure. The key word is hover. Don’t press down.
Temperature: 110-120°C (230-250°F) or 300-350°F depending on your press Time: 60-90 seconds minimum. Some setups need 120-180 seconds.
Step-by-step process:
- Preheat heat press to target temperature
- Position DTF film powder-side up on lower platen
- Adjust pressure to medium-light
- DO NOT press down or lock the platen
- Hover platen above film creating a small gap
- Heat for recommended time
- Lift and inspect—powder should look transparent with smooth glossy finish
- Let cool completely before handling
Pro tips that actually help:
Use parchment paper or Teflon sheet to protect your press from adhesive. Stuff gets messy otherwise.
Preheat the lower platen. Reduces overall curing time.
Use quarters or heat-resistant blocks as “stoppers” to prevent the platen from touching wet powder. Simple trick that works.
Swing-away heat presses work better than clamshell for this. More even heat distribution when hovering.
Why it works: Cost-effective because you’re using equipment you already have. Accessible for home businesses.
Why it’s limited: Slower than ovens. Cures one sheet at a time. Requires your attention the whole time. Edges can cure unevenly if you’re not careful.
3. Curing with a Heat Gun
Best for small projects, spot fixes, emergency situations, and people without other equipment.
How it works: Point focused heat at the powder while moving the gun in continuous circular motions.
Temperature: 150-160°C (300-320°F) Technique that works:
Set heat gun to lowest or medium setting. Steady, even heat matters more than intense blasts.
Lay DTF film flat and tape edges down. Prevents the film from moving around and powder from blowing away.
Maintain 15-20cm (6-8 inches) distance from the film. Closer risks overheating specific spots.
Move slowly in circular motions. Cover the entire surface repeatedly.
Continue until powder turns glossy and transparent.
Never stay in one spot. Overheating happens fast.
Advantages: Portable. Low cost. Good for touch-ups on missed spots.
Disadvantages: Labor-intensive and tedious. Inconsistent heat across the surface. Difficult to achieve truly even curing. Not suitable for large sheets or any real production volume. High risk of under-cured edges and over-cured centers.
Safety: Wear protective gloves and eye protection. Work in ventilated space. Adhesive fumes aren’t fun to breathe.
I’ll be honest—heat guns are the backup method. They work when you need them to work. But if you’re doing this regularly, invest in better equipment.
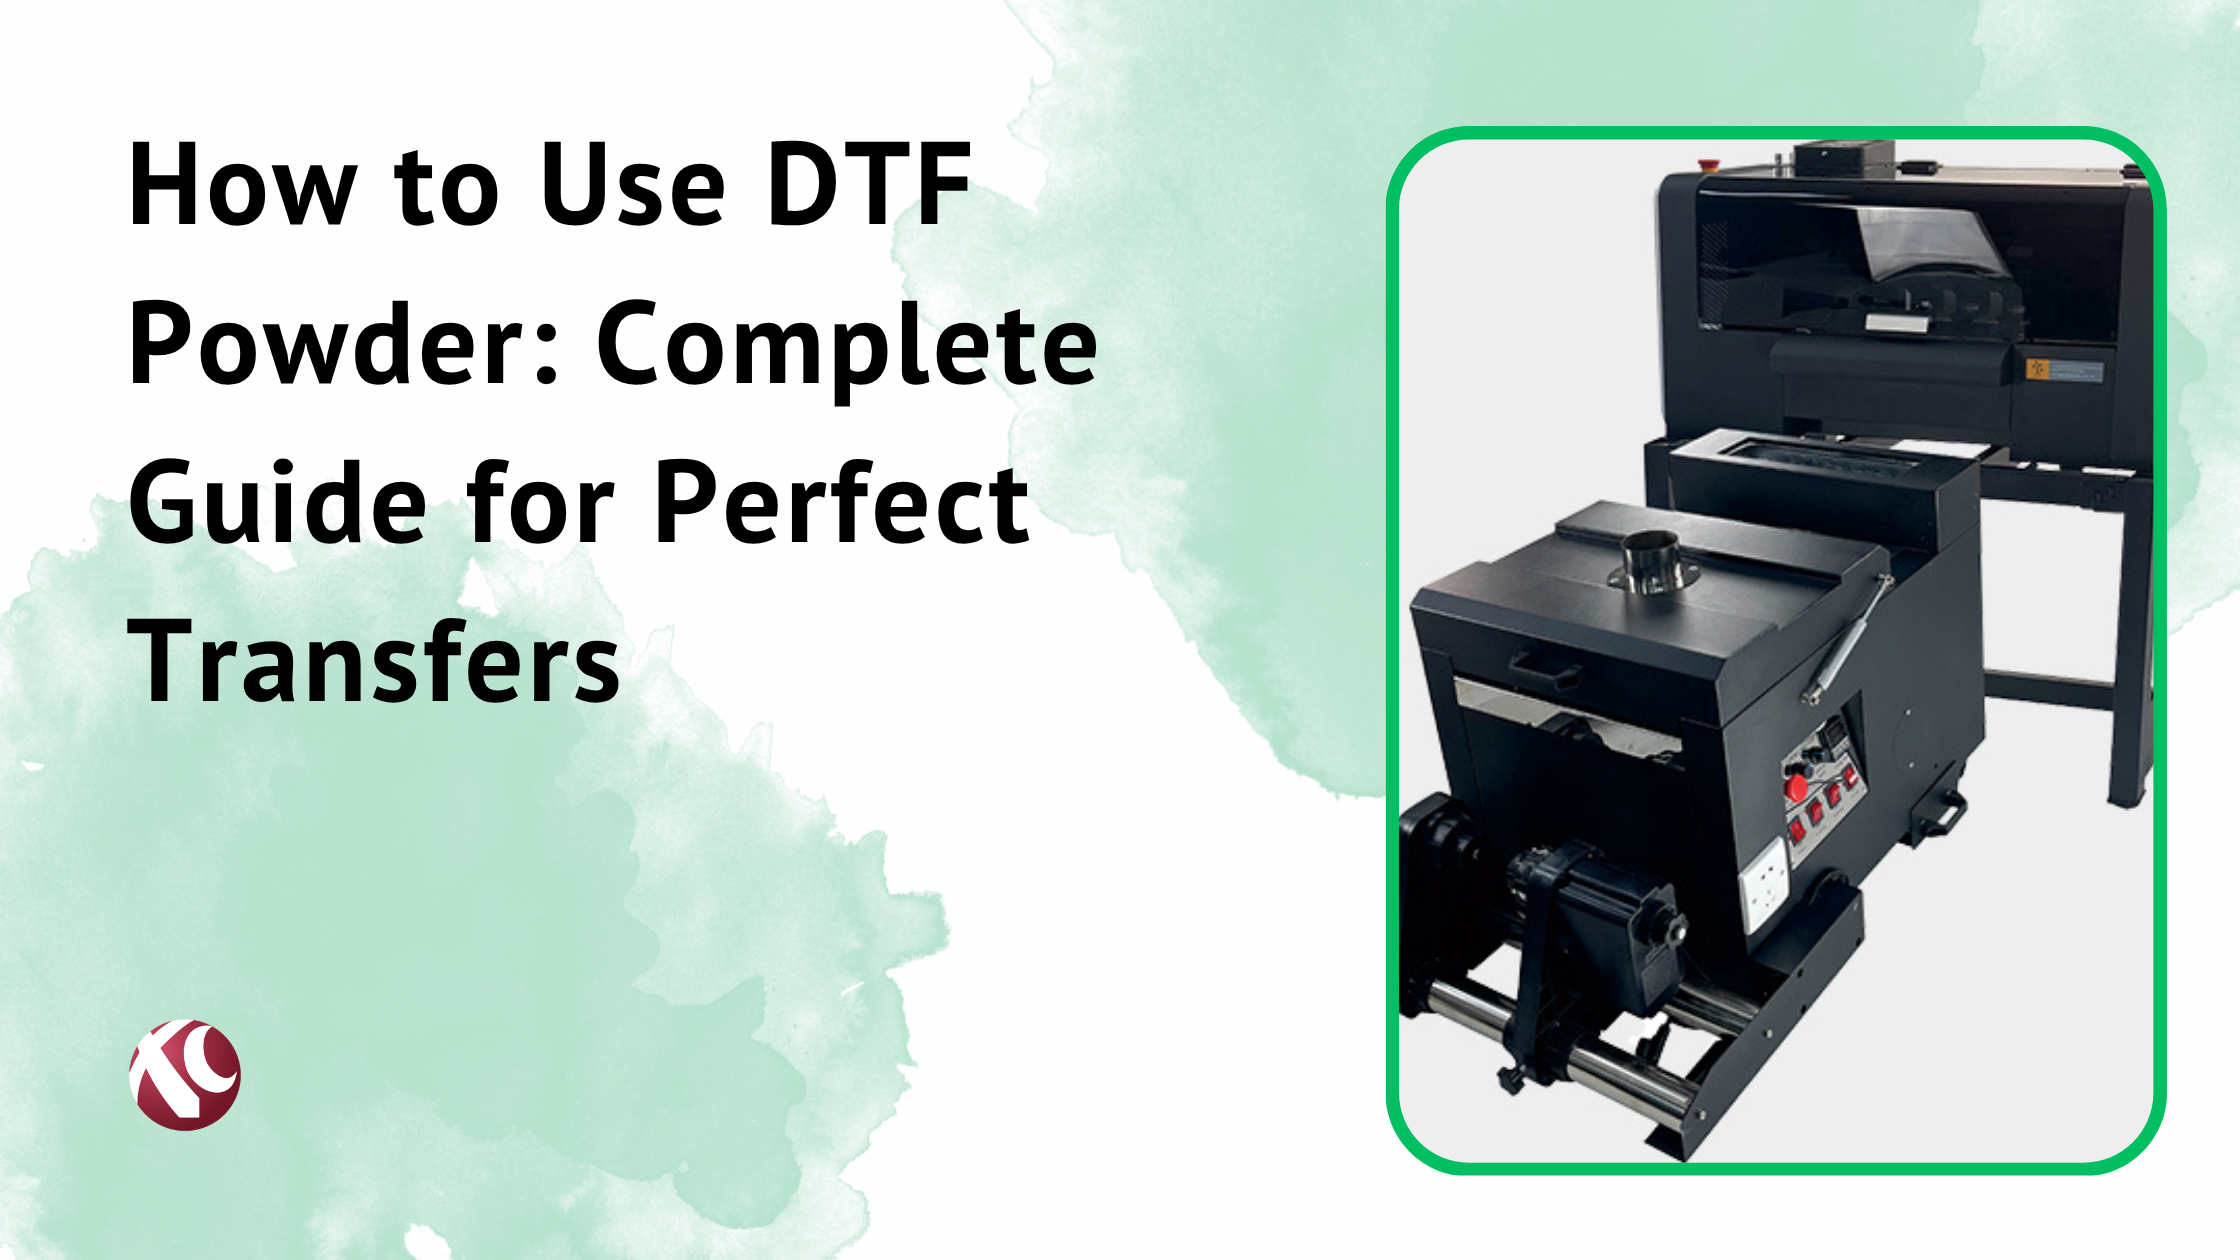
4. Shaker Oven Units (All-in-One Systems)
Latest innovation in DTF workflow. Combines powder application and curing in a single automated cycle.
How it works: Unit connects directly to your DTF printer. Fresh print goes in. Machine automatically applies powder, shakes off excess, and cures. Transfer comes out ready to press.
Example: xTool OS1 3-in-1 shaker oven.
Temperature/Time: Automated based on unit specifications. You don’t dial in settings manually.
Why people love them:
Hands-off process from print to cured transfer. Minimal powder waste from automated shaking. Eliminates safety concerns from manually handling loose powder. Ideal for continuous production. Relatively compact footprint.
Best for: Anyone investing in a complete DTF system. Bulk production needs. Maximum efficiency without manual intervention.
These units work well with professional DTF setups like those from xcinkjet.net. Match quality ink and powder with automated curing for consistent results at scale.
5. Alternative Methods: Convection Oven
Regular home convection ovens can cure DTF powder. Worth knowing even if it’s not ideal.
Temperature: 250-300°F (120-150°C) Time: 2-3 minutes
How to do it:
Preheat oven fully. Place DTF film powder-side-up on wire rack or heat-resistant tray. Don’t stack multiple sheets. Cure for recommended time. Inspect for shiny gel-like appearance. Cool 1-2 minutes before handling.
Why some crafters use it: Many people already own a convection oven. Works fine for small batch hobby projects.
The problems:
Once you cure adhesive powder in an oven, don’t use it for food again. Not food-safe.
Less precise temperature control than dedicated equipment.
Potential for uneven heating depending on oven quality.
If you go this route, clean the oven before and after. Unplug before cleaning. Powder buildup is a thing.
Step-by-Step DTF Powder Curing Process

This workflow applies regardless of which equipment you’re using. The steps stay the same even if temperatures and times vary.
Step 1: Shake Off Excess Powder
After applying powder to your wet printed film, shake off everything that didn’t stick to the ink.
Use a dedicated powder shaker for efficiency. Or shake manually over a collection tray to reclaim excess powder.
Only powder adhered to ink should remain on the film. Bare areas should be clean PET film.
Excess powder causes problems during curing. Wasted material. Uneven results. Adhesive where you don’t want it.
Step 2: Preheat Your Equipment
Allow equipment to reach target temperature before you start curing anything.
Equipment displays are often inaccurate. Use an infrared thermometer to verify actual temperature. This matters more than people realize.
For heat press: Preheat the lower platen to temperature. Let it stabilize.
For curing oven: Allow full preheat cycle to complete.
For heat gun: Warm up the gun before applying to film.
Skipping preheat means your first transfers cure differently than later ones. Inconsistent results from inconsistent starting points.
Step 3: Position the Transfer
Curing oven: Place sheet powder-side-up on conveyor belt or tray. Don’t overlap sheets. Each needs full heat exposure.
Heat press: Position sheet powder-side-up on lower platen. Film should lie completely flat. No wrinkles. No air bubbles. Use silicone sheet on top to protect press from adhesive residue.
Heat gun: Lay film flat on heat-resistant surface. Tape down edges to prevent movement.
Step 4: Apply Heat for Recommended Time
Oven: Let conveyor carry sheet through the tunnel. 2-3 minutes at proper temperature. Walk away and let it work.
Heat press: Hover platen above film. Do not lock down. Do not apply pressure. 60-180 seconds depending on temperature. Watch the powder transform.
Heat gun: Continuous circular motions. Maintain distance. Don’t stop moving. Continue until powder changes appearance throughout.
Watch the visual transformation. Powdery to glossy. That tells you more than any timer.
Best Practices for Curing DTF Powder
Professional tips that separate consistent results from frustrating failures.
Invest in Quality DTF Powder
Powder quality directly impacts curing and final hand feel.
Fine, high-quality powder melts evenly. Results in softer prints. Works reliably across recommended temperature ranges.
Cheap powder often requires higher temperatures to melt fully. That risks fabric damage during pressing. Inconsistent melting creates inconsistent results. You might get grainy spots next to properly cured areas on the same transfer.
xcinkjet.net’s DTF powder products are engineered for consistent melting and optimal adhesion. I recommend them because predictable performance saves time and materials.
Monitor Environment: Control Humidity and Temperature
Humidity destroys DTF powder.
Optimal humidity: 40-45%
High humidity causes powder to clump before you even apply it. Powder absorbs moisture from air. Leads to improper melting during curing. Problems cascade from there.
Store powder in dry, sealed containers. Not open bags on shelves.
Work in well-ventilated space. Adhesive fumes release during curing. Not dangerous in small amounts but not pleasant either.
Maintain consistent room temperature. Your curing settings assume certain conditions. Change the environment, change the results.
Don’t Over-Cure or Under-Cure
Both extremes cause failures. Just in different ways.
Under-curing means:
- Powder doesn’t fully melt
- Transfer peels off during or after first wash
- Grainy texture remains visible and touchable
- Poor adhesion to fabric
Over-curing means:
- Ink colors yellow or shift
- Transfer becomes brittle and cracks
- Adhesive loses bonding capability
- Film may warp
- Reduced wash durability
Find the balance through testing. Watch visual cues. Adjust incrementally when something seems off.
Test Before Production
Always run test cures with small samples when:
- Starting with new equipment
- Switching powder brands (different melting points exist)
- Environmental conditions change significantly
- You’re experiencing unexplained quality issues
Perform a test melt to verify exact time and temperature for your specific setup.
Then test the full workflow. Cure a sample. Press onto fabric. Wash test to verify durability. Don’t commit to a 50-piece order before knowing your settings actually work.
Maintain Consistent Settings
Once you find what works for your setup, write it down.
Document:
- Temperature
- Time
- Pressure settings if applicable
- Powder brand and type
- Any environmental notes
Consistency produces professional results. Small variations in technique cause quality issues across batches.
Verify equipment accuracy regularly with an infrared thermometer. Settings drift. Heating elements age. What worked last month might need adjustment.
DTF Powder Curing vs. Final Heat Press: Understanding the Difference

Two separate heat applications happen in DTF workflow. They serve different purposes. Confusing them causes problems.
Stage 1: Curing the Powder (Pre-Press)
Purpose: Melt adhesive powder and bond it to ink on PET film.
Temperature: 160-180°C (320-350°F) depending on method used.
What happens: Creates a ready-to-press transfer. Powder transforms into heat-reactive adhesive layer.
No fabric involved at this stage. You’re just preparing the transfer.
Stage 2: Pressing Transfer to Fabric (Final Application)
Purpose: Bond the cured transfer to a garment.
Temperature: 300-325°F (150-165°C)—varies by fabric type.
Time: 12-15 seconds with medium-firm pressure.
What happens: The cured powder re-softens under heat. Adhesive bonds to fabric fibers. Design transfers from film to textile.
Peeling: Hot or cold peel depending on your film type. Most DTF film uses hot peel—wait 3-5 seconds after pressing, then peel while still warm.
Why Both Steps Matter
Curing prepares the transfer. Without proper curing, adhesive won’t bond correctly to fabric during pressing.
Pressing activates the cured adhesive. Without proper pressing, even perfectly cured transfers won’t stick.
Both require correct temperature, time, and technique. Mess up either step and the print fails.
Together, properly cured and properly pressed transfers create durable prints. 50-100+ washes when done correctly. That durability comes from getting both stages right.