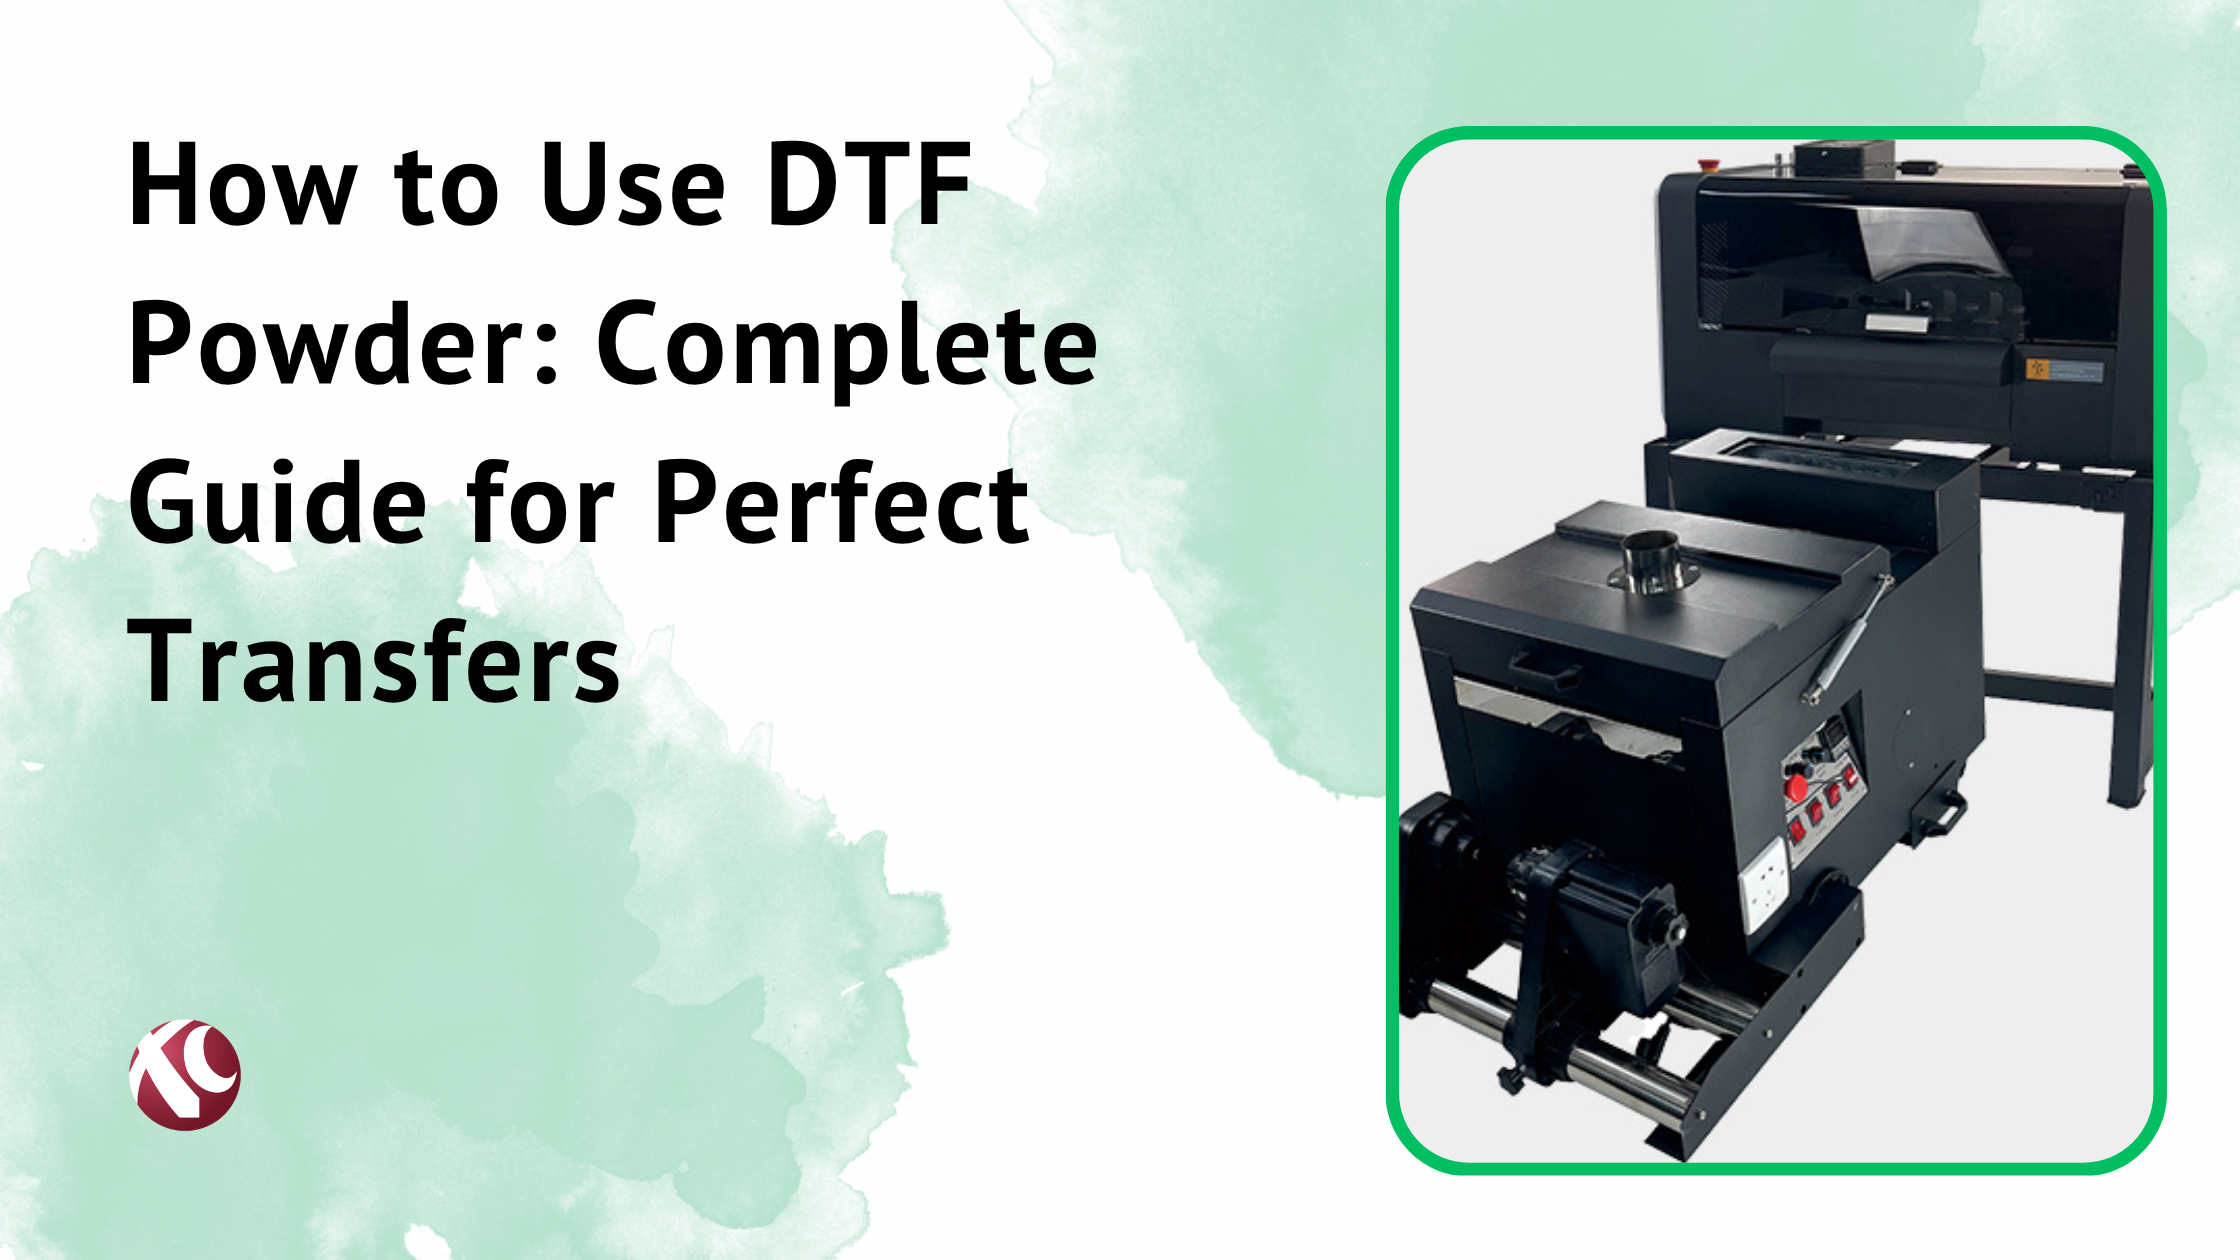
DTF powder doesn’t get the attention it deserves. Everyone focuses on printers and ink and film. But the powder? That’s what actually makes or breaks your prints.
Think about it. You can have a $10,000 printer, premium ink, perfect artwork. None of it matters if your powder application is wrong. The adhesive bond fails.
The powder is the critical component that bonds ink to fabric. It’s the bridge between your beautiful design sitting on PET film and that same design permanently attached to a t-shirt. Get it right and your prints survive dozens of wash cycles. Get it wrong and they peel off in the dryer.
This guide covers what you actually need to know. Different powder types and when to use each one. Application techniques that work. Storage practices that prevent expensive waste. Troubleshooting when things go sideways. And the best practices that separate amateur prints from professional quality.
Understanding this stuff directly impacts print quality, durability, and wash resistance. Which means it directly impacts whether customers come back or leave bad reviews.
What is DTF Powder?
DTF powder goes by a few names. Hot-melt adhesive powder. DTF transfer powder. Sometimes just “the powder.” Same thing.
It’s a finely ground thermoplastic adhesive. Usually made from polyurethane or polyester-based resins. The particles are small enough to coat wet ink evenly but substantial enough to create a strong bond when heated.
Primary function is simple: create the connection between printed ink on PET film and the fabric during heat press transfer. Without it, ink just sits on film with no way to permanently attach to textile fibers.
Here’s how it works in practice. You print your design onto DTF film. Ink is wet. You apply powder to that wet ink. Powder sticks only where there’s ink. Heat melts the powder, fuses everything together. When you press that film onto a shirt, the melted powder creates a permanent bond between design and fabric.
The powder does more than just stick things together though. It enhances opacity. Makes colors brighter. Improves durability significantly. A print without proper powder adhesion might look okay initially but falls apart quickly. Proper powder application means prints that last.
How Does DTF Powder Work in the Printing Process?
Three-step process. Simple in theory. Takes practice to master.
Step one: After your design prints onto DTF film using specialized inks, you apply powder to the tacky wet ink. Timing matters here. Ink needs to be wet enough for powder to stick. Wait too long in a hot dry shop and you’ve got problems.
Step two: Powder adheres only to printed areas. The wet ink is sticky. Non-printed film isn’t. So powder naturally stays where you want it and falls off where you don’t. Pretty elegant actually.
Step three: Heat application. This is the curing phase. Heat melts the powder, fusing it with the film’s adhesive layer. Creates a transferable design that’s ready for heat pressing onto fabric.
When you press that cured film onto a garment, the melted powder creates a strong durable bond between ink and textile fibers. The ink becomes part of the fabric essentially. Not sitting on top of it.
Temperature requirements vary by powder type. Generally looking at 105-180°C depending on what you’re using. TPU powders melt at lower temps. PA powders need more heat. Always check manufacturer specs for your specific powder.
Why is DTF Powder Essential for Quality Prints?
The benefits are pretty significant.
Wash resistance. Good powder adhesion survives 40-60°C wash cycles repeatedly. Not just once or twice. Dozens of times. This is what customers expect and what keeps them coming back.
Elasticity. Designs stretch with the fabric. No cracking when someone puts on a fitted shirt or moves around. The powder allows that flexibility while maintaining bond strength.
Versatility across materials. Cotton, polyester, blends, leather, nylon. DTF works on all of them because the powder creates that universal bonding layer. Try doing that with sublimation.
Vibrant color adhesion. The powder enhances how colors appear on the final garment. Brighter. More saturated. Professional looking.
Finish options. Glossy or matte depending on powder type. Hot-peel for semi-gloss. Cold-peel for matte. Client wants a specific look? You can deliver.
Minimal post-processing. Print, powder, cure, press. Done. No weeding like vinyl. No pre-treatment like DTG.
Fast curing. 2-3 minutes for powder curing. Compare that to other methods and you see the production efficiency. Though sublimation is faster at 45-60 seconds, DTF works on way more fabric types.
Types of DTF Powder
DTF powders get categorized three main ways. Base polymer composition. Particle size. And color.
Each factor affects performance differently. Composition determines flexibility and durability. Particle size affects detail and hand feel. Color matters for fabric compatibility.
Understanding these differences is crucial. Wrong powder choice means compromised results. Right choice means prints that perform exactly how you need them to.
DTF Powder Types by Composition
Four main polymer bases. Each with distinct characteristics.
1. TPU (Thermoplastic Polyurethane) Powder
Most popular. Most widely used. There’s a reason for that.
Excellent elasticity and flexibility. Prints stretch with fabric without cracking. This matters enormously for anything fitted or athletic.
Soft hand feel. The printed area feels comfortable against skin. Not rubbery or plastic-y. People actually want to wear the garment.
Ideal applications: sportswear, activewear, stretchy fabrics, anything where the garment moves with the body.
Melting point sits around 105-115°C. Lower than other options. Which means less risk of scorching delicate fabrics.
High purity TPU (99.9%) ensures softness and crack resistance. Quality matters here. Cheap TPU powder performs noticeably worse.
Best wash resistance at 60°C cycles. For most consumer applications, this is the standard.
2. PES (Polyester) Powder
More rigid finish compared to TPU. Less stretchy. But that’s sometimes what you want.
Provides higher durability and excellent wash resistance. If longevity matters more than flexibility, PES is your answer.
Better for polyester fabrics specifically. The chemical compatibility improves bonding.
Stronger bonding properties overall. When maximum adhesion is the priority and you don’t need significant stretch, consider PES.
3. PA (Polyamide/Nylon) Powder
Balances strength and flexibility better than pure PES but differently than TPU.
Good wear resistance. Good abrasion resistance. Handles enzyme washing. For workwear that gets industrial laundering at 90°C, PA powder is often the only option that survives.
Higher bonding temperatures required: 140-150°C. Plan your process accordingly.
Particle sizes typically available in 80-170 microns and 150-250 microns ranges.
Less common than TPU or PES. But for heavy-duty applications where garments get beat up and washed hard, PA powder is the right choice.
4. EVA Powder
Worth mentioning briefly. Low-temperature flexible hot-melt adhesive. Good softness but less durability than TPU.
Rarely used in DTF garment printing. More common in packaging and foam applications. If someone tries selling you EVA powder for apparel DTF, question why.
DTF Powder Types by Particle Size
Particle size affects application and results significantly. This isn’t minor detail stuff.
Fine Powder (0-100 microns, mesh 50-100)
Texture like flour. Really fine.
Creates ultra-soft finish. Smooth detailed prints. Perfect for intricate designs, small letters, sharp lines, fine artwork.
Best choice for high-detail work requiring precision. Those complex illustrations with tiny elements? Fine powder.
Trade-offs exist though. Less resistant to humidity and abrasion than coarser options. Can stick to film if not managed carefully. Applies easily by hand but requires attention.
Medium Powder (70-170 microns, mesh 100-170)
Texture similar to table salt. The middle ground.
Most versatile and commonly used option. Optimal balance of adhesion, softness, and durability.
Works well on cotton, polyester blends, hoodies, sportswear. Basically the standard apparel range.
Suitable for both manual and automated application methods.
Recommended for everyday apparel printing. Standard t-shirts. General merchandise. If you’re unsure, medium is usually the safe choice.
Coarse Powder (120-300 microns, mesh 170-300)
Largest particles. You can see the individual grains.
Provides strongest grip and longest durability. Creates slightly textured, raised feel on the garment.
Ideal for thick textured fabrics like denim. Or when you actually want that 3D effect.
Perfect for outdoor items, high-wear garments, rough fabrics. Workwear that needs to survive jobsites.
Best adhesion and wash resistance. But definitely feels rougher. Not for soft fashion tees.
The relationship is pretty direct. Smaller particles equal thinner, softer prints with clearer images. Larger particles equal thicker, more rubbery prints with maximum durability. Match particle size to application requirements.
DTF Powder Types by Color
White DTF Powder
Made of 100% high-purity polyurethane.
Most widely used. Most versatile. Suitable for any fabric color. Light garments, dark garments, doesn’t matter.
Universal application is the main advantage. One powder type handles almost everything.
One consideration: when used on dark clothes, edges of the design may be slightly visible. Usually not a problem, but worth knowing.
Most common choice for standard projects. If you’re only stocking one powder color, white is it.
Black DTF Powder
Composed of TPU rubber powder and activated carbon.
Specifically designed for black and dark-colored clothing. This is its specialty.
Has anti-sublimation function. Prevents color bleeding on polyester and dark textiles. This matters more than people realize when working with polyester garments where dye migration is a real risk.
Better covering effect on base colors. Easier to cover bright colors. Works especially well on polyester fabrics and luggage materials.
Not as versatile as white powder. But superior performance on dark garments where edge visibility matters. Worth keeping in stock if you do significant dark-garment work.
Note: Both white and black available in different particle sizes. Fine, medium, coarse. So you’re really choosing two variables together.
DTF Powder Types by Release Properties

Hot-Peel Powder
Film gets removed while still hot. Wait 3-5 seconds after pressing, then peel.
Provides semi-gloss finish.
Faster production workflow. Less waiting around. More shirts per hour.
Most common for standard DTF applications. Probably what you’re using unless you specifically chose otherwise.
Cold-Peel Powder
Film removed after completely cooling. Full cool down before peeling.
Offers matte finish with maximum durability.
Takes longer. Obviously. But may provide better adhesion for certain applications.
Choice between hot and cold depends on desired finish, production speed requirements, and your specific film/ink combinations. Some setups work better one way than the other.
How to Apply DTF Powder: Step-by-Step Process
Proper powder application is crucial. This is where prints get made or ruined.
The process requires attention to timing, coverage, and technique. Rush it or get sloppy and quality suffers.
Step 1: Print Your Design
Use DTF printer to print design onto DTF PET film using CMYK+White ink system.
The white ink serves as base layer for color vibrancy on dark fabrics. Without it, colors look washed out on anything but white shirts.
Make sure film is loaded correctly. Coated side receives the ink. Mix this up and nothing works right.
Print quality directly affects powder adhesion later. Use proper resolution and keep your printer calibrated. Garbage in, garbage out.
Step 2: Apply Powder to Wet Ink
Timing is critical. Apply powder immediately after printing while ink is still wet and tacky. Powder only sticks to wet ink. This seems obvious until you’re distracted and let something sit too long.
In hot, dry environments, this becomes even more critical. Ink dries faster. Your window shrinks. In humid environments you have more time but other problems emerge.
If ink dries before powder application, powder won’t adhere properly. You’ve wasted film and ink.
Application methods:
Manual application: evenly sprinkle powder over entire printed design using shaker or scoop. Takes practice to get even coverage.
Automated application: use powder shaker machine for consistent, even distribution. Worth the investment if you’re doing volume.
Amount matters. Apply thin, even layer. You should be able to see through the powder layer slightly. If it looks opaque white, it’s too much.
Just enough to cover the design without clumping. Over-application creates thick, stiff layer on the finished garment. Customers notice. They don’t like it.
Step 3: Remove Excess Powder
Gently tap or shake off excess powder from the film.
Use powder shaker to shake off non-adhered powder. Tap film firmly from behind to dislodge loose particles.
Excess powder can be collected and recycled if kept clean and dry. Though fresh powder always performs better, being realistic about waste matters too.
Powder should remain only on inked areas. If you see powder sticking to non-printed film, something’s wrong. Humidity probably.
Step 4: Cure the Powder
Apply heat to melt and cure the powder. Three methods available.
Heat Press Method (Most Common)
Preheat to 160-170°C (320-340°F).
Place film with powder in heat press.
Apply medium to firm pressure for 2-3 minutes.
Powder should become clear and glossy, indicating proper melting. If it still looks grainy or powdery, it’s not cured. Keep going.
Oven/Conveyor Dryer Method
Pass film through curing oven at specified temperature.
More efficient for large batches. Ensures consistent, even heating.
Better for production environments where you’re curing dozens of transfers.
Heat Gun Method
Hold heat gun 1-2 inches away from printed surface.
Move in circular motion until powder melts completely.
Less consistent than other methods. But works for small projects or repairs when you just need one transfer done.
Properly cured powder looks smooth and glossy. Not grainy. Not powdery. If it doesn’t look right, it won’t bond right. Under-cured powder causes adhesion failures during transfer.
Step 5: Heat Press Transfer to Fabric
Pre-press the garment for 2-3 seconds to remove moisture and wrinkles. Moisture prevents proper adhesion. This step gets skipped and then people wonder why prints fail.
Place cured film onto fabric, design side down.
Heat press settings:
- Temperature: 300-325°F (150-165°C)
- Pressure: medium to firm (60-80 PSI or about 6-7 on a 10-point scale)
- Time: 10-15 seconds
Fabric-specific temperatures:
- Cotton: 315-320°F
- Polyester: 300-310°F (watch for dye migration, lower is safer)
- Blends: 305-315°F
These are starting points. Your press, your powder, your conditions might need adjustments. Test first.
Step 6: Peel and Finish
For hot-peel: Wait 3-5 seconds after opening press, then peel film while still warm.
For cold-peel: Allow transfer to cool completely before peeling. Full cool down.
Peel slowly and steadily. Don’t rush. Design should remain on fabric completely.
If any residue remains, gently brush with soft brush.
Allow the garment to cool before wearing or washing. Give the bond time to fully set.
Powderless DTF: The Alternative Approach

Emerging technology worth knowing about. Powderless DTF eliminates the powder-shaking step entirely by using glue adhesive instead of hot-melt powder.
How Powderless DTF Works
Uses special glue adhesive instead of traditional hot-melt powder.
No need to shake or apply powder.
Prints pattern on PET film with adhesive already integrated.
Simpler workflow. Cleaner process.
Still requires heat pressing for transfer.
Reduces dust pollution and operational complexity.
Advantages of Powderless DTF
Eliminates powder application step. Faster workflow, roughly 20% speed increase.
No powder clumping or humidity issues.
Better breathability. Avoids heavy powder layer.
Softer hand feel in many applications.
Cleaner workspace without powder dust.
Reduced maintenance. No powder shaker equipment to clean and maintain.
Less waste from powder overage.
Limitations of Powderless DTF
Requires specialized equipment and adhesive.
Different setup compared to traditional DTF.
May have different durability characteristics.
Less established technology. Fewer suppliers.
Equipment investment required.
Not as widely adopted yet.
May not work for all fabric types.
DTF Powder vs. Other Printing Methods
Brief comparison showing where DTF powder fits in the printing landscape.
DTF vs. DTG (Direct-to-Garment)
DTF uses powder to bond film to fabric. DTG prints directly onto garment.
DTF doesn’t require fabric pre-treatment. DTG needs pre-treatment which adds time, cost, complexity.
DTF more versatile across fabric types.
DTF can be prepared in advance. DTG must be done immediately on the garment.
DTF vs. Sublimation
DTF works on any fabric color and type. Sublimation only on polyester and light colors.
DTF uses adhesive powder. Sublimation uses heat to turn dye to gas.
DTF faster press time. 10-15 seconds versus 45-60 seconds.
DTF more versatile overall. But sublimation can be better for all-over prints on polyester.
DTF vs. Screen Printing
DTF requires no screens or setup. Screen printing requires screen creation for each color.
DTF ideal for small batches and custom one-offs. Screen printing economical at high volumes.
DTF allows full-color, complex designs easily. Screen printing better for simple designs in bulk.
DTF has minimal setup. Screen printing has significant upfront work per design.