DTF printing kind of snuck up on the garment industry. One day everyone was arguing about DTG vs screen printing, and then suddenly this third option showed up and started making a lot of sense for a lot of people.
So how does DTF printing work exactly? That’s what we’re getting into here. The full process, the equipment, the weird powder stuff, all of it.
I’ve spent a good amount of time with DTF technology at this point. Enough to know what matters and what’s just noise. And honestly? It’s one of those printing methods that sounds more complicated than it actually is once you see it in action.
Direct-to-Film printing has carved out a real space in modern garment decoration. Not because it’s perfect for everything. It’s not. But because it fills gaps that other methods couldn’t quite reach. Small orders with full color? DTF handles it. Dark fabrics without pretreatment? DTF does that too.
Let’s break the whole thing down.
What is DTF Printing?
DTF stands for Direct-to-Film. The name tells you most of what you need to know right there.
You print your design onto a special PET film. Not directly onto fabric. Onto film first. Then you transfer that printed design to your garment using heat and pressure. It’s a transfer method at its core, but with some clever chemistry that makes it way more versatile than old-school iron-on transfers.
The basic concept goes like this: your printer lays down ink on this clear film, you apply an adhesive powder while the ink is still wet, cure the whole thing with heat, and then press it onto fabric. The powder melts and bonds the ink to the fabric fibers. That’s the magic part.
What makes DTF interesting is the fabric flexibility. Cotton, polyester, blends, nylon, even some leather applications. The transfer doesn’t care what it’s sticking to the same way other methods do. DTG needs cotton and pretreatment. Sublimation needs polyester. DTF just needs… fabric, basically.
People compare it to screen printing and DTG all the time. Fair enough. But DTF occupies its own lane. No screens to set up. No fabric pretreatment. No color limitations based on fabric type. It’s not replacing those methods entirely, but it’s definitely taking work from both of them.
How Does DTF Printing Work: Step-by-Step Process

Alright, here’s where we get into the actual workflow. Six main steps from design file to finished garment.
Understanding each step matters more than you might think. Most quality issues I’ve seen with DTF come from rushing or skipping details somewhere in this process. Not from bad equipment. From a bad process.
Let’s walk through it.
Step 1: Design Preparation and File Setup
Everything starts with your design file. And yeah, file prep for DTF is pretty similar to other digital printing methods, but there are some specific things to get right.
You want high resolution. 300 DPI minimum. Go higher if you can. These prints can capture a lot of detail, so don’t handicap yourself with a fuzzy source file.
File formats: PNG works great, especially if you have transparency in your design. AI and PSD files work too if your RIP software can handle them. Most can.
Color mode gets a little weird. Your design software probably works in RGB. Your printer uses CMYK plus white. The RIP software handles most of that conversion, but knowing it happens helps when colors don’t come out quite how you expected. Some people design in CMYK from the start to have more control. Depends on your workflow and how picky you are about exact color matching.
One thing people forget: you’re printing a mirror image. The design gets flipped so it reads correctly after transfer. Most RIP software does this automatically, but double check. Nothing worse than pressing a backwards logo.
Software compatibility isn’t usually an issue. Photoshop, Illustrator, CorelDRAW, even Canva exports if that’s your thing. The RIP software is the gatekeeper, and most play nice with standard formats.
Step 2: Film Printing with DTF Printer
This is where the actual printing happens. And understanding how does a DTF printer work at this stage helps you troubleshoot basically everything.
The printer lays down ink onto PET film. Not paper. Not fabric. Film. It’s a clear plastic film with a coating that holds the ink properly.
Here’s the ink configuration that makes DTF different: CMYK plus white. That white ink is the whole game. It prints as an underbase beneath your colors so the design pops on any fabric color. Dark shirts, light shirts, doesn’t matter. The white layer handles it.
Print sequence usually goes: white ink first (for the underbase), then CMYK colors on top. Some printers reverse this depending on settings. The RIP software controls all of that.
Speaking of RIP software, it’s doing a lot of work here. It manages color profiles, handles the white ink generation, controls the print head passes, mirrors the image. You can’t just print from Photoshop directly. The RIP is required.
Print heads are typically piezoelectric in DTF printers. Epson heads are common. They fire tiny ink droplets onto the film with pretty impressive precision. Multiple passes for higher quality, fewer passes for faster output. You control that tradeoff.
The print comes out mirror-imaged and wet. Ink is still tacky. That matters for the next step.
Step 3: Powder Adhesive Application
Here’s where DTF gets weird compared to other printing methods. And honestly? This step is why DTF transfers are so durable.
Right after printing, while the ink is still wet, you apply adhesive powder. It’s a hot-melt polyurethane powder. Fine white stuff, looks kind of like flour.
The powder only sticks to the wet ink. That’s important. It doesn’t stick to the bare film. So the adhesive ends up exactly where your design is and nowhere else.
Application methods vary. Small operations might shake the powder on manually, then shake off the excess. Production setups use automated powder shakers that apply evenly and recirculate the excess powder back into the hopper.
You want full coverage on all the ink but no excess clumping. Too little powder means poor adhesion. Too much can cause texture issues or poor detail.
The excess powder shakes right off the dry film areas. You can collect it and reuse it. Not wasteful.
Why does this step matter so much? This powder is what bonds your design to the fabric. Without it, or with poor coverage, your transfer either won’t stick or won’t hold up to washing. The ink itself isn’t grabbing the fabric. The melted adhesive is.
Temperature-sensitive is an understatement. Keep this powder dry and away from heat until you’re ready to cure. It starts melting around 100°C.
Step 4: Curing/Melting the Adhesive
Now you’ve got wet ink covered in dry powder. It needs to cure.
Curing melts that adhesive powder and bonds it to the ink layer. Transforms the whole thing into a solid, transferable film.
You run the printed film through a heat tunnel or curing oven. Some smaller setups use heat guns or even the heat press itself, but dedicated curing equipment works better and more consistently.
Temperature range is typically 160-170°C. Time varies, usually just a minute or two depending on your equipment. The powder needs to fully melt and become glossy looking.
Visual cues help here. Before curing, the powder looks matte and dusty. After proper curing, it’s shiny and smooth. If it still looks dusty, it’s not done. If it’s turning brown or smelling burnt, you’ve gone too far.
Under-curing means weak adhesion later. The transfer might feel fine but wash out after a few cycles. Over-curing can make the transfer brittle or discolor the design. Neither is good.
After curing, the transfer can sit. Days, weeks, months. It’s stable. This is actually a big advantage of DTF: you can batch print transfers and press them onto garments later. Print today, press next week. Stock up on popular designs.
Step 5: Transfer to Fabric
Time to actually put the design on a shirt. This is the heat press stage.
You position your cured transfer face-down on the fabric. Design touching the fabric, film backing facing up.
Heat press settings matter and vary a bit by equipment and fabric:
- Temperature: 160-170°C is typical, some go slightly lower for sensitive fabrics
- Pressure: medium to firm, you want good contact without crushing the fabric
- Time: 10-15 seconds usually does it
The heat melts that adhesive layer again, and the pressure bonds it to the fabric fibers. The adhesive penetrates into the fabric surface. That’s your bond.
Hot peel versus cold peel. Some transfers peel best immediately while hot. Others peel better after cooling down. It depends on the specific film and powder you’re using. Hot peel is faster in production. Cold peel can give smoother finishes on some designs. Check your material specs.
Fabric positioning matters too. Make sure the garment is flat. No wrinkles under the design. Use a heat press pillow inside shirts to avoid the back seam causing issues. Basic stuff, but it matters.
Pretty much any fabric works here. Cotton, polyester, blends, even some technical fabrics. Dark, light, whatever. The white underbase handles the color coverage.
Step 6: Peeling and Finishing
Almost done. Design is pressed. Now you remove the film.
If you’re hot peeling, do it right away in one smooth motion. Peel at an angle, not straight up. Keep it consistent.
If cold peeling, wait until the transfer cools to room temperature. Same peeling technique.
Look at the finished result. Check the edges for any lifting. Check fine details for clarity. The colors should be vibrant, the white should be opaque, the texture should be smooth.
Some people do a second press after peeling. Five seconds or so with a teflon sheet over the design. This smooths the texture and ensures full adhesion. Not always required, but it helps on some fabrics.
Quality check your work. Run a finger over the design. It should feel integrated with the fabric, not like a sticker sitting on top. Any rough edges mean something went wrong earlier in the process.
And that’s it. That’s the full DTF workflow. Design, print, powder, cure, press, peel. Six steps.
How Does a DTF Printer Work: Machine Components
Okay, so that’s the process. But what about the machine itself? How does a DTF printer work from a hardware perspective?
Let’s get into the anatomy of these things. If you’re buying equipment or troubleshooting problems, understanding what’s inside matters.
Print Heads and Ink System
The print heads are the heart of the machine. Most DTF printers use Epson piezoelectric heads. The i3200, DX5, DX7, XP600 are common models you’ll see referenced.
Piezoelectric technology uses electrical charges to flex a tiny element that pushes ink droplets out. Very precise. Very controllable.
The key difference from regular inkjet printers: DTF printers have channels for white ink. Standard inkjets are CMYK. DTF is CMYK+W, sometimes even CMYK+WWWW with multiple white channels because white ink usage is heavy and white is harder to print smoothly.
White ink is thicker and has heavier pigment particles. It likes to settle. So DTF printers usually have ink circulation systems that keep the white moving. Otherwise it clogs. Clogged white ink channels are probably the number one maintenance headache with DTF.
Nozzle configuration varies by print head model. More nozzles generally means faster printing. The heads move back and forth across the film, laying down ink in passes.
Maintenance is non-negotiable. Regular head cleanings, nozzle checks, keeping ink levels proper. Neglect maintenance and you’ll be replacing expensive print heads sooner than you should be.
Film Feed System
The film needs to move through the printer smoothly. That’s the feed system’s job.
Most DTF printers are roll-to-roll. A roll of blank film feeds in, passes under the print heads, and the printed film comes out the other side. Some smaller printers use sheet feeding, but rolls are more practical for production.
Tensioning matters. The film needs to be taut but not stretched. Too loose and you get registration problems. Too tight and the film can warp or jam.
Width compatibility depends on your printer. Common sizes are 13 inch, 16 inch, 24 inch, up to wider formats for production. Match your film width to your printer specifications.
Anti-static features help keep dust off the film. Static electricity attracts particles, and any contamination on the film can cause print defects. Some printers have ionizers or grounding features built in.
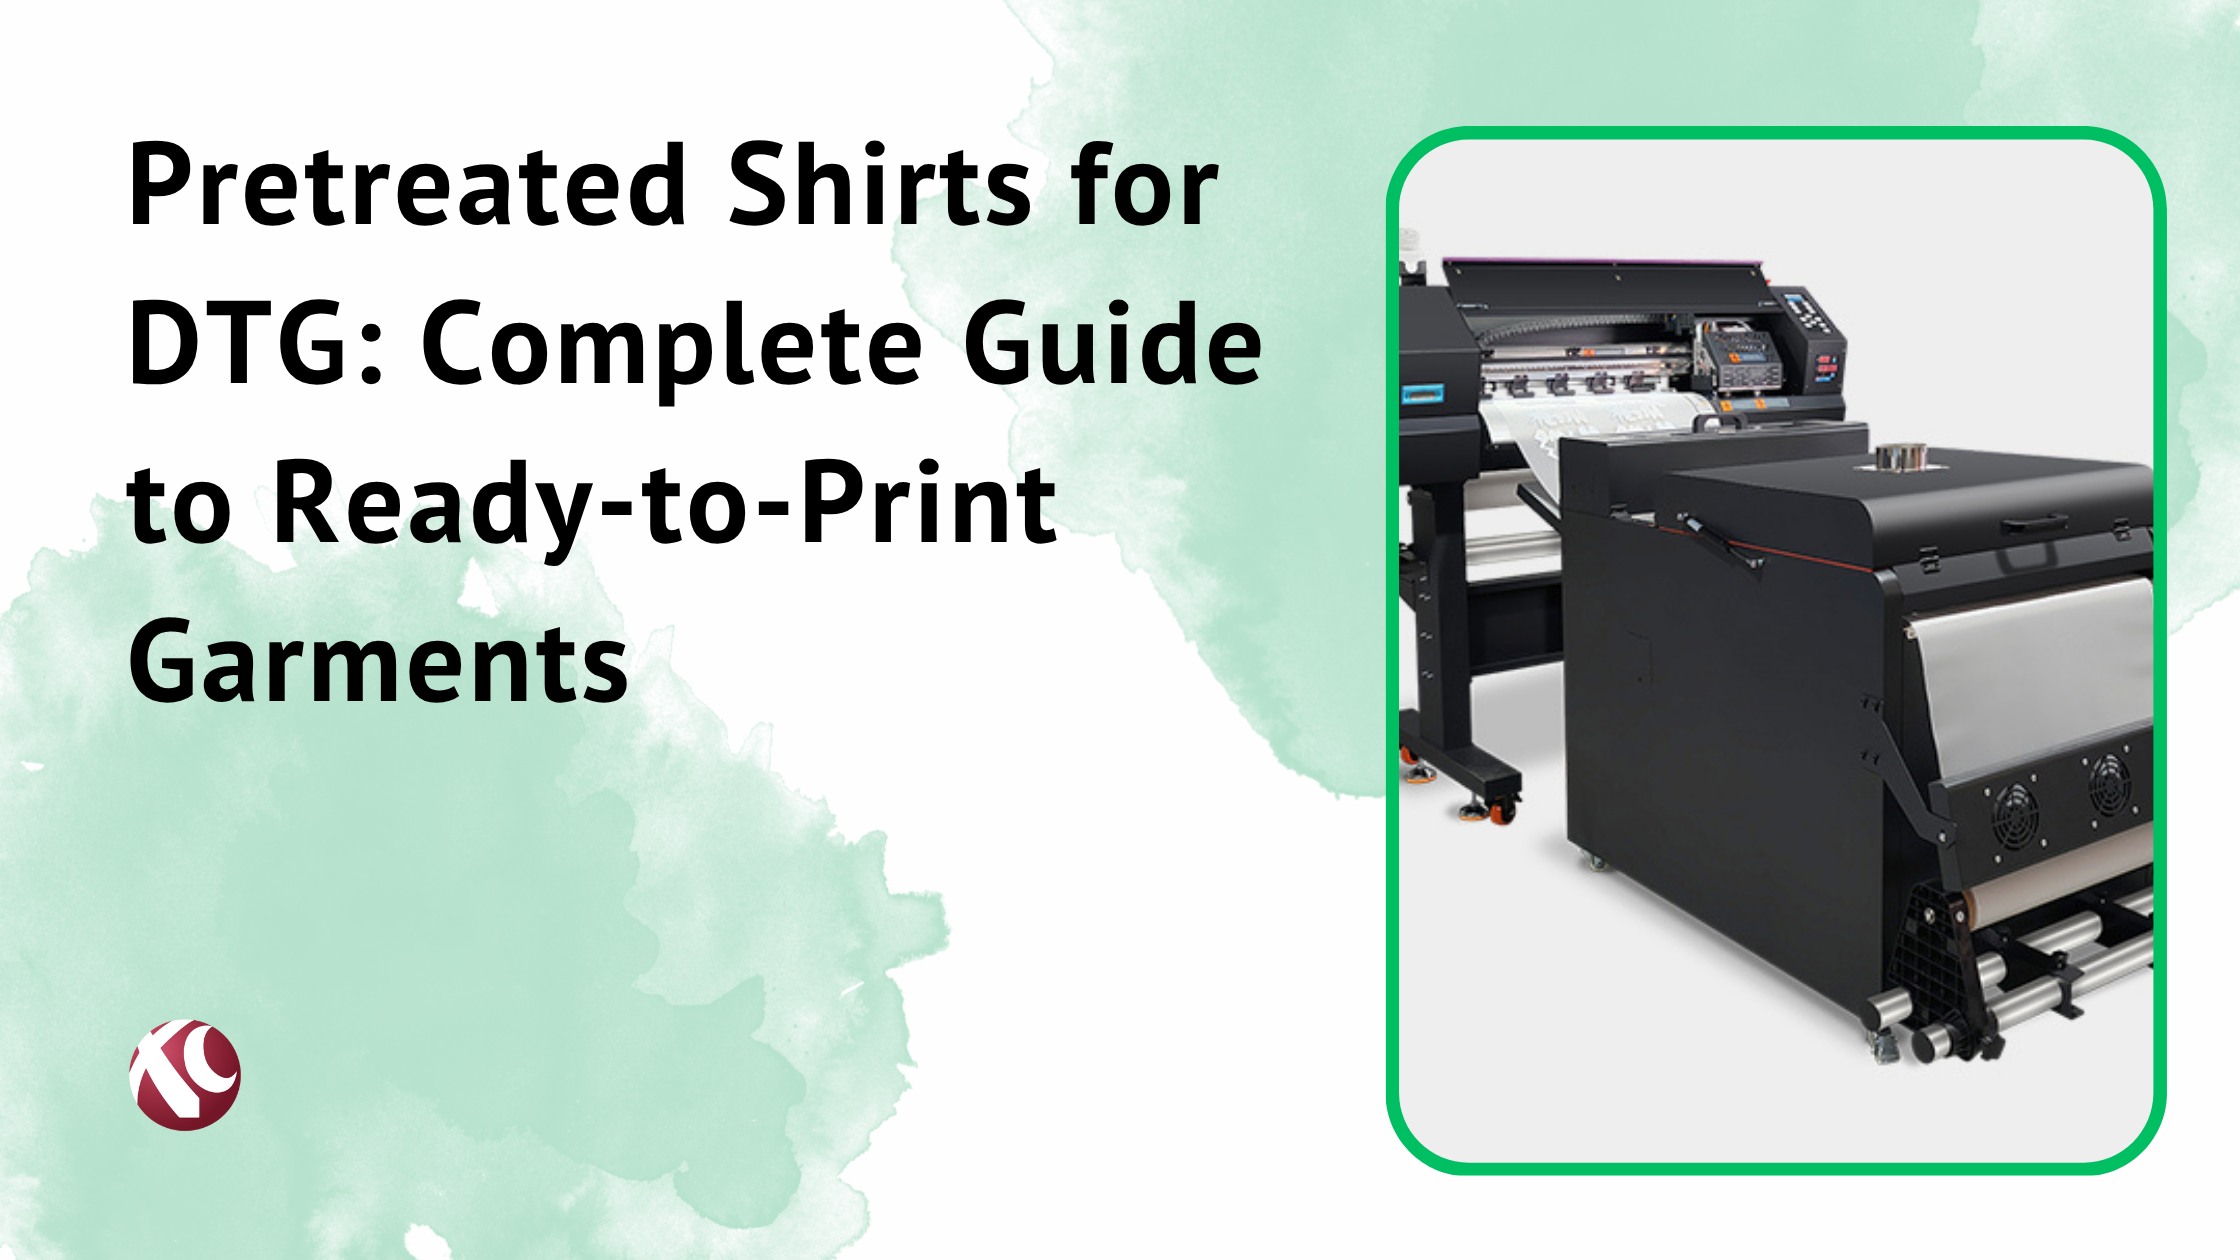
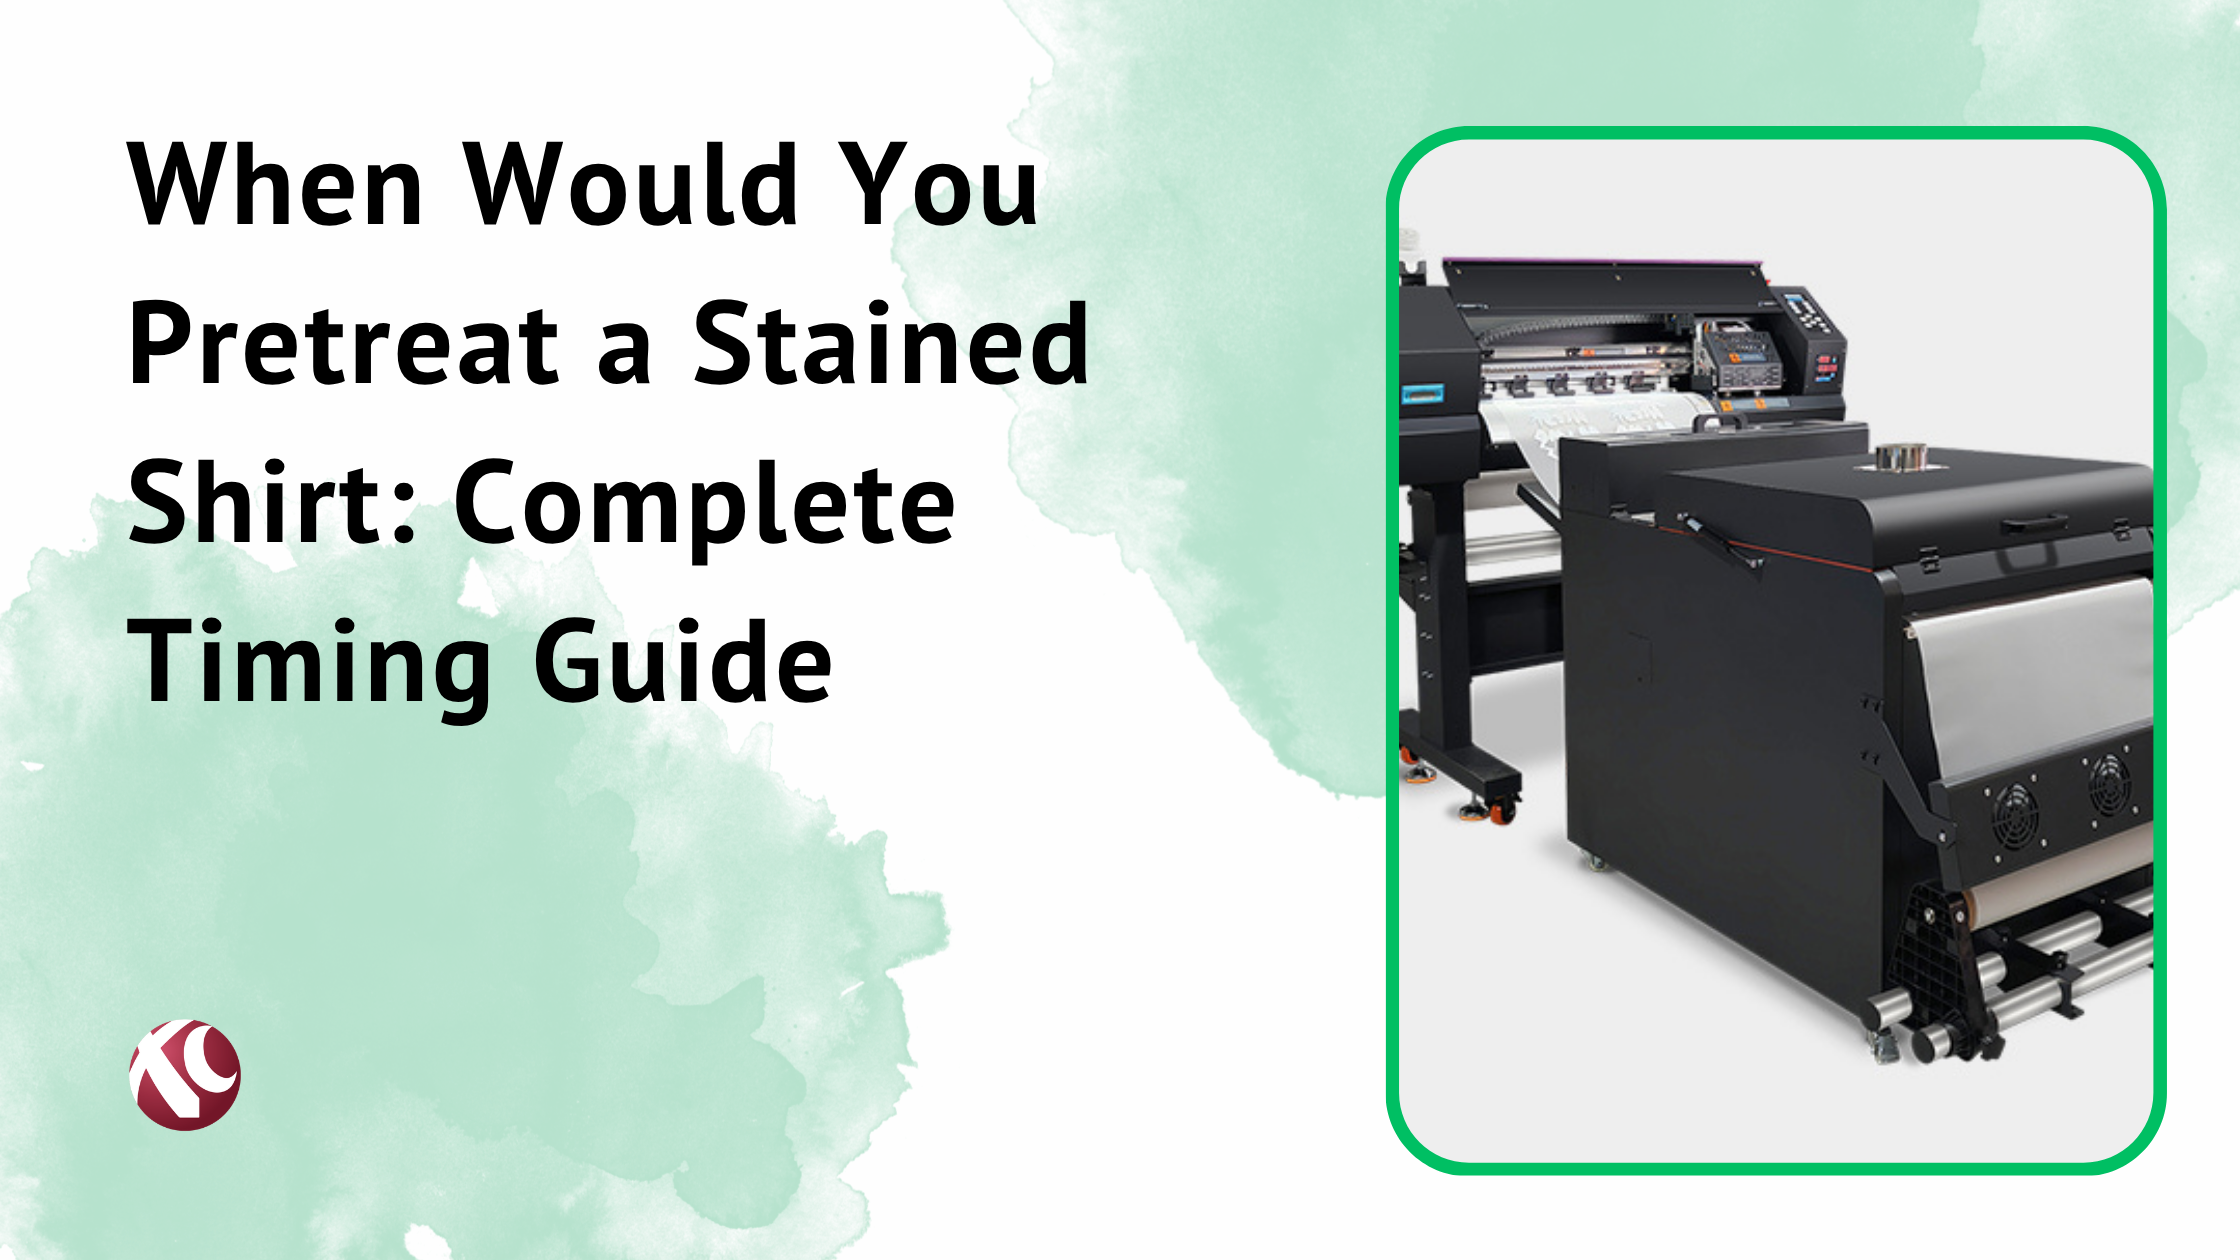
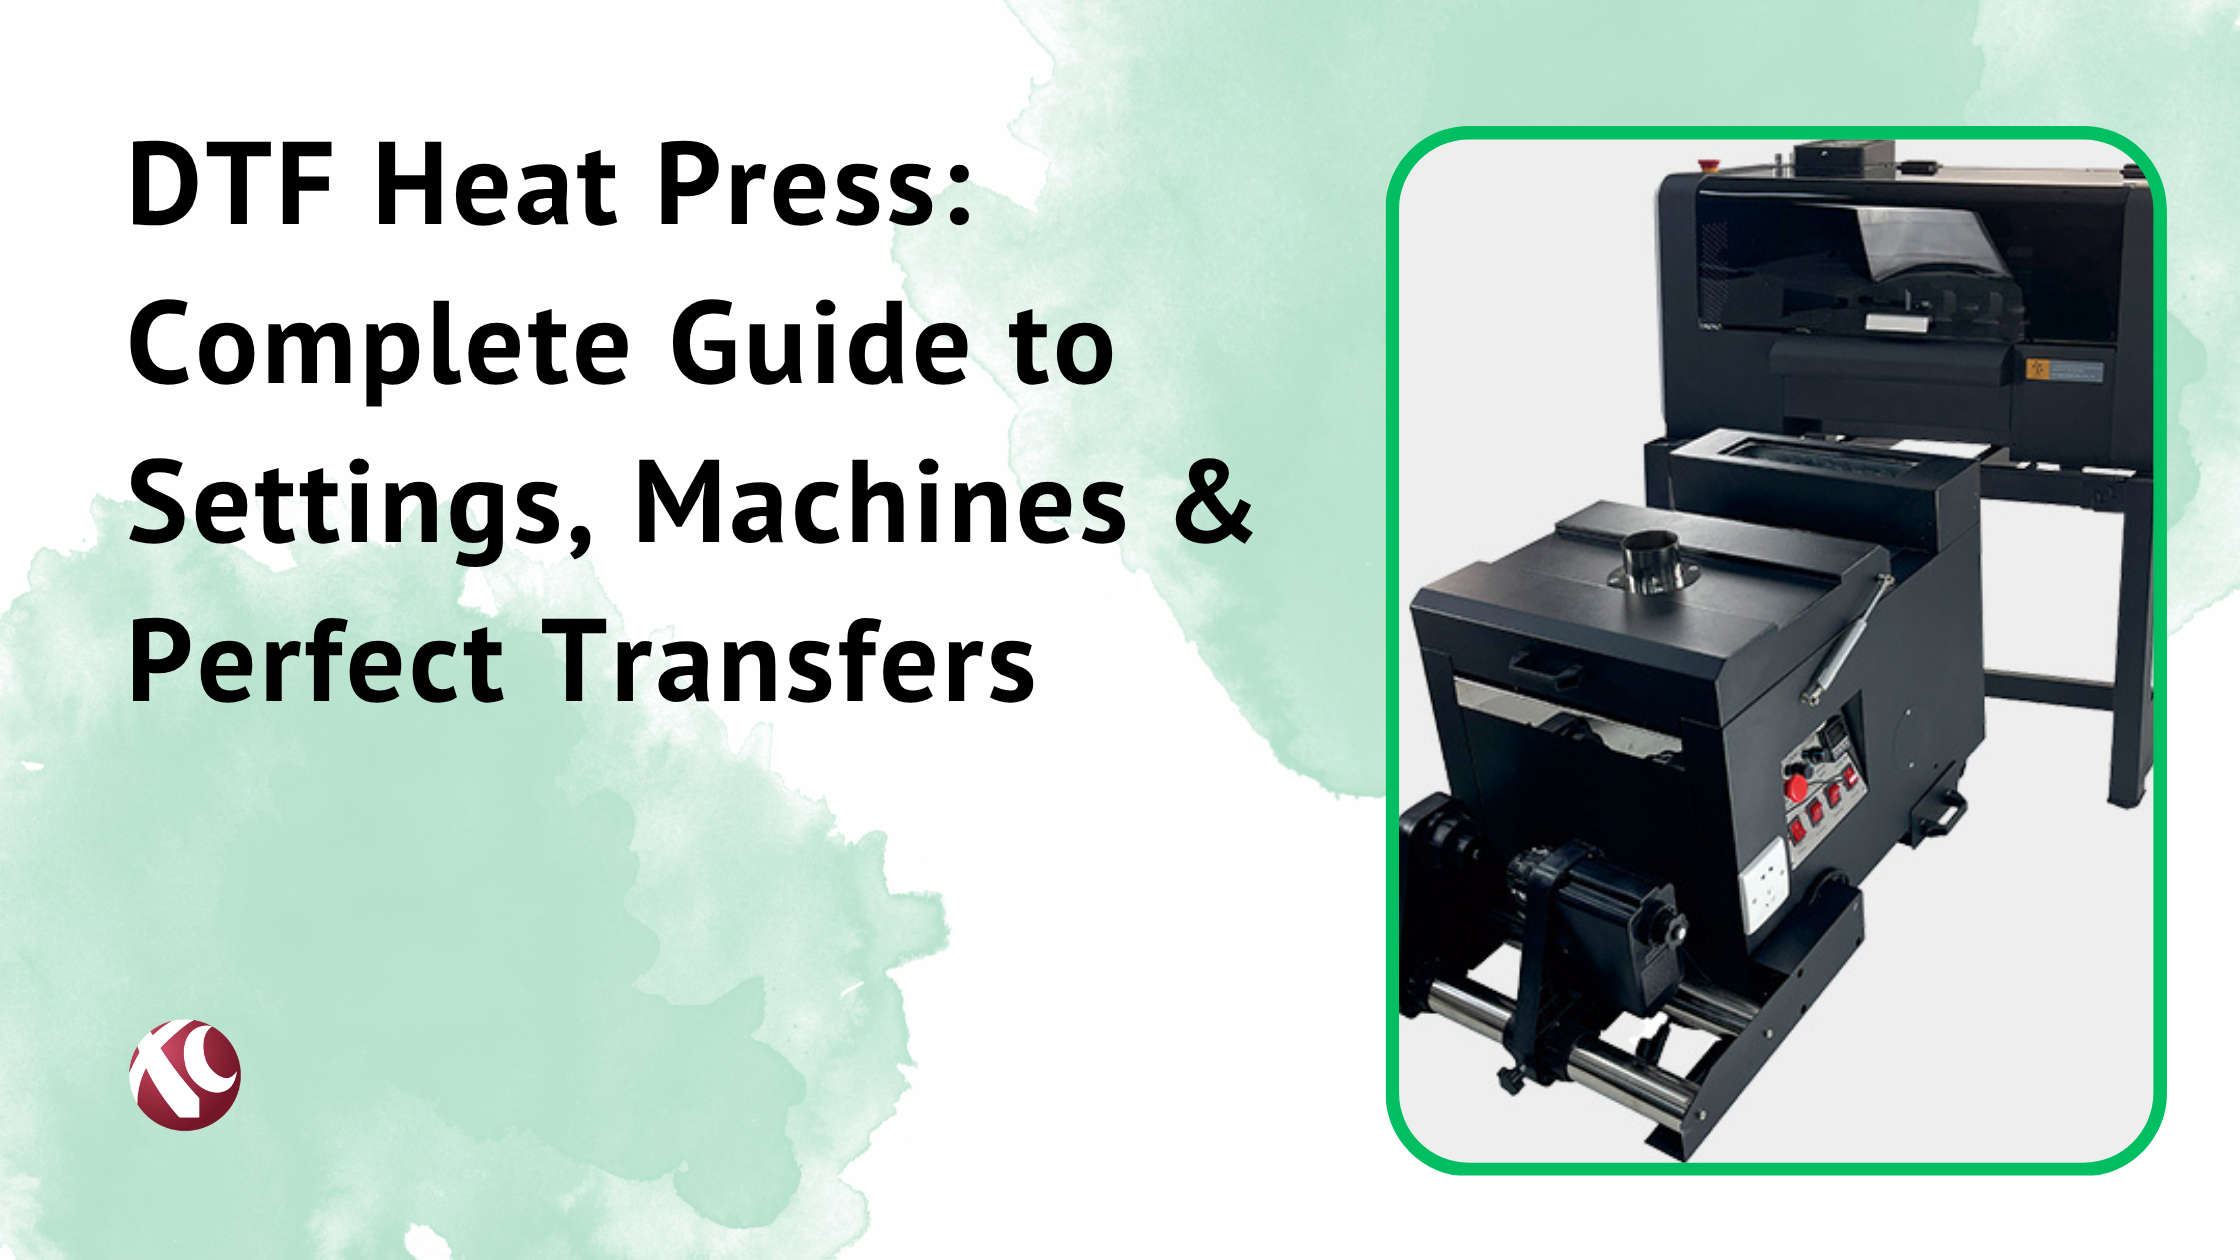
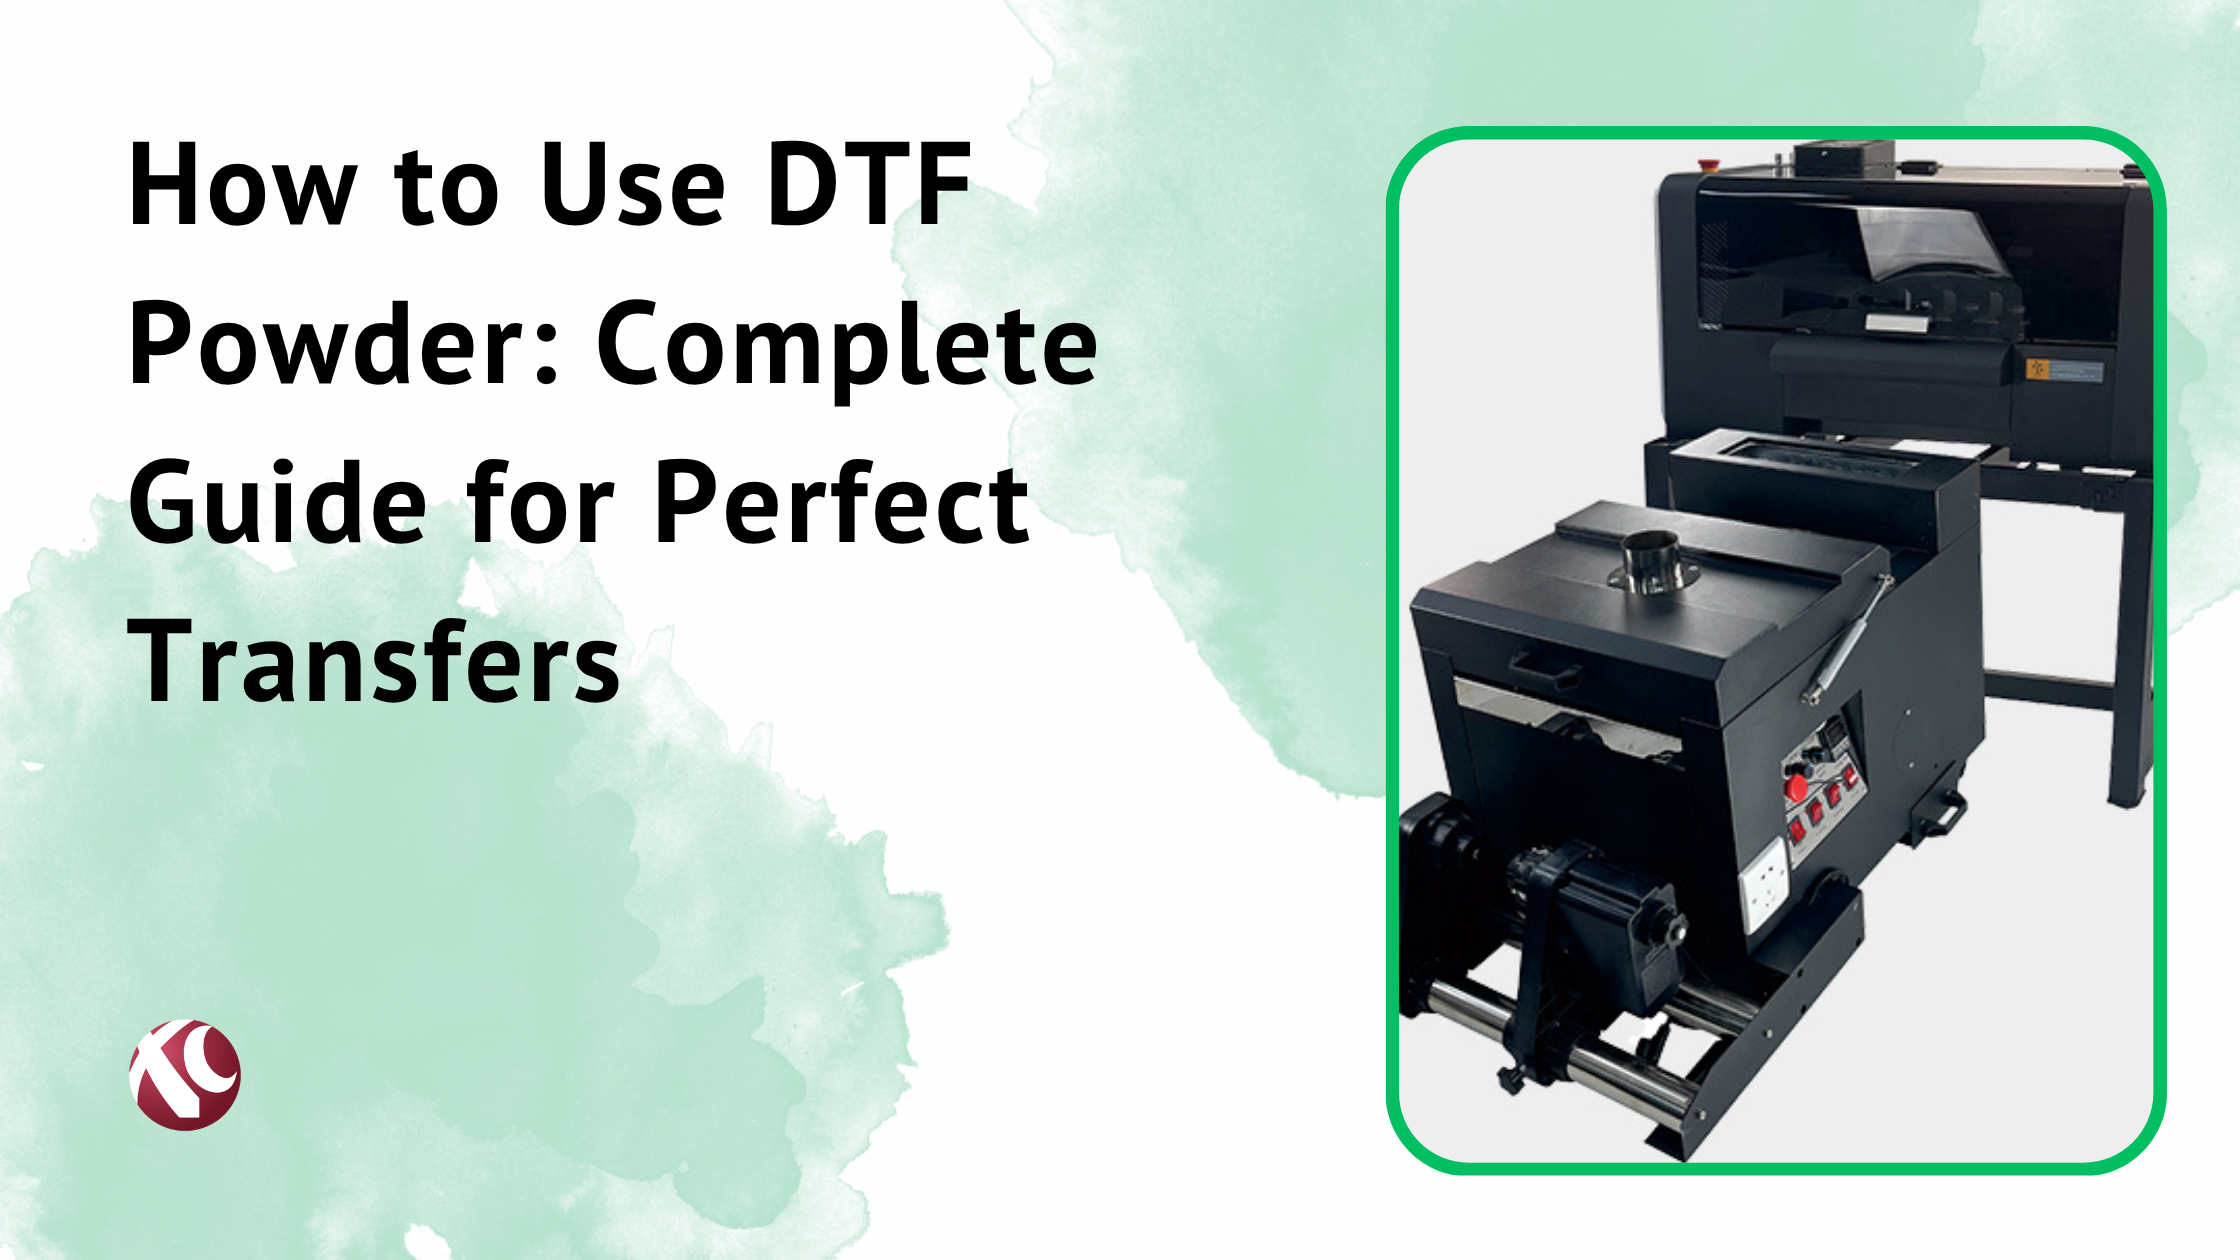
Powder Shaker Unit
In production DTF setups, the powder shaker is integrated right after the printing stage.
The printed film travels from the print heads into the powder application area. The shaker distributes powder evenly over the wet ink. Excess powder falls off and gets collected.
The hopper holds your powder supply. Powder feeds down onto the film as it passes through. Distribution needs to be even, so there’s usually some vibration or agitation mechanism.
Recirculation systems collect the excess powder that falls off and route it back to the hopper. Waste reduction and convenience.
Speed synchronization matters. The powder application needs to match the printing speed. If film moves through too fast, coverage suffers. These systems are designed to work together, but calibration is important.
Heating/Curing Unit
After powder application comes curing. Integrated machines have a heat tunnel or curing section built in.
The film passes through a heated chamber. Infrared heating elements or hot air systems bring the temperature up to cure the adhesive.
Temperature control is crucial. Too variable and you get inconsistent cures across the film. Good machines have accurate temperature monitoring and adjustment.
Conveyor speed works with temperature. Faster speed means less time in the heat. You balance these to get proper curing without slowing production too much.
Energy efficiency varies. These units run hot and use power. More efficient designs keep operating costs down for high volume operations.
Some setups use separate standalone curing ovens instead of integrated systems. Works fine, just means more handling of the printed film.
RIP Software and Control System
RIP stands for Raster Image Processor. It’s the software brains of the operation.
The RIP takes your design files and translates them into instructions the printer understands. It handles color management, decides where white ink goes, controls print passes, mirrors images, all of it.
Common RIP software for DTF includes Cadlink, Maintop, Photoprint, and others. Each has different features and learning curves. Some printer manufacturers include proprietary RIP software.
Color management is a big function. The RIP uses ICC profiles to translate colors from your design file to the specific inks in your printer. Good profiles mean accurate colors. Default profiles are okay, custom profiles are better.
Print queue management lets you batch jobs, arrange layouts to maximize film usage, control print order. Production efficiency stuff.
Diagnostics and maintenance alerts help you stay ahead of problems. Low ink warnings, nozzle check reminders, head cleaning prompts. Pay attention to these.
The RIP has a learning curve. Expect to spend some time understanding your specific software. It’s not plug and play.
How Does UV DTF Printing Work?
There’s a variant called UV DTF that works differently enough to deserve its own section.
Regular DTF uses powder adhesive and requires a heat press for application. UV DTF skips both of those.
Here’s how does UV DTF printing work: instead of regular ink cured with heat, UV DTF uses special UV-curable inks. The printer has UV LED lights that instantly cure the ink as it’s printed. No wet ink, no powder needed.
The adhesive layer is pre-applied to the film. So you’re printing onto already-adhesive film stock.
And here’s the wild part: no heat press required for application. UV DTF transfers are basically stickers. Pressure-sensitive adhesive. Peel and stick.
This makes UV DTF great for hard surfaces. Phone cases, acrylic pieces, glass, laptop covers, promotional products. Things you can’t put through a heat press.
The tradeoff? It doesn’t work as well for fabric. The adhesive bond isn’t the same as heat-activated bonding with fibers. For garments, regular DTF wins. For hard goods, UV DTF is a better choice.
Different use cases, different technology. Both called DTF, but don’t confuse them.
DTF Printing vs Other Printing Methods
DTF doesn’t exist in a vacuum. You’ve got options. Understanding how it compares helps you pick the right method for specific jobs.
DTF vs DTG (Direct-to-Garment) Printing
DTG prints directly onto fabric. Ink goes into the fibers, not onto a transfer layer.
The big difference: DTG requires fabric pretreatment for dark garments. You spray the shirt with a treatment solution before printing, then heat set it. More steps. More time. More room for error.
DTF doesn’t need pretreatment. Ever. That’s a significant advantage in production speed and simplicity.
Fabric compatibility differs too. DTG works best on cotton. Polyester causes problems. Blends are hit or miss. DTF works on basically everything.
Feel-wise, DTG prints can be softer because the ink absorbs into the fabric rather than sitting on top. DTF transfers have a slight hand feel, though modern DTF is pretty soft compared to older transfer methods.
Durability is comparable when both are done right. 50+ washes for either.
Cost per print is interesting. DTG printers are generally more expensive upfront. DTF equipment varies more in price range. Ink and consumable costs depend on your volume and specific equipment.
DTG excels at on-demand single prints where you need the softest feel on cotton. DTF excels at versatility and batch production of transfers.
DTF vs Screen Printing
Screen printing is the traditional king of garment decoration. Separate screens for each color, push ink through mesh, repeat per color.
For huge runs of the same design, screen printing wins on cost per unit. Once screens are made, cranking out prints is fast and cheap.
But screen printing has setup costs and time. Making screens, mixing inks, registration. For small orders, it’s impractical. You need minimum quantities to justify the setup.
DTF has essentially no setup time. Same cost whether you print 1 or 100. That makes it perfect for small batches that screen printing can’t economically handle.
Color limitations are another factor. Screen printing gets expensive fast with more colors. More colors mean more screens. DTF doesn’t care how many colors are in your design.
Detail capability favors DTF for complex, photographic, or gradient designs. Screen printing can do detail but it takes skill and more screens.
Production speed for bulk? Screen printing wins once it’s set up. But DTF has caught up a lot for medium runs.
Different tools for different jobs. Most print shops have both.
DTF vs Sublimation Printing
Sublimation is beautiful on polyester. Vibrant, permanent, no hand feel at all. The ink becomes part of the fiber.
But sublimation only works on polyester and poly-coated substrates. 100% cotton? Nope. Dark fabrics? Nope. The ink needs polyester to bond with.
DTF doesn’t have those restrictions. Any fabric color, any fabric type. That’s a massive advantage for shops that work with varied products.
Color vibrancy is excellent for both methods when used on their optimal substrates. Sublimation might edge out DTF on pure color pop on white polyester, but it’s close.
The transfer process differs. Sublimation ink turns to gas under heat and pressure, penetrating the fibers. DTF adhesive melts and bonds to the surface. Different chemistry, similar equipment (heat press).
For polyester performance wear, sublimation is often the better choice. For everything else, DTF makes more sense.
DTF vs Heat Transfer Vinyl (HTV)
HTV is cut vinyl that you weed and press. Great for simple designs, names, numbers, basic graphics.
Complex designs? HTV becomes a nightmare. You’re cutting and weeding every detail by hand. Photographic images are basically impossible.
DTF prints full-color complex designs as easily as simple ones. No cutting. No weeding. Massive time savings on detailed work.
Texture is different. HTV has that vinyl feel. Some people like it, some don’t. DTF has a softer transfer feel.
Durability is similar. Both hold up well to washing when applied correctly.
Cost per design favors HTV for very simple things like single-color names. But DTF wins as soon as any complexity enters the picture.
Skill level: HTV requires precision cutting and weeding skills. DTF requires understanding the print process. Different learning curves.
A lot of HTV shops are adding DTF to handle the complex designs HTV struggles with. They complement each other.
What Materials Can You Print on with DTF?

Versatility is probably DTF’s biggest selling point. The range of fabrics you can print on is genuinely impressive.
Natural Fabrics
Cotton is the bread and butter. 100% cotton takes DTF transfers beautifully. Good adhesion, vibrant colors, durable results.
Cotton blends work great too. Cotton-poly blends are everywhere in the garment world, and DTF handles them no problem.
Linen works. Canvas works. Even some delicate natural fabrics can take DTF transfers with adjusted press settings.
The key with natural fabrics is the fiber structure gives the adhesive something to grip. Surface texture helps bonding.
Synthetic Fabrics
Polyester works well with DTF, which is notable because DTG struggles with polyester. The adhesive bonds to the synthetic fibers without the dye migration issues other methods have.
Nylon takes transfers nicely. Common for bags, jackets, athletic wear.
Spandex and lycra can work with lower temperature settings. The stretch is the concern, not the material itself. Stretch fabrics need flexible transfers, which DTF handles reasonably well.
Performance fabrics—moisture wicking, compression, technical materials—are generally compatible. Test first on specific fabrics, but DTF works on most synthetics.
Blended Fabrics
This is actually where DTF shines brightest.
Cotton-polyester blends (like the 50/50 shirts everywhere) are perfect DTF candidates. Both fiber types take the transfer well.
Tri-blends with cotton, polyester, and rayon work too. Popular for soft fashion-forward shirts.
Blends don’t require any special treatment or adjustment. Same process as any other fabric.
The optimal blend ratio? Doesn’t really matter for DTF. Unlike DTG which prefers high cotton content, DTF doesn’t discriminate.
Special Materials
Leather and faux leather can work with reduced temperature and time. Test pieces are essential. Real leather is sensitive to heat.
Denim takes DTF transfers well. Popular for custom jean jackets and patches.
Terry cloth and towels are trickier due to the texture but doable with higher pressure.
Some people push into non-traditional applications: canvas bags, shoes, hats. Anything you can get flat under a heat press with appropriate heat tolerance.
How Long Does DTF Printing Last?
With proper application and normal care, DTF prints last 50+ washes. Some users report 100+ washes with good durability remaining.
Factors affecting longevity: proper curing of the transfer, correct heat press settings, fabric type, washing habits.
Care instructions help a lot. Turn garments inside out. Wash cold. Avoid high heat drying. Skip the bleach.
Compared to screen printing, DTF holds up comparably. Better than cheap iron-on transfers. Similar to quality HTV.
Can DTF Print White Designs?
Yes. This is actually a key advantage.
The white ink layer handles white in your design and provides the underbase for colors on dark fabrics.
White on dark fabric? DTF does it easily. That white ink is specifically formulated for opacity and coverage.
No other digital method handles white on dark as easily. DTG needs heavy pretreatment and special white ink management. Sublimation can’t do dark fabrics at all.
What’s the Difference Between DTF and DTG?
Quick summary:
DTG prints directly into fabric fibers. Requires pretreatment for dark shirts. Works best on cotton. Softest hand feel.
DTF prints onto film, transfers with heat. No pretreatment ever. Works on any fabric. Slight transfer feel but still soft.
Both produce quality full-color prints. Both are viable for on-demand production.
DTF is generally more versatile. DTG is generally softer on cotton.
Do I Need Special Software for DTF Printing?
Yes. RIP software is required.
You can’t print directly from Photoshop or Illustrator. The RIP handles white ink generation, color management, and print control.
Common options: Cadlink Digital Factory, Maintop, Photoprint, Acrorip. Prices range from a couple hundred to over a thousand dollars depending on features.
Learning curve exists. Plan to spend time understanding your RIP software. It’s not optional knowledge.
Some printer packages include RIP software. Factor that into equipment decisions.
Can Beginners Start with DTF Printing?
Yes, with realistic expectations.
DTF is more beginner-friendly than screen printing. Less complex than DTG in some ways. More straightforward than learning to cut and weed complex HTV designs.
But it’s still a real skill. Expect a learning curve with the software, the printer maintenance, the heat press settings. Your first prints probably won’t be perfect.
Resources exist. YouTube tutorials, Facebook groups, manufacturer documentation. You’re not alone in learning.
My recommendation: start with a smaller, more affordable system. Learn the process before investing in production equipment. Practice on test garments before customer orders.
It’s achievable for motivated beginners. Just don’t expect plug-and-play simplicity.
What is the Cost Per Print with DTF?
This varies a lot based on equipment, design size, and volume. But rough ballpark numbers help.
Ink and powder costs per average chest-size print typically run $0.50-$2.00 range. Film adds some cost. Electricity, maintenance, your time.
Compared to screen printing per-unit costs at high volume, DTF is more expensive. Compared to screen printing at low volume (where setup kills you), DTF is cheaper.
Compared to DTG, costs are similar or slightly lower for DTF in most cases.
The equipment investment varies wildly. Entry-level converted printers under $1,000 to production machines over $20,000. You get what you pay for in reliability and output.
Consumable quality matters too. Cheap ink causes problems and isn’t really saving money when you’re wasting prints and clogging heads.