DTF transfer has honestly changed the game for custom apparel. I’ve watched this technology go from “what is that?” to “why isn’t everyone using this?” in just a few years.
So what is DTF? It stands for Direct-to-Film. And the name pretty much tells you what’s happening. You print your design directly onto a special film. Then you transfer it to fabric using heat.
Simple concept. But the results? That’s where things get interesting.
DTF printing emerged around 2019-2020. It came out of China initially. And the custom apparel industry noticed fast. Because it solved problems that had frustrated printers for years. Problems like minimum orders. Problems like fabric limitations. Problems like setup costs eating into profits.
Now? DTF is everywhere. Small businesses use it. Print shops use it. People running operations out of their garage use it. It works on cotton. Polyester. Blends. Dark shirts. Light shirts. Doesn’t matter.
This guide covers everything. What DTF actually is. How the process works. The equipment you need. How it compares to other methods. The costs. The problems you might run into. And whether it makes sense for you.
Let’s get into it.
What is DTF Transfer?
DTF transfer is a printing method where designs get printed onto special PET film first. Then that printed film gets transferred to fabric using heat and pressure.
The basic process goes like this: print, powder, cure, transfer.
That’s it. Four steps.
Your design gets printed onto the film using specialized DTF inks. While the ink is still wet, adhesive powder gets applied. The film goes through a curing oven to dry and melt the powder slightly. Then you take that cured film, put it on your garment, and press it with a heat press.
What comes out? A full-color design bonded to the fabric.
The versatility is what makes DTF different. You’re not limited to certain fabric types like with sublimation. You don’t need to pre-treat shirts like with DTG. Cotton works. Polyester works. Blends work. Even some leather and nylon applications work.
The colors come out vibrant. Really vibrant. The designs are durable—we’re talking 50+ washes when done right. And here’s the big one: no weeding required. If you’ve ever spent hours weeding vinyl designs, you understand why this matters.
How Does DTF Transfer Work?
The step-by-step process is pretty straightforward once you’ve done it a few times.
Step 1: Your design gets printed onto DTF film using a specialized DTF printer. These printers use CMYK inks plus white ink. The white ink is crucial—it creates the base layer so colors pop on dark fabrics.
Step 2: While the ink is still wet, hot melt adhesive powder gets applied to the printed surface. The powder only sticks where there’s ink. Excess powder gets shaken off.
Step 3: The film goes through a curing oven. This dries the ink and slightly melts the adhesive powder so it bonds properly. Temperature matters here. Too hot, powder melts too much. Too cold, adhesion suffers later.
Step 4: The cured transfer gets placed on your garment. Heat press comes down. Heat and pressure activate the adhesive and bond the design to the fabric. You peel the film off. Done.
The whole process from print to finished shirt can take under 5 minutes for a single piece. That’s fast compared to screen printing setup times.
Key Components of DTF Printing
You need specific equipment for this. Not optional.
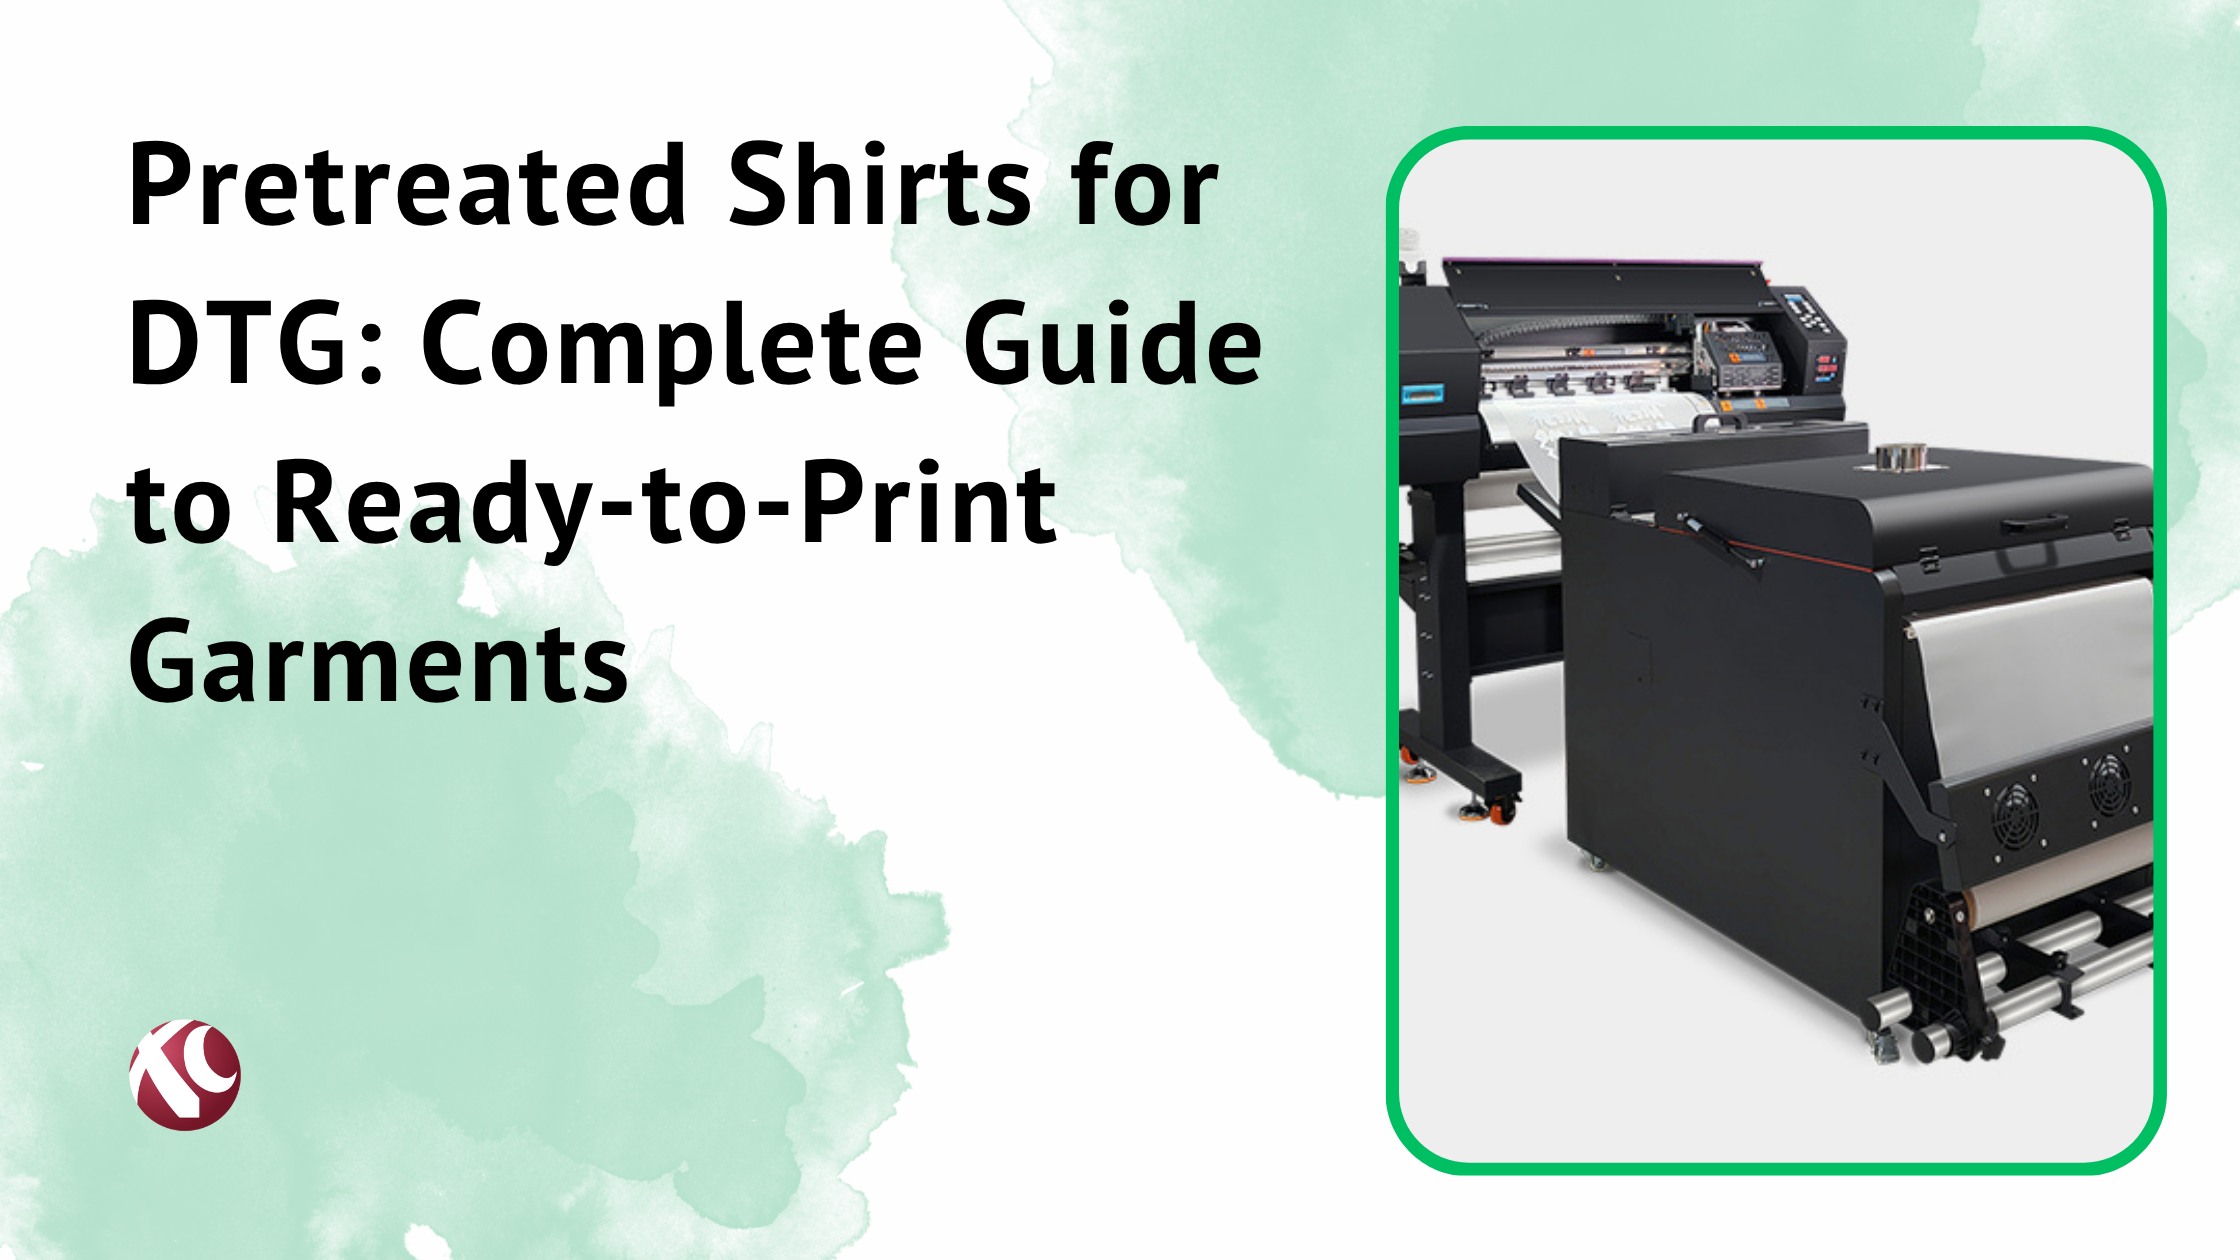
DTF Printer: Not a regular inkjet. This is a specialized printer designed to handle DTF inks and film. More on this later.
DTF Inks: CMYK plus white. The white ink is non-negotiable. It creates the underbase that makes everything else work on dark fabrics.
PET Transfer Films: Special polyester films with a coating that accepts the ink properly. Quality varies. Cheap film causes problems.
Hot Melt Adhesive Powder: This is what makes the transfer stick to fabric. Different particle sizes exist for different applications. Finer powder for detailed work. Coarser for general use.
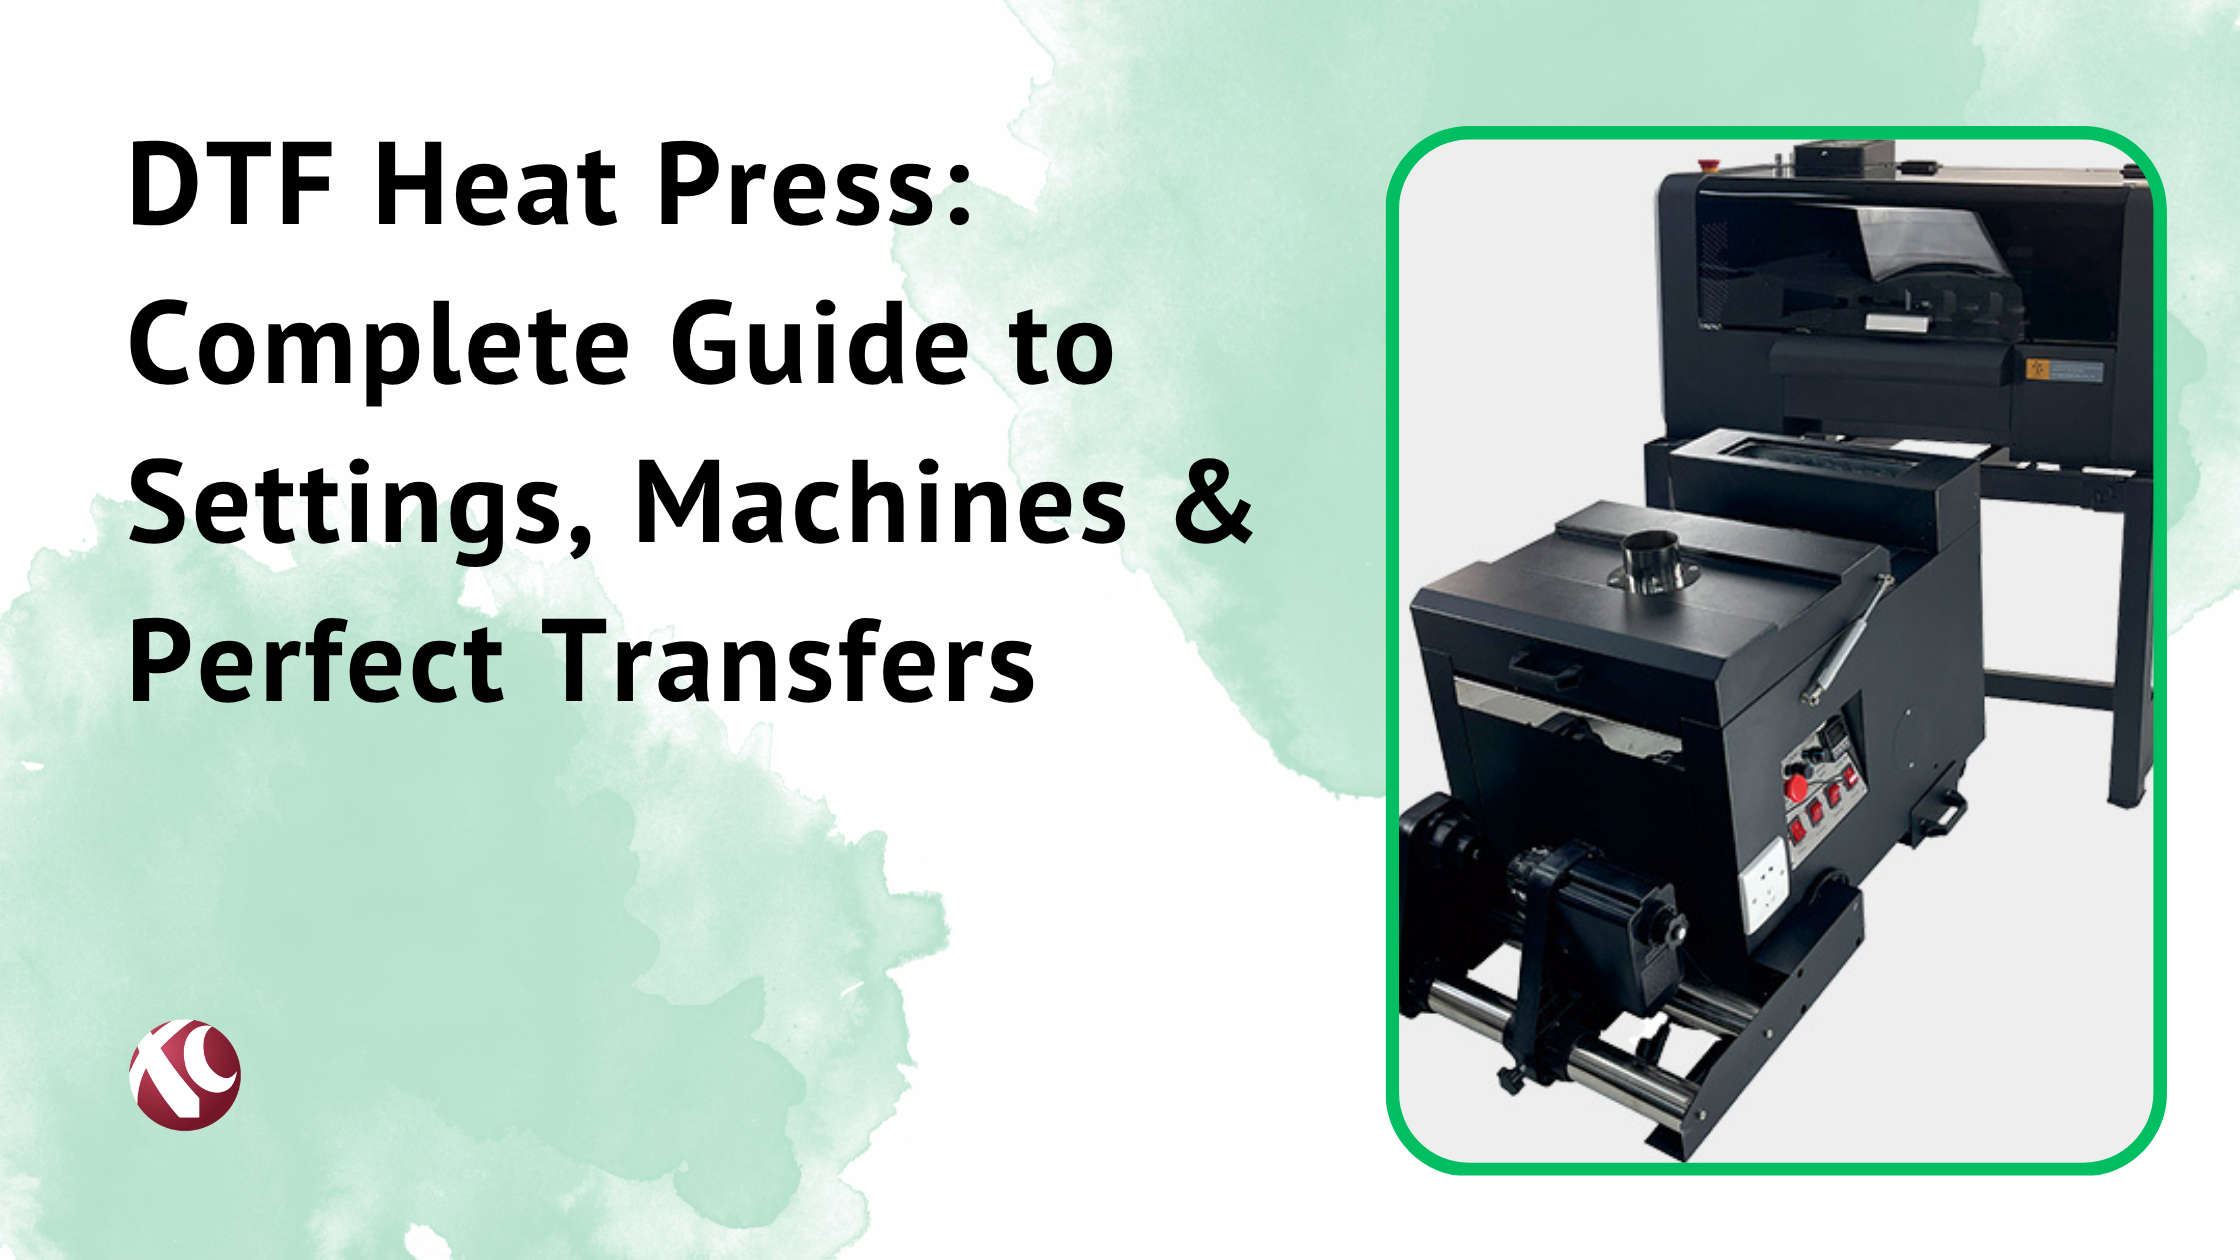
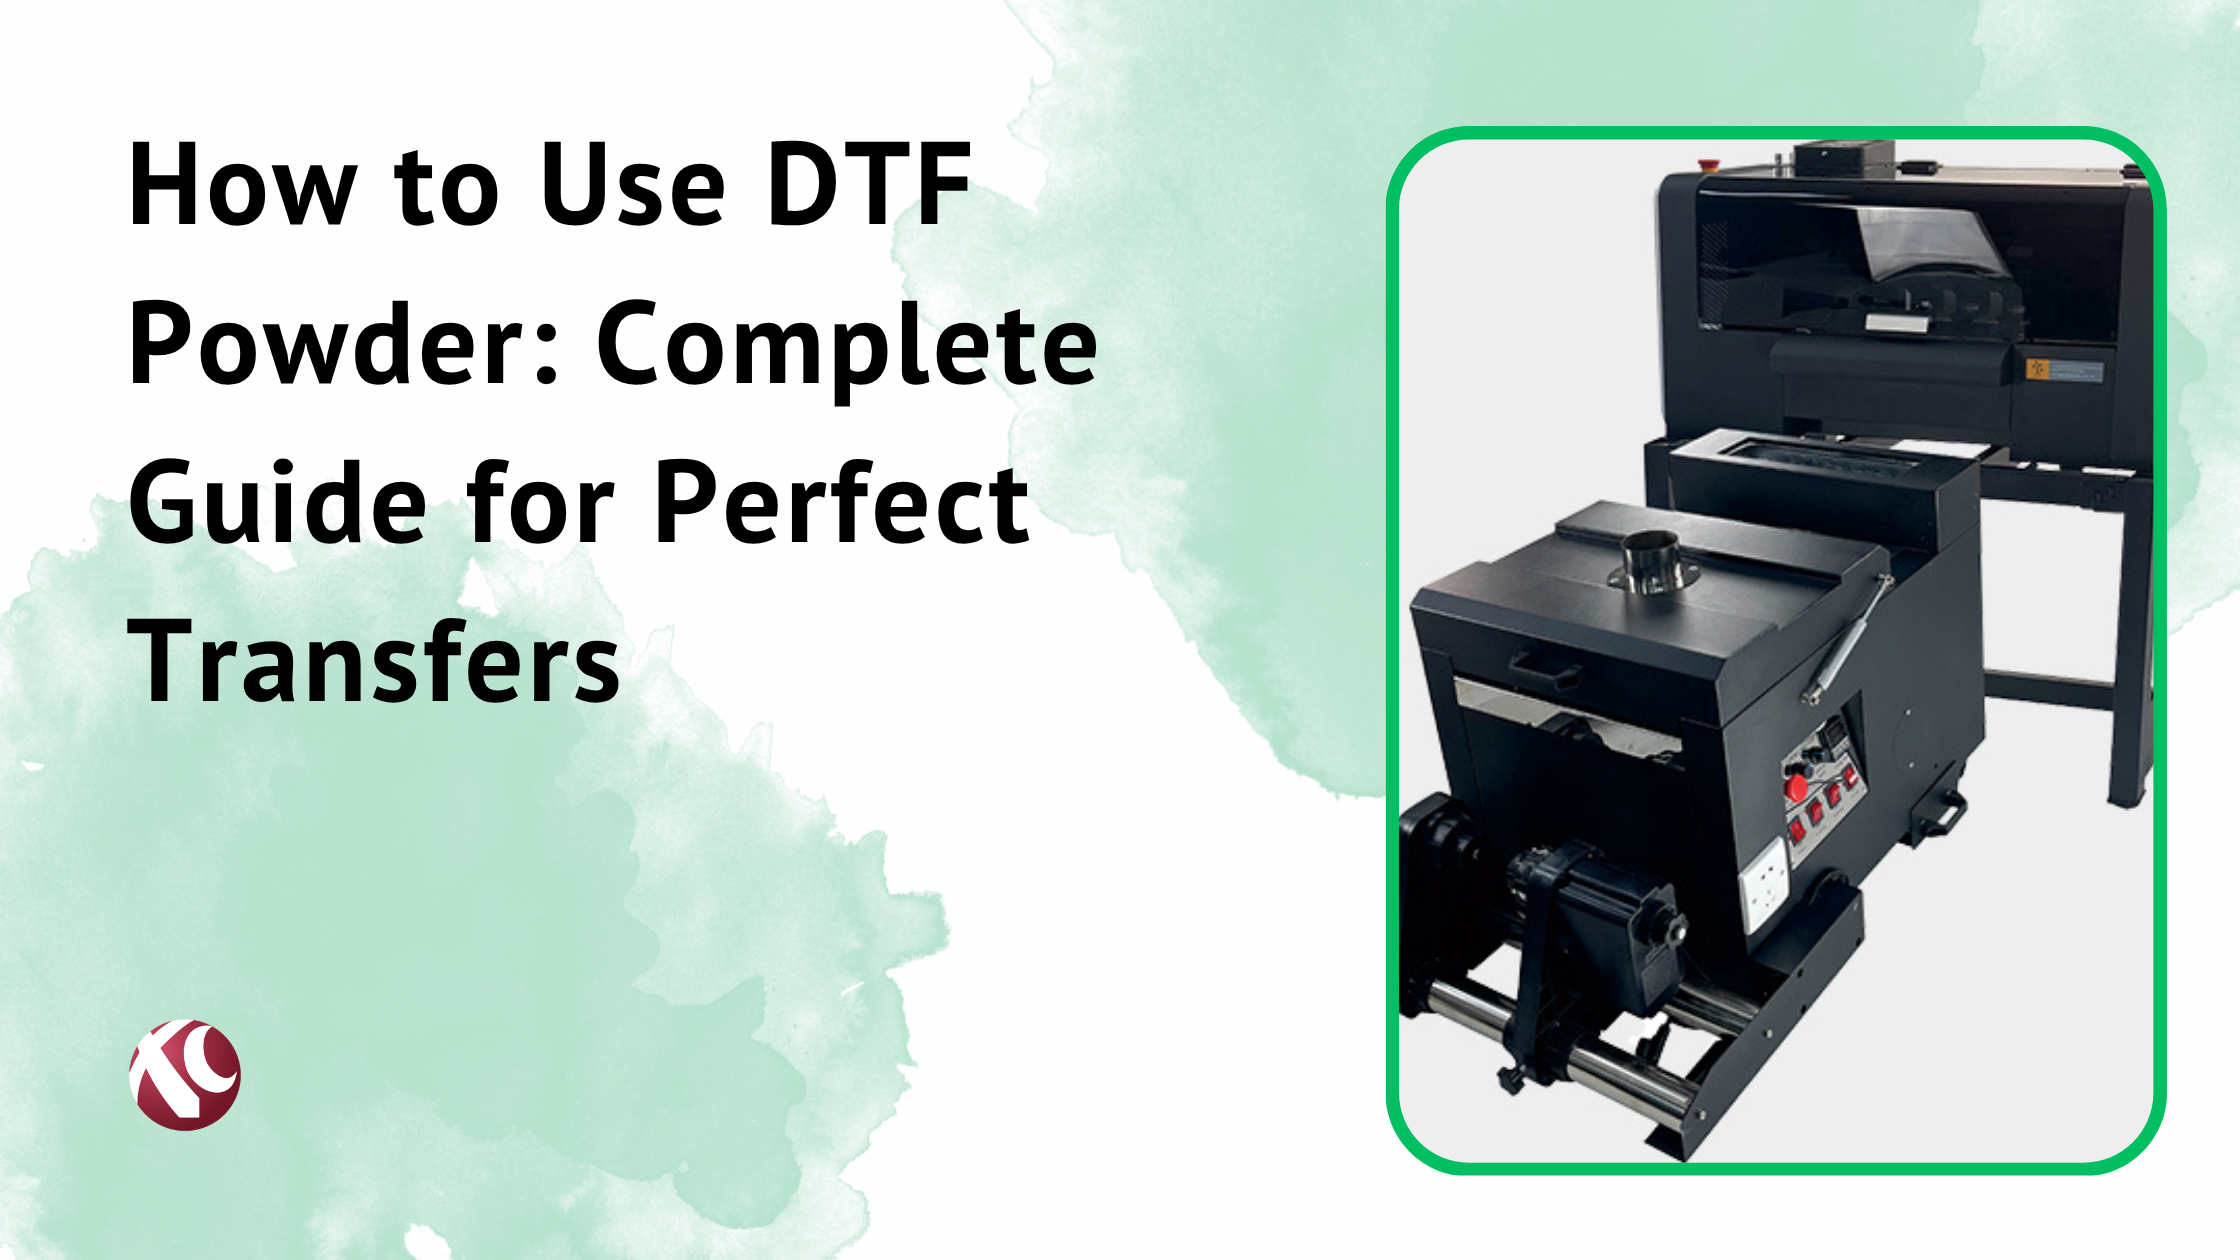
Powder Shaker: Applies powder evenly across the printed film. Can be manual or automatic. Automatic saves time and improves consistency.
Curing Oven: Dries the ink and sets the powder. Some people use heat guns starting out. Ovens give better results.
Heat Press: Applies the transfer to the garment. You probably already have one if you’re in the apparel business.
Quality matters across all these components. Cheap powder causes adhesion problems. Bad film causes transfer issues. Low-quality ink means faded colors. You get what you pay for here.
What is a DTF Transfer Printer?
A DTF transfer printer is a specialized inkjet printer that’s either modified or purpose-built for DTF printing.
It’s not your regular office inkjet. And it’s not exactly the same as a standard large format printer either.
The key difference? Dual ink configuration. DTF printers run CMYK inks plus white ink simultaneously. That white ink channel is essential. It prints first, creating an underbase layer. Then CMYK prints on top. This layering is what allows DTF to work on any color fabric.
The print heads are different too. They need to handle white ink, which is thicker and tends to settle. White ink circulation systems keep the ink from clogging the heads. This is one of the biggest maintenance considerations with DTF printers.
Film handling capabilities also set these printers apart. DTF film feeds differently than paper. The printer needs to accommodate the film thickness and coating without jamming or misfeeding.
Printer sizes vary. Desktop models exist for small operations. Industrial models pump out massive volumes. Your choice depends on production needs and budget.
Types of DTF Printers
Entry-Level / Home-Based DTF Printers
These are your desktop units. A3 and A4 print widths typically. They handle small batch production well. Good for startups. Good for testing the market. Good for people who aren’t ready to invest heavily yet. Limited production speed though.
Commercial DTF Printers
Mid-range machines. A2 size or around 40-60cm print width. Faster than entry-level. Better for businesses doing consistent daily volume. More reliable print heads usually. Better white ink systems.
Industrial / High-Volume DTF Printers
These are serious machines. 60cm width and larger. Built for production environments running multiple shifts. Faster speeds. More robust construction. Higher price tags, obviously.
Print width matters for efficiency. Wider printers can gang multiple designs together. More designs per print cycle means faster overall production.
Xcinkjet.net offers various DTF printer solutions across these categories if you’re looking at equipment options.
Features to Look for in a DTF Printer
Not all DTF printers perform equally. Here’s what actually matters.
Print Resolution: 1440 dpi or higher. Lower resolution means visible dots in your prints. Not acceptable for quality work.
Printing Speed: Measured in square meters per hour usually. Match this to your production needs. Faster isn’t always better if you’re doing small batches.
White Ink Circulation System: This is huge. White ink settles. Without circulation, you get clogged heads. Clogged heads mean downtime. Downtime means lost money. Some systems circulate constantly. Some stir periodically. Both work, but constant circulation tends to prevent more problems.
Automatic Powder Shaker Integration: Some printers integrate with powder shakers so everything flows smoothly. Less manual handling. More consistency.
Print Head Technology: Epson heads are common. The I3200 heads are popular right now. Reliable heads last longer. Replacement heads are expensive.
Software Compatibility: RIP software matters. Good software gives you better color management and white ink control. Some printers come with proprietary software. Others work with third-party options.
Ease of Maintenance: You will be doing maintenance. Regularly. How easy is head cleaning? How accessible are the ink lines? Maintenance-friendly design saves headaches later.
What is a DTF Heat Transfer for T-Shirts?
When people say “DTF heat transfer,” they’re usually talking about using DTF specifically for t-shirt printing. Which is the most common application by far.
Here’s why DTF works so well for t-shirts.
It works on every fabric type. Cotton. Polyester. 50/50 blends. Tri-blends. Doesn’t matter. Same process. Same results. That flexibility is huge for shops that work with various garment types.
No pre-treatment needed. DTG printers require you to spray pre-treatment on the shirt before printing on dark fabrics. It adds a step. Adds time. Adds cost. DTF? Just press and go.
The hand feel is surprisingly soft. Not as soft as DTG, honestly. But much softer than heat transfer vinyl. Most customers can’t tell the difference on a well-done DTF print.
Wash durability is excellent. Properly applied DTF transfers handle 50+ washes easily. I’ve seen them go over 100 washes before any noticeable degradation.
Color vibrancy stands out too. DTF reproduces colors that make other methods jealous. Gradients work. Photographic images work. Small details work. The white underbase ensures colors stay true even on the darkest shirts.
Benefits of DTF Transfers for T-Shirts
Let me break down the advantages specifically for t-shirt production.
No Minimum Order Quantities: Print one shirt. Print 500 shirts. Cost per unit doesn’t change dramatically the way it does with screen printing. This opens up custom single-piece orders that would be unprofitable otherwise.
Full-Color Printing Including Gradients: Unlimited colors. No extra screens. No extra cost per color. Gradients print beautifully. Photographs reproduce accurately.
Excellent Stretch and Flexibility: The adhesive in DTF transfers moves with the fabric. Stretching doesn’t crack the design immediately like some vinyl transfers do.
Works on Dark and Light Fabrics Equally: Same process either way. The white underbase handles dark fabrics automatically. No different setup required.
Cost-Effective for Small Batches: This is DTF’s sweet spot. Orders under 50 pieces. Orders under 20 pieces. Even single pieces. No setup fees like screen printing.
Faster Turnaround Times: No screens to burn. No artwork separations. Design, print, press. That’s it. Same-day turnaround is totally achievable.
Photographic Quality Possible: Continuous tone images work. Portraits work. Complex artwork works. Limitations that exist with other methods just don’t apply the same way.
DTF vs. Other T-Shirt Printing Methods
This comparison helps clarify where DTF fits.
| Factor | DTF Transfer | Screen Printing | DTG | Heat Transfer Vinyl | Sublimation |
| Setup Cost | Low | High | Medium | Very Low | Low |
| Cost Per Unit (1-50 pcs) | Low | Very High | Medium | Medium | Low |
| Cost Per Unit (500+ pcs) | Medium | Very Low | High | High | Low |
| Color Limitations | None | Per-screen cost | None | Limited | None |
| Dark Fabric | Yes | Yes | Needs pre-treatment | Yes | No |
| Fabric Types | Most | Most | Cotton mainly | Most | Polyester only |
| Hand Feel | Soft | Very Soft | Softest | Stiff | None |
| Durability | Excellent | Excellent | Good | Good | Excellent |
| Detail Capability | High | Medium | High | Low | High |
| Learning Curve | Medium | High | Medium | Low | Low |
DTF vs. Screen Printing: Screen printing wins on large orders. 200+ pieces? Screen printing costs less per unit. But screen setup costs make small orders expensive. DTF wins under 50 pieces. No contest.
DTF vs. DTG: DTG (Direct-to-Garment) prints directly on the shirt. No transfer step. Softer feel. But DTG requires pre-treatment on dark fabrics. And DTG works best on 100% cotton. DTF doesn’t have these limitations.
DTF vs. Heat Transfer Vinyl: Vinyl requires weeding. Every. Single. Design. DTF doesn’t. Vinyl struggles with complex designs. DTF handles them easily. Vinyl works for simple stuff though. Names. Numbers. Basic graphics.
DTF vs. Sublimation: Sublimation only works on polyester or poly-coated items. Light colors only. DTF works on anything. If you’re limited to polyester and whites, sublimation gives great results. Otherwise, DTF offers more versatility.
What is a UV DTF Transfer?
UV DTF is related but different. It’s important to understand this because people confuse them.
UV DTF uses UV-curable inks printed on film with an adhesive layer. The application is peel-and-stick. No heat press needed.
But here’s the key difference: UV DTF is for hard surfaces, not fabric.
Regular DTF transfers go on textiles. Shirts. Bags. Hats. Soft goods.
UV DTF transfers go on rigid substrates. Phone cases. Mugs. Acrylic. Glass. Metal. Basically anything with a smooth, hard surface.
The process is different too. UV DTF prints include an adhesive layer that activates with pressure alone. You literally peel the backing and stick the transfer. Then peel off the top film. The design stays behind.
This opens up product categories that regular DTF can’t touch. But they’re really separate technologies sharing a similar name.
UV DTF vs. Regular DTF: Key Differences
Let me make this really clear.
Application Surfaces:
- Regular DTF = Soft goods (fabric, textiles)
- UV DTF = Hard goods (glass, metal, acrylic, plastic)
Transfer Method:
- Regular DTF = Heat press required
- UV DTF = Pressure-applied, no heat needed
Ink Type:
- Regular DTF = Pigment-based DTF inks
- UV DTF = UV-curable inks
Durability Factors:
- Regular DTF = Excellent wash durability
- UV DTF = Scratch resistance varies by surface; typically not dishwasher-safe
Equipment:
- Regular DTF = DTF printer, powder shaker, curing oven, heat press
- UV DTF = UV DTF printer (completely different machine)
They’re different technologies. If someone offers you “UV DTF” for t-shirts, they’re confused. If someone offers regular DTF for phone cases, also confused.
Applications of UV DTF Transfers
UV DTF has found its place in the promotional products world.
Phone Cases: Custom cases with full-color graphics. Popular with online sellers.
Tumblers and Drinkware: This is huge right now. Custom tumblers everywhere.
Signage and Acrylic Displays: Small format signage. Point-of-sale displays.
Glass and Mirrors: Decorative applications. Awards. Gifts.
Metal Surfaces: Awards. Plaques. Some industrial applications.
Promotional Products: Pens. USB drives. Basically anything with a smooth surface.
Home Décor Items: Picture frames. Decorative tiles. Coasters.
The market for UV DTF keeps growing because personalization is trending. People want custom everything. UV DTF delivers that for hard goods at reasonable costs.
What is a DTF Transfer Sticker?
DTF transfer stickers are pre-made DTF transfers that are ready to apply. Think of them as heat transfer decals.
You don’t need a DTF printer to use them. You just need a heat press.
Someone else does the printing, powder application, and curing. You receive the finished transfer. You press it onto your garment. Done.
These come in different formats.
Gang Sheets: Multiple designs arranged on a single sheet. You cut apart what you need and press individually. Cost-effective way to buy.
Individual Transfers: Single design per transfer. Ready to position and press.
Custom Cut Designs: Pre-cut to the design shape. No trimming needed on your end.
For small businesses and hobbyists, DTF transfer stickers make sense. The equipment investment to actually print DTF transfers is real. Transfer stickers let you skip that investment while still offering DTF-quality products to your customers.
The trade-off? You’re paying someone else’s markup. And you lose control over production timing.
How to Use DTF Transfer Stickers
Applying DTF transfer stickers is straightforward. But details matter for good results.
Step 1: Preheat the garment. Put your shirt on the heat press and close it for a few seconds. This removes moisture and wrinkles. Moisture causes adhesion problems.
Step 2: Position the transfer. Place it where you want it on the garment. Design side up (the clear film faces you).
Step 3: Apply heat and pressure. Close your heat press. Temperature should be around 300-320°F (150-160°C). Time is typically 10-15 seconds. Pressure should be medium to firm. Every press is different, so you may need to adjust.
Step 4: Peel the film. This depends on the transfer type. Hot peel means you remove the film immediately while it’s still hot. Cold peel means you wait until it cools completely. The supplier should tell you which type you have. Peeling wrong causes problems.
Step 5: Final press (optional but recommended). After peeling, cover the design with parchment paper and press again for a few seconds. This smooths everything out and improves durability.
Common mistakes: Temperature too low causes poor adhesion. Temperature too high can damage the transfer. Not enough pressure means the adhesive doesn’t bond properly. Peeling wrong causes parts of the design to lift.
Where to Buy DTF Transfer Stickers
Options exist depending on your needs.
Custom Orders from DTF Printing Companies: You submit your designs. They print them. Xcinkjet.net offers DTF printing services along with equipment. Turnaround times vary. Quality varies by supplier. Get samples first.
Pre-Made Designs from Suppliers: Some suppliers sell ready-made designs. Trendy graphics. Popular phrases. Licensed designs (be careful with licensing though). Good if you don’t have design capability.
Gang Sheets: Most cost-effective option usually. You fill a sheet with multiple designs. Pay by the sheet. Works well if you have variety of designs to print.
When selecting a supplier, consider:
- Print quality (request samples)
- Turnaround time
- Minimum order requirements
- Pricing structure
- Customer support
- Return policy on defective transfers
Cheap isn’t always best. Poor quality transfers reflect poorly on your business. I’ve seen people chase the lowest price and end up with transfers that crack after three washes. Your customers blame you, not your supplier.
Design Preparation for DTF Transfers
Getting the design file right prevents problems later.
File Formats: PNG with transparency works best. The transparent background means white ink only prints where needed. TIFF works too. Avoid JPG if you have transparency needs—JPG doesn’t support transparent backgrounds.
Resolution: 300 DPI minimum. Higher is fine. Lower and you’ll see pixelation in your prints. Especially noticeable on detailed work.
Color Mode: RGB typically. Your RIP software handles conversion. Some RIP software prefers CMYK. Know what your setup needs.
White Ink Underbase: This is handled automatically by good RIP software. The software generates a white layer based on your design. You can usually adjust white ink density for different effects.
Sizing: Size your design to final print size at 300 DPI. Don’t rely on scaling in the RIP software. Scale before export.
Design Elements That Work Best:
- High contrast images
- Bold colors
- Clean edges
- Designs with some open areas (solid blocks of ink can feel stiffer)
Elements That Can Be Challenging:
- Very fine lines (less than 1pt)
- Tiny text
- Gradients that fade to nothing (the edge where ink meets no-ink can be tricky)
DTF Transfer Application Best Practices
The application step is where a lot of problems happen. Usually because people rush or don’t dial in their settings.
Heat Press Settings: Temperature: 300-320°F (150-160°C) Time: 10-15 seconds Pressure: Medium to firm
These are starting points. Every heat press reads temperature differently. Your 305°F might be someone else’s 315°F. Test and adjust.
Pressure Adjustments: Thicker fabrics need more pressure. Thin fabrics need less. Hoodie fleece versus lightweight tee? Different pressure settings.
Pre-Pressing Garments: Do this. Every time. 3-5 seconds removes moisture and wrinkles. Moisture causes adhesion problems. I can’t stress this enough.
Quality Testing: Wash test your products. Not every single one, but regularly. Heat press settings drift. Ink batches vary slightly. Testing catches problems before customers do.
Advantages of DTF Transfer Technology

No Fabric Pre-Treatment Required: Unlike DTG, you don’t spray anything on the shirt first. Saves time. Saves money on pre-treatment chemicals. Eliminates that step entirely.
Superior Color Vibrancy: The white underbase makes colors pop. Even on black shirts, colors look exactly like your design file. CMYK isn’t limiting like screen printing color matching.
Excellent Wash Durability: 50+ washes easily with proper application. I’ve personally tested transfers past 75 washes with only minor cracking starting. That’s better than most vinyl.
Works on Multiple Fabric Types: Cotton, polyester, blends, nylon, some leathers. The adhesive bonds to most textile fibers. Sublimation can’t touch dark colors. Vinyl can. DTF can do it better.
Soft Hand Feel: Not the softest (DTG wins there). But much better than vinyl. Most people don’t notice the transfer is there.
No Weeding or Masking: The design prints complete. No pulling away negative space. No cutting around details. Complex designs don’t add labor time.
Faster Production Than Screen Printing for Small Runs: No screens to burn. No registration to set. Design to finished shirt in minutes.
Lower Startup Costs Than DTG: A comparable DTG setup costs more. And DTG has ongoing pre-treatment costs. DTF equipment has come down significantly in price.
Transfers Can Be Stored: Print transfers ahead of time. Apply them when orders come in. Pre-production allows for faster fulfillment during busy periods.
Limitations and Considerations

DTF isn’t perfect. Being honest about this matters.
Initial Equipment Investment: Entry-level setups run a few thousand dollars. Commercial setups? Much more. It’s not a zero-investment technology.
Learning Curve: You won’t nail it perfectly on day one. Getting color profiles right takes time. Dialing in your heat press settings takes time. Understanding how different fabrics behave takes time.
Powder Application Can Be Messy: Fine powder gets everywhere if you’re not careful. Proper ventilation and containment helps. Automatic powder shakers help more.
Storage Considerations: Finished transfers need proper storage. Away from humidity. Away from heat. Stacked carefully to prevent sticking. Poor storage causes transfer failures.
Hand Feel Isn’t Zero: You can feel a DTF transfer on a shirt. It’s subtle. But it’s there. High-end fashion applications where hand feel is critical might prefer other methods.
Proper Ventilation Needed: The curing process releases fumes. Not toxic exactly, but not something you want to breathe all day. Ventilate your workspace.
White Ink Costs: White ink is expensive compared to CMYK. And DTF uses a lot of it. Factor this into your cost calculations.
DTF Transfer Applications and Industries
The market for DTF extends beyond just t-shirt shops.
Custom Apparel Businesses: The obvious one. From single custom orders to small batch production. DTF fits perfectly in the 1-200 piece range.
Sports Teams and Uniforms: Team names. Numbers. Logos. DTF handles all of it on various athletic wear materials.
Fashion and Streetwear Brands: Small brands use DTF to produce limited runs. Test designs. Build following. Scale production as demand proves out.
Home-Based Businesses: Low barrier to entry means more people running apparel businesses from home. Etsy sellers. Instagram shops. Local customization services.
Print Shops Expanding Services: Traditional screen printers adding DTF for small orders they would otherwise turn down.
The market keeps growing. Personalization trends show no signs of slowing. People want custom everything. DTF delivers customization economically at small quantities.
Cost Analysis: DTF Transfer Printing
Numbers matter. Let’s break them down.
Equipment Costs (Typical Ranges):
- Entry-level DTF printer: $2,000-$5,000
- Commercial DTF printer: $8,000-$20,000
- Industrial DTF printer: $20,000+
- Powder shaker: $200-$2,000
- Curing oven: $300-$3,000
- Heat press (if you don’t have one): $300-$1,500
Starting setup can run $3,000-$10,000 for entry-level. More for commercial grade.
Consumables (Per Transfer Costs):
- DTF film: $0.15-$0.40 per letter size sheet
- Ink: Varies, but roughly $0.20-$0.50 per average transfer
- Powder: $0.03-$0.10 per transfer
- Total consumables: $0.40-$1.00 per transfer typically
These numbers assume average 8×10 inch designs. Bigger designs use more.
Pricing Strategies: Many businesses charge $2-$5 per transfer applied. Blank shirt cost added to that. Total shirt price often $15-$35 depending on complexity and garment quality.
Comparison to Other Methods: DTF costs more per unit than screen printing at high volumes. But DTF wins at low volumes because no setup costs exist. The crossover point is usually somewhere around 50-100 pieces depending on design complexity.
How to Start a DTF Transfer Business
Thinking about jumping in? Here’s the practical stuff.
Equipment Requirements: Start with entry-level if you’re testing the market. Printer, powder shaker, curing oven, heat press. You can upgrade later when volume justifies it.
Supplier Relationships: Find reliable suppliers for film, ink, and powder. Price shop but also quality shop. Xcinkjet.net offers equipment and supplies—worth checking their options.
Software: You need design software (Photoshop, Illustrator, GIMP, etc.) and RIP software for your printer. Some printers include RIP software. Others require separate purchase.
Marketing: Local businesses need custom apparel. Reach out. Sports teams. Churches. Schools. Small businesses. Events. Social media works too. Show your work. Build portfolio.
Pricing Your Services: Research local competitors. Factor all costs including your time. Don’t race to the bottom on price. Quality work commands premium pricing.
Legal Considerations: Business license. Sales tax collection. Copyright/trademark awareness (don’t print Mickey Mouse unless licensed). Insurance considerations.
Is DTF transfer safe/toxic? DTF inks are generally water-based and non-toxic when cured. The powder is polyurethane-based. Proper ventilation during curing is recommended. Finished transfers are safe to wear.
How long do DTF transfers last? 50+ washes typically. With proper application and care, many last 75-100+ washes.
Can DTF be applied with a home iron? Technically possible but not recommended. Home irons don’t provide consistent heat or adequate pressure. Results will be unreliable. A heat press is strongly recommended.
What’s the minimum order quantity? One. That’s the beauty of DTF. Single piece orders are economically viable.
Can DTF transfer onto dark fabrics? Yes. The white ink underbase makes this possible. Same process for dark and light fabrics.
Is DTF eco-friendly? Relatively. Water-based inks. No excess chemical pre-treatment. Less water usage than screen printing. Not zero environmental impact, but better than some alternatives.What does a DTF transfer cost? Varies by size and quantity. DIY cost: $0.40-$1.00 per transfer typically. Buying from suppliers: $1-$5+ depending on size and supplier.