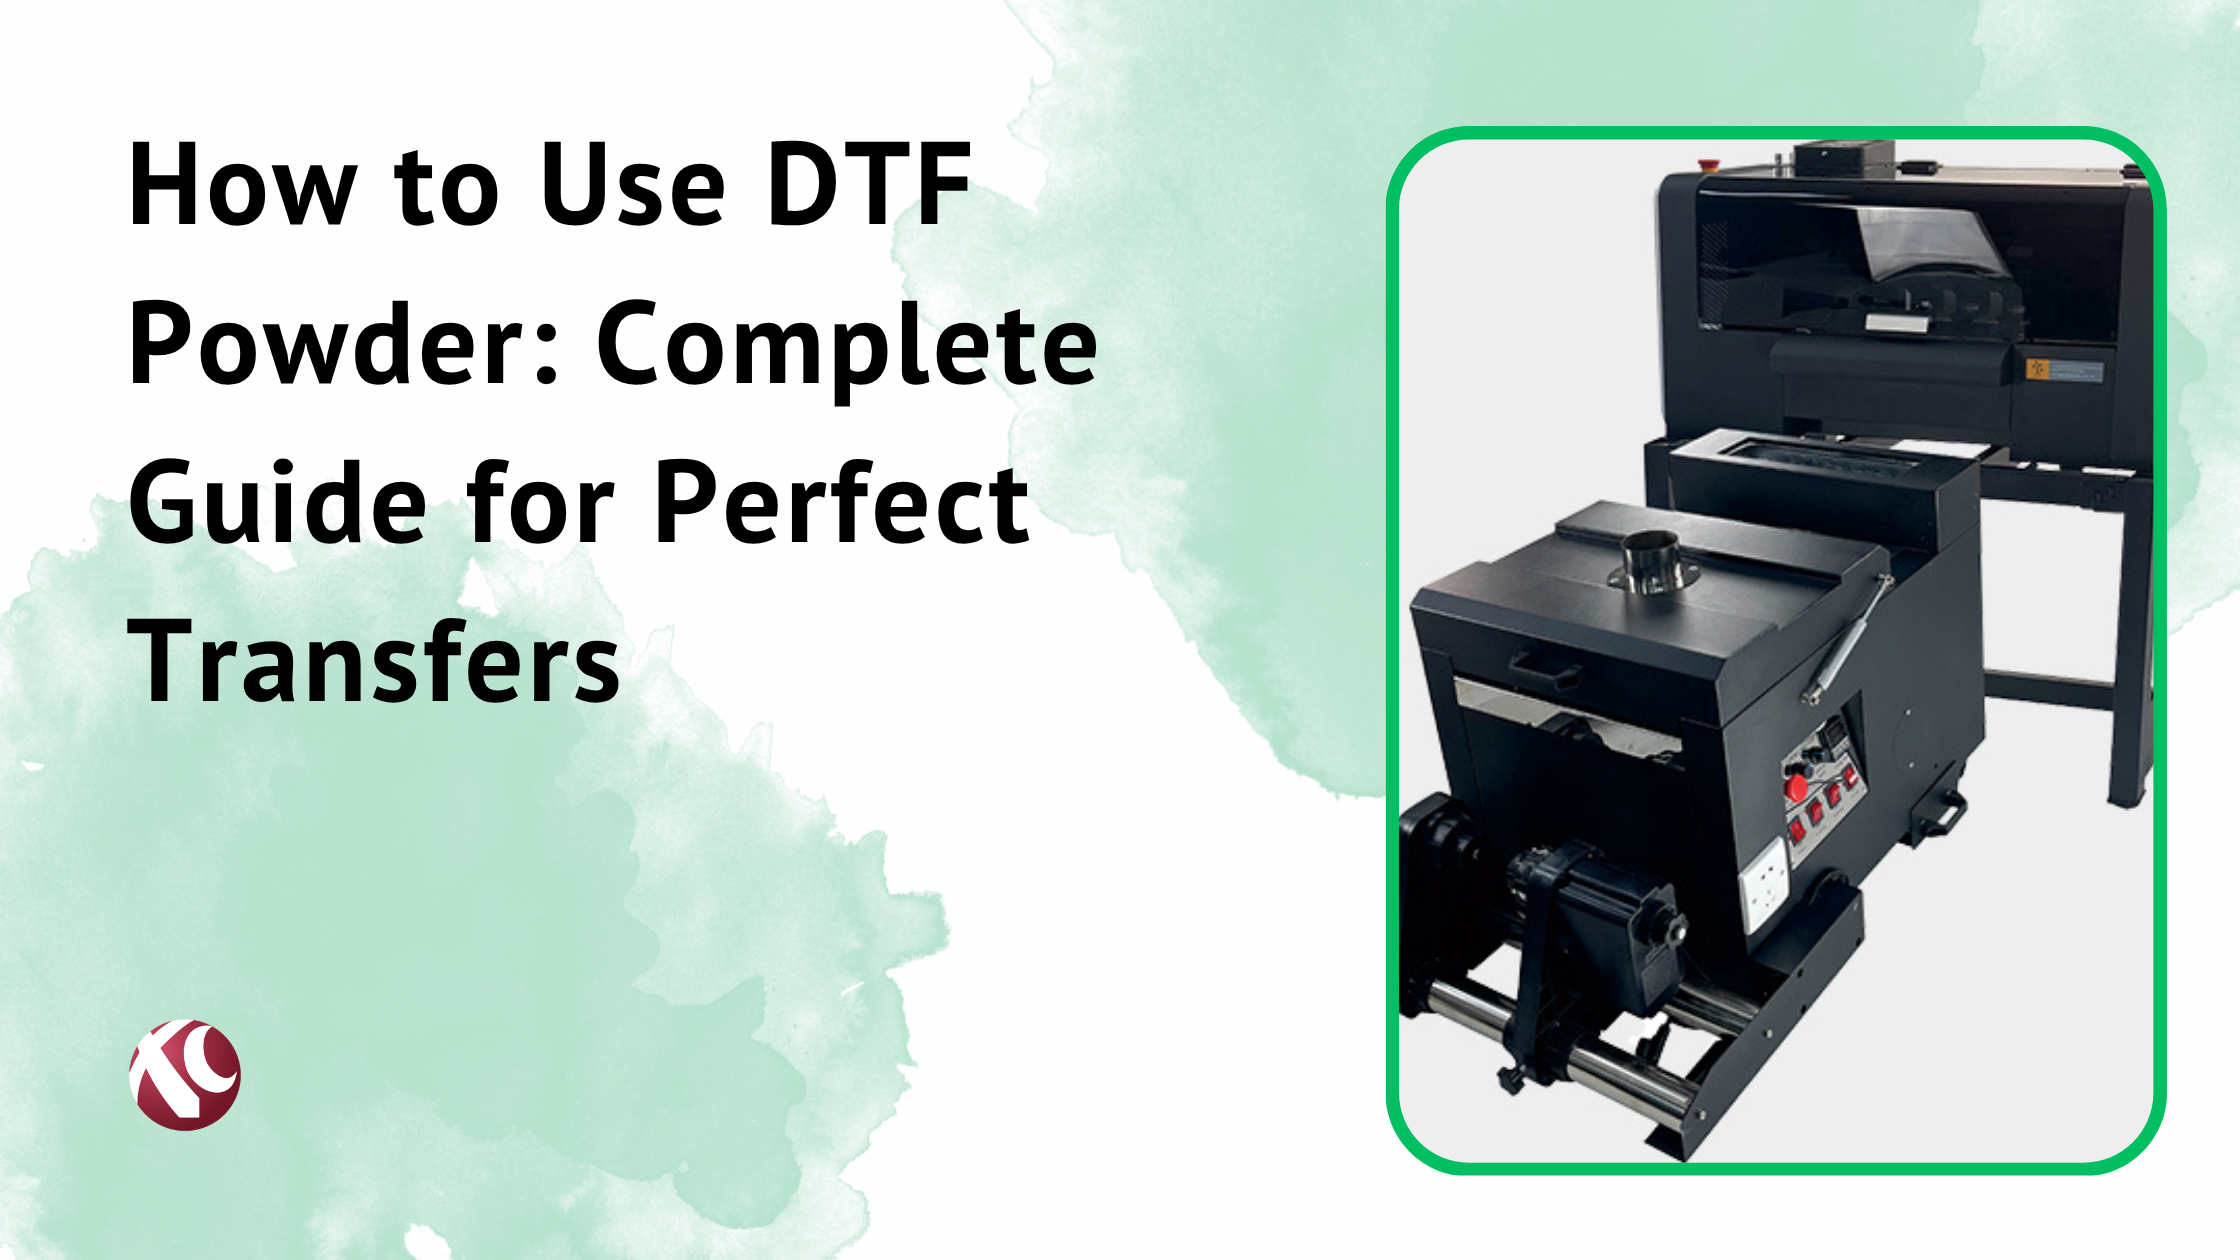
Custom apparel printing is everywhere now. And I mean everywhere. Walk into any craft fair, scroll through Etsy, check out a local sports team—someone’s making custom shirts, hoodies, bags. The market’s grown like crazy over the past few years.
Two methods dominate this space: DTF (Direct to Film) and HTV (Heat Transfer Vinyl).
Both work. Both have loyal fans. But they’re completely different animals.
I’ve watched people agonize over this decision. Spend weeks researching. Join Facebook groups. Ask strangers on Reddit. And honestly? A lot of the information out there is either outdated or just… wrong.
So here’s the real breakdown. What each method actually does, how they compare, and which one makes sense for your situation. No fluff.
At XC Inkjet, we’ve been deep in the printing solutions world for a while now. We’ve seen trends come and go. DTF and HTV aren’t going anywhere—they’re just serving different needs.
Let’s get into it.
What is DTF Printing?
DTF stands for Direct to Film. It’s a printing method where you print your design onto a special film, add adhesive powder, cure it, then transfer the whole thing to fabric with heat and pressure.
The technology started gaining serious traction around 2020. Before that, it existed, but the printers were clunky and expensive. Now? It’s one of the fastest-growing methods in the custom apparel industry.
DTF sits somewhere between screen printing and traditional heat transfers. You get the vibrant colors and durability of screen printing without needing separate screens for each color. And unlike sublimation, you can print on dark fabrics.
That’s the appeal. It’s versatile.
How DTF Printing Works
Here’s the actual process, step by step:
- Print your design on PET film. This is a clear polyester film. You’re printing a mirror image because it’ll flip when transferred. The printer lays down white ink first (on the areas that need it), then the color layer on top.
- Apply powder adhesive. Right after printing—while the ink is still wet—you apply hot melt powder. This is the glue that’ll bond the design to the fabric. A powder shaker machine does this automatically on most setups. The powder sticks to the wet ink, and you shake off the excess.
- Transfer to garment. Place the film on your fabric, design side down. Position it where you want the print.
Then you peel off the film. Hot peel or warm peel, depending on your setup.
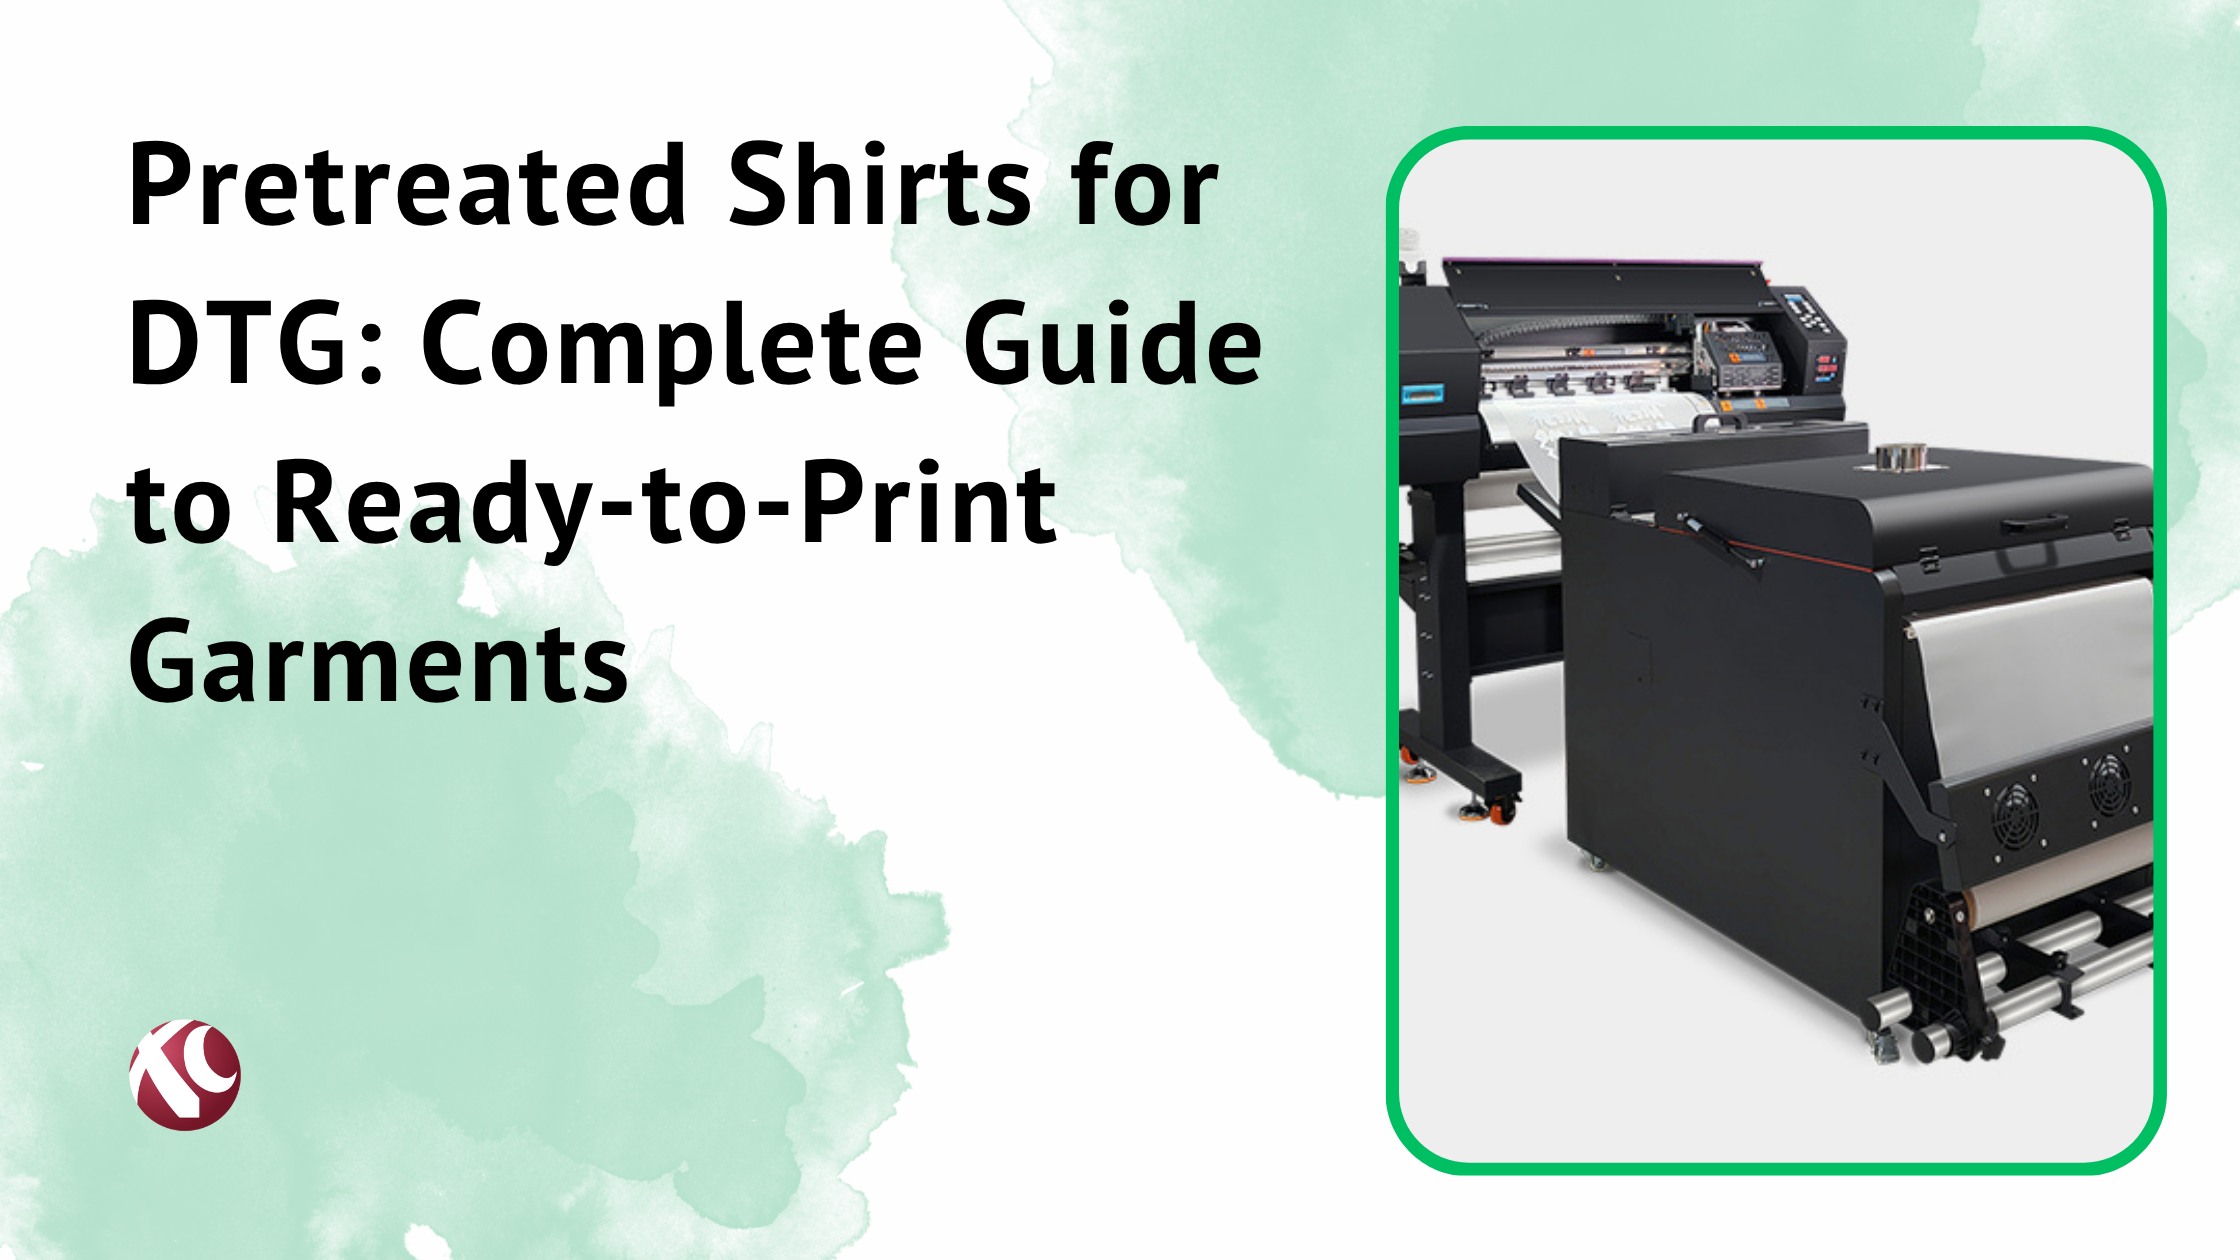
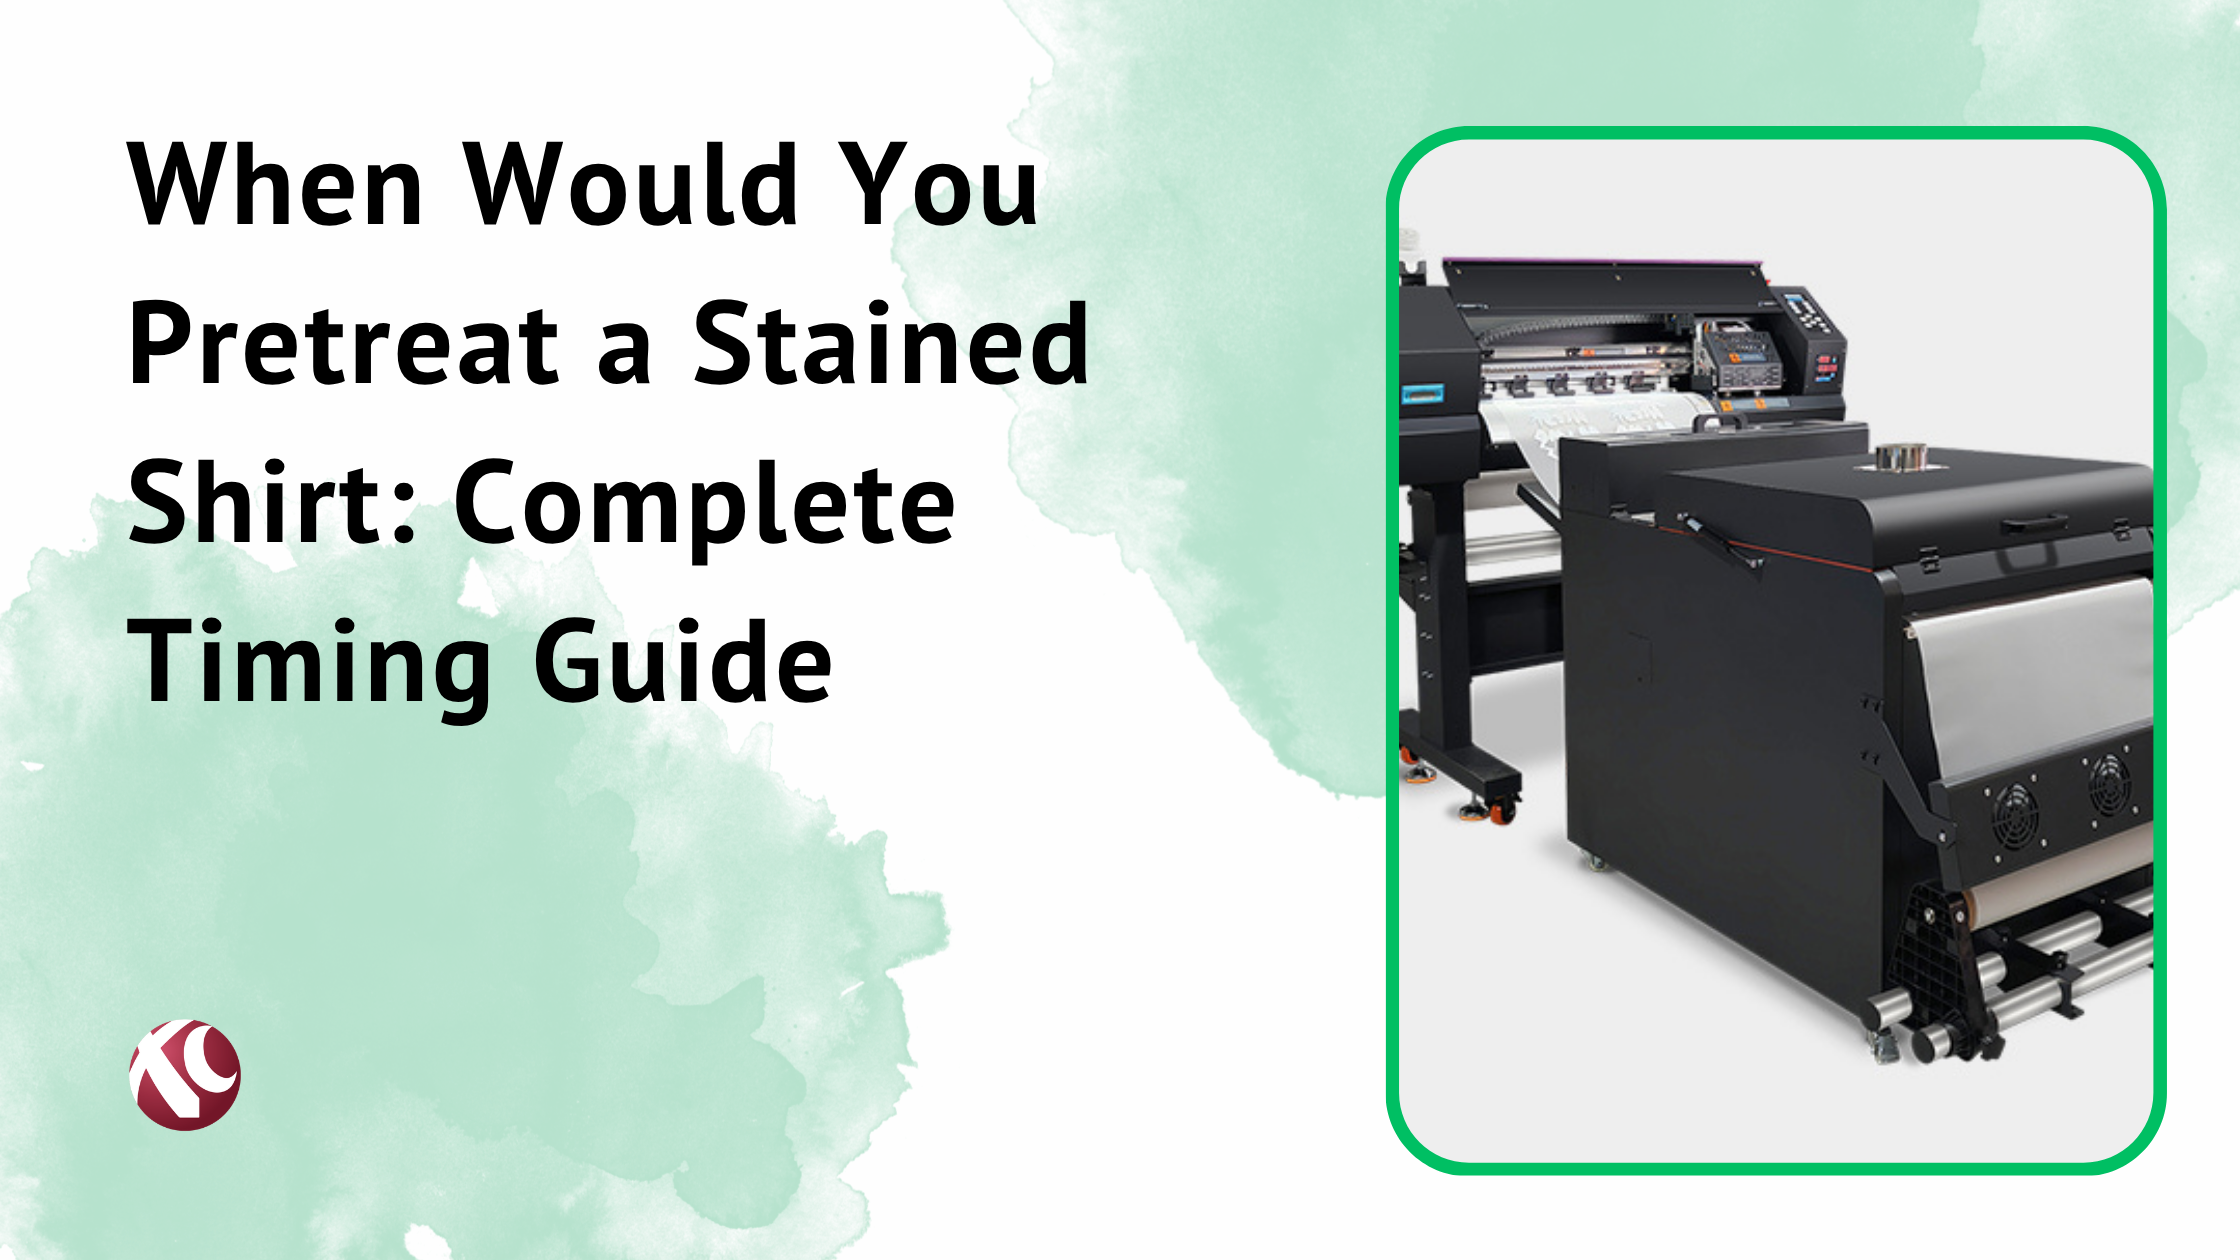
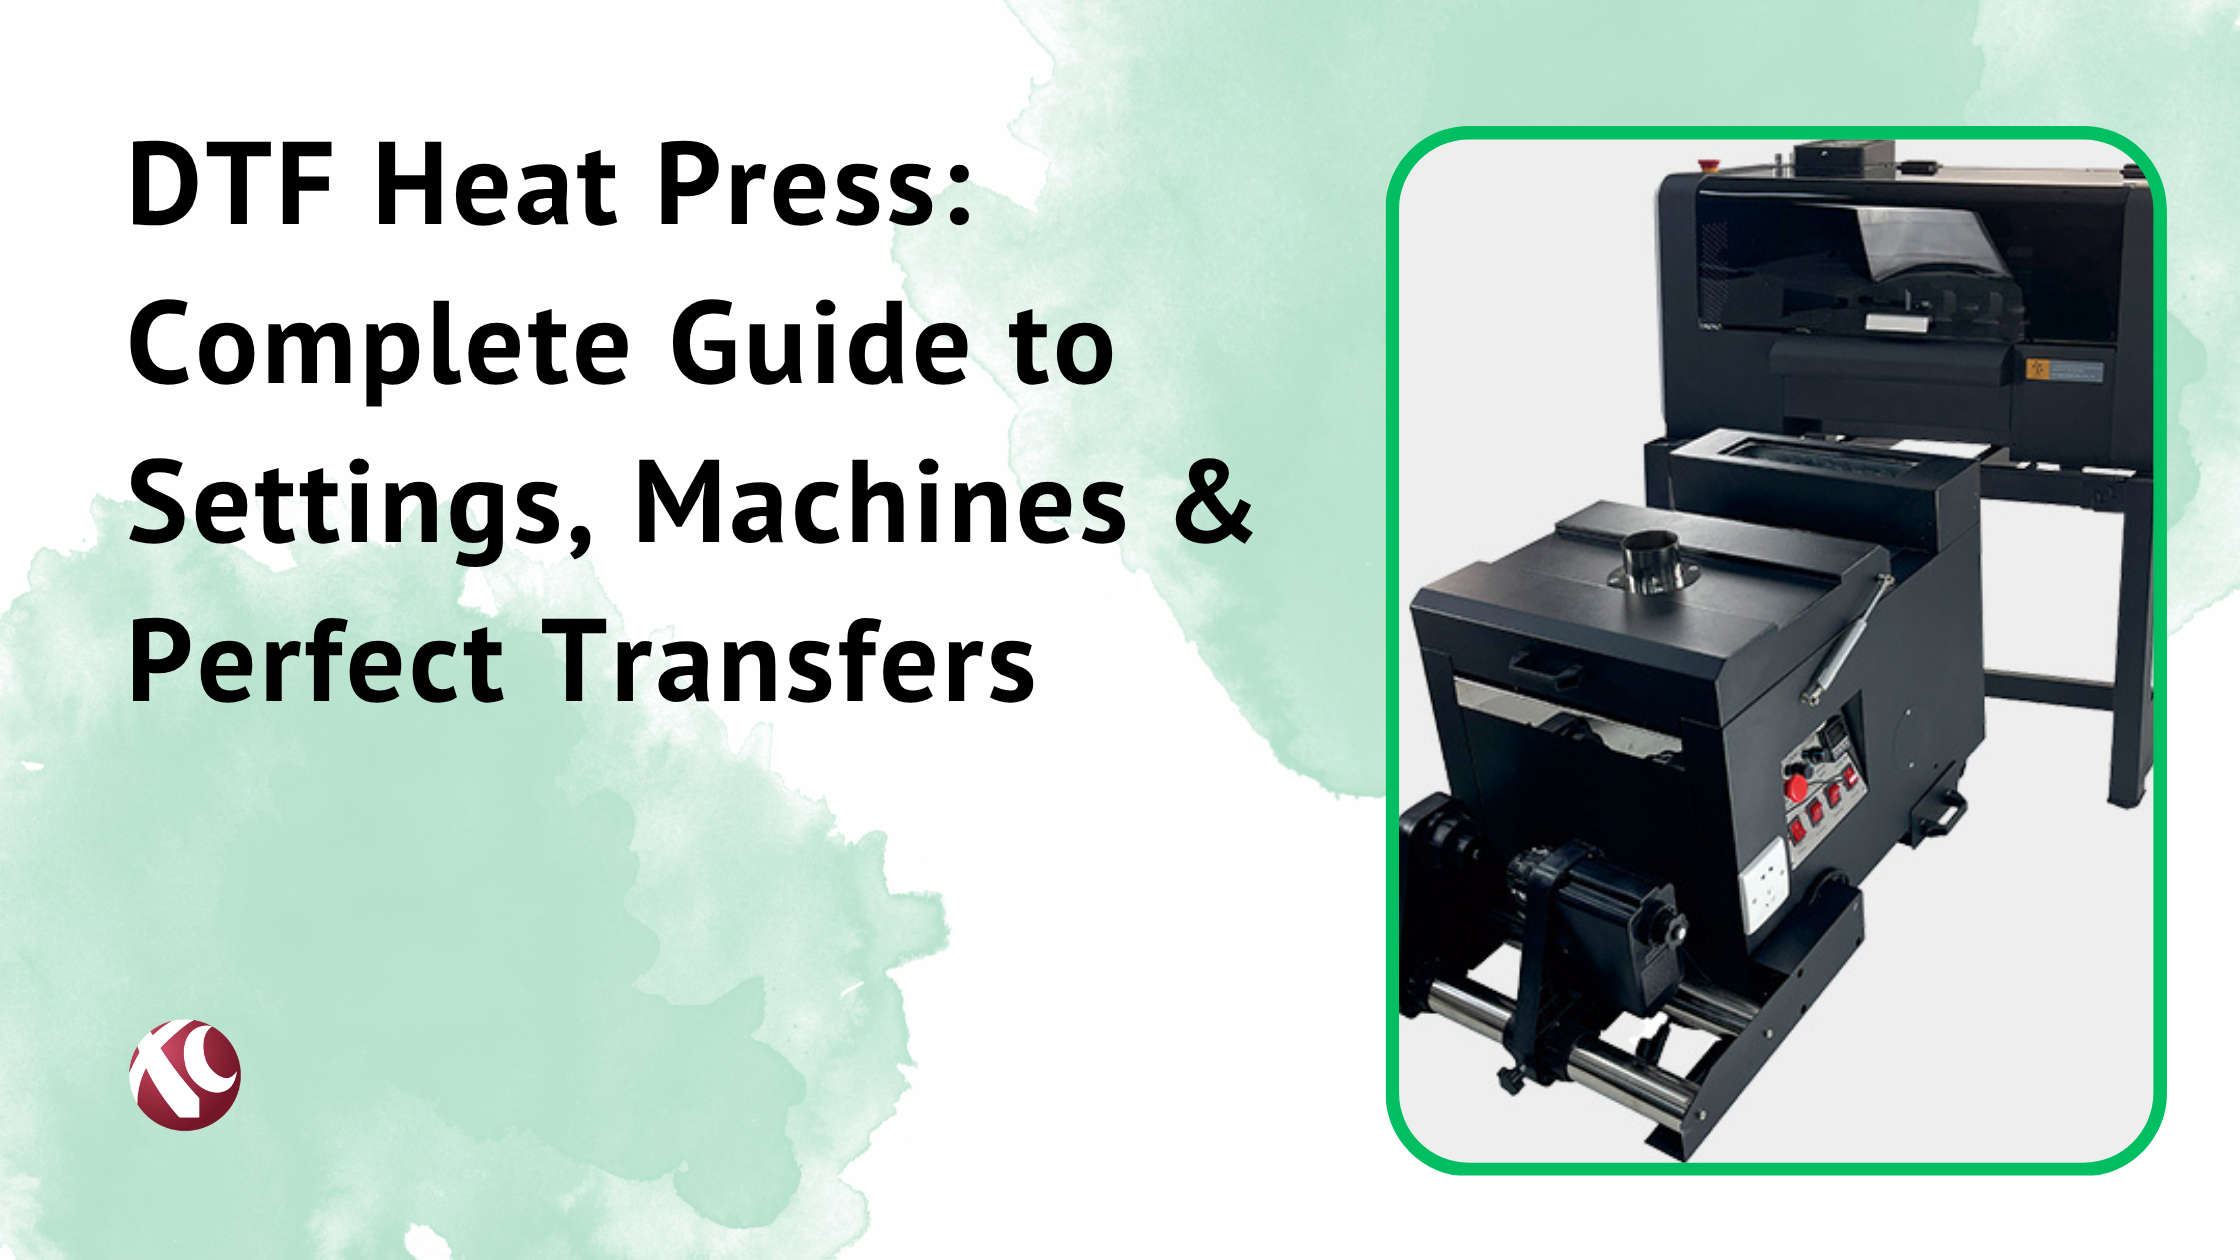
The equipment you need: a DTF printer (either a converted inkjet or a dedicated DTF machine), powder shaker, curing solution, and a heat press. Some all-in-one machines handle multiple steps.
Key Components of DTF Technology
Let me break down what each piece actually does:
DTF Printer — This is either a modified Epson printer or a dedicated DTF machine. The key difference from a regular inkjet? It handles white ink. That’s essential for printing on dark fabrics. The printer has at least five channels: Cyan, Magenta, Yellow, Black, and White.
DTF Inks — These are water-based pigment inks formulated specifically for DTF printing. It creates the opaque base layer that makes colors pop on dark fabrics. Without good white ink, your prints look washed out. Seriously. Don’t cheap out on white ink.
PET Film — The carrier material. It’s a clear polyester film with a special coating that holds the ink and releases cleanly after pressing. There’s hot peel and cold peel varieties—they release at different temperatures after pressing.
Heat Press — Provides the heat and pressure needed to transfer the design. You need consistent, even pressure across the whole plate. Cheap heat presses with uneven pressure cause problems.
What is Heat Transfer Vinyl (HTV)?
HTV is exactly what it sounds like. It’s vinyl. You cut designs out of it. You apply it with heat.
HTV has been around way longer than DTF. We’re talking decades. It’s one of the original heat transfer methods. Your mom might have ironed on those block letters to your summer camp t-shirt. That was probably HTV. Or something similar.
The concept is dead simple: cut shapes out of colored vinyl, weed away what you don’t want, press the design onto fabric.
How Heat Transfer Vinyl Works
The process:
- Create your design. This needs to be a cut file—vector graphics work best. Think shapes, text, simple logos. You’re telling a blade what to cut, not printing an image.
- Cut the vinyl. Load your vinyl into a vinyl cutter (also called a plotter or craft cutter). Machines like Cricut, Silhouette, or larger Roland and Graphtec cutters. The blade cuts through the vinyl layer but not the carrier sheet underneath.
- Weed the excess. Here’s where it gets tedious. You pull away all the vinyl you don’t want. Just the design remains on the carrier sheet. For intricate designs with lots of small pieces?
- Position and heat press. Place your design on the garment, vinyl side down on the fabric. Apply heat and pressure with a heat press or household iron. Settings vary by vinyl type—usually 300-320°F for 10-15 seconds.
- Peel the carrier sheet. Some vinyl is “hot peel” (peel immediately while hot), some is “cold peel” (wait for it to cool). Check your specific vinyl’s instructions.
Hot peel is faster. Cold peel often gives better adhesion on tricky materials.
Equipment needed: vinyl cutter or plotter, weeding tools (hooks, tweezers), heat press (or an iron for small projects), and the vinyl itself.
Types of Heat Transfer Vinyl
This is where HTV gets interesting. There’s a ton of variety:
Standard HTV — Basic matte or glossy finish. Solid colors. This is your workhorse vinyl for everyday projects. Text, simple logos, basic shapes.
Glitter HTV — Sparkly finish embedded in the vinyl. Popular for kids’ shirts, cheerleading, anything that needs some pizzazz. Thicker than standard HTV.
Flock HTV — Fuzzy, velvet-like texture. It’s got a raised, soft feel. Used for vintage-style designs or when you want that fuzzy letter jacket look.
Metallic HTV — Shiny, mirror-like finish. Gold, silver, chrome, rose gold. For that foil effect without actual foil.
Reflective HTV — Shows up bright when light hits it. Used for safety gear, running clothes, work uniforms. Actually functional, not just decorative.
Glow-in-the-Dark HTV — Charges in light, glows in the dark. Kids love this. Halloween stuff. Novelty designs.
Stretch/Elastic HTV — Made for athletic wear and stretchy fabrics. Has more give than standard HTV. Won’t crack when the fabric stretches.
Printable HTV — You print on it first (with an inkjet or eco-solvent printer), then cut and apply.
Each type has specific applications. Glitter for a little girl’s birthday shirt. Reflective for a construction company’s work gear. You match the vinyl to the job.
DTF vs Heat Transfer Vinyl: Key Differences

Okay. Here’s the meat of it.
Both methods transfer designs to fabric using heat. But that’s about where the similarities end. The process, the results, the costs, the learning curve—they’re different.
Which one’s “better”? Depends entirely on what you’re trying to do. There’s no universal answer.
Let me break down the comparison point by point.
1. Print Quality and Detail
DTF gives you photographic quality. Fine lines. Tiny text. Complex illustrations with a million colors. If you can see it on your screen, you can pretty much print it.
Want to print a photograph on a shirt? DTF handles that. Want intricate lace patterns? Fine detail work? Realistic faces? DTF.
HTV is limited by what a blade can cut. You’re working with shapes, not pixels. The cutter has to physically move through the vinyl, so super fine details don’t work. Small text gets tricky. Intricate designs with lots of thin pieces fall apart during weeding.
Multi-color designs with HTV require layering different colored vinyl. Each color is a separate piece. More colors = more cutting, more weeding, more application time, more registration headaches.
Winner for detailed work: DTF. Not close.
This doesn’t mean HTV looks bad. For bold, clean designs, HTV can look amazing. But it’s a different aesthetic.
2. Color Options and Vibrancy
DTF uses CMYK plus white ink. That’s millions of colors. Gradients are smooth. Photo-realistic results are possible. You’re not limited by what vinyl colors exist.
The white ink layer under your colors means they pop on any fabric color. Dark shirts, light shirts, doesn’t matter.
HTV colors depend on what vinyl you buy. Each vinyl roll is one color. Want 12 colors in your design? You need 12 different vinyl rolls. And you’re layering them, which creates thickness and alignment issues.
That said, HTV solid colors can be incredibly vibrant. Some specialty vinyls—glitters, metallics, holographics—create effects DTF just can’t match.
Best for multicolor designs: DTF. Best for bold single-color work or specialty finishes: HTV.
3. Fabric Compatibility
DTF works on almost everything. Cotton, polyester, blends, nylon, leather, canvas. Light fabrics, dark fabrics. Even treated wood in some cases. The adhesive powder bonds to most surfaces that can handle heat.
HTV works on cotton, polyester, and blends too. But some specialty fabrics need caution. Nylon can melt at higher temperatures. Waterproof fabrics don’t always bond well. Leather’s possible with the right vinyl and settings.
Both methods require the fabric to tolerate heat press temperatures. No getting around that.
Winner for versatility: DTF. It’s less picky about substrates.
4. Feel and Texture (Hand Feel)
This matters more than people realize. Especially for wearable items.
DTF prints have a relatively soft hand feel. It’s breathable. It flexes with the fabric. When done right, you can barely feel the print if you close your eyes. It’s there, but it’s not heavy.
HTV has a more noticeable texture. You can feel where the vinyl is. It’s a raised layer on top of the fabric. Multiple colors mean multiple layers, and it gets thicker and stiffer. Less breathable in those areas.
Some people like the HTV texture. It’s got a certain look and feel. But for all-day wearability, especially in hot weather, DTF wins.
Comfort winner: DTF.
Note: Specialty HTV types vary. Thin, stretchy HTV designed for athletic wear can be quite comfortable. Flock and glitter HTV are chunkier.
5. Durability and Wash Resistance
Both methods can be plenty durable when applied correctly.
DTF prints typically last 50+ washes. They resist cracking because they flex with the fabric. Colors stay vibrant if you follow care instructions (wash inside out, avoid high heat in the dryer, no bleach). The prints stretch with stretchy fabrics without cracking.
HTV is also very durable. Possibly more durable than DTF in some cases—vinyl is tough stuff. If your temperature, pressure, or time is off, the vinyl will peel or crack at the edges over time.
Both require proper application technique and proper care.
Verdict: Essentially a tie when done correctly. Slight edge to DTF for flexibility and ease of correct application.
Care instructions for both:
- Wash inside out
- Cold or warm water
- Tumble dry low or hang dry
- No ironing directly on the design
- No dry cleaning chemicals on the print
6. Production Speed and Workflow
Speed depends on what you’re making.
DTF wins for complex designs. Print a full-color design, shake powder, cure, press. The steps are consistent regardless of how many colors are in the design. You can also batch print—run multiple designs on a single sheet of film, cut them apart, apply later. Less hands-on labor.
HTV is faster for simple stuff. A one-color name or logo? Cut, weed quickly, press. Done. But when designs get complicated—multi-color, intricate weeding—time balloons. That weeding step is a bottleneck. I’ve seen people spend 30+ minutes weeding a single complex design.
Best for bulk orders: DTF. Best for quick simple designs: HTV.
For a print shop doing volume, DTF’s automation is a game changer. For a crafter doing one-off simple designs at home, HTV’s simplicity makes sense.
7. Setup and Learning Curve
HTV is easier to learn. Period.
Buy a Cricut or Silhouette cutter, watch some YouTube videos, buy some vinyl. You can be making passable designs in an afternoon. The weeding takes practice, but the concept is simple. Equipment is straightforward.
Once you master DTF, the actual production is less labor-intensive. But getting there takes time.
Beginner-friendly: HTV. Better for scaling operations long-term: DTF.
If you’re just starting out and testing the waters, HTV lets you start making products fast. If you’re building a serious production business, invest the time to learn DTF.
8. Cost Analysis
Let’s talk money.
Initial Investment:
DTF — Higher. A decent entry-level DTF printer setup runs $1,500-$4,000+ (sometimes more depending on the brand and features). Add powder shaker, inks, film, heat press (if you don’t have one). You’re looking at $2,500-$7,000+ to get started with equipment that’ll actually hold up.
HTV — Lower. A good vinyl cutter starts around $200-$400 (Cricut, Silhouette, etc.) or $1,000-$2,000 for commercial-grade machines. Heat press: $200-$500 for entry-level. Vinyl rolls: $5-$20 each. Weeding tools: under $20. You can start for under $500 if you’re scrappy.
Per-Print Cost:
DTF — Lower for complex designs. Ink and film costs are relatively fixed regardless of design complexity. A full-color photographic print costs about the same as a simple logo. Per-shirt costs might run $0.50-$2.00 depending on size and your consumable costs.
HTV — Lower for simple designs. Single-color text or a small logo might cost $0.30-$1.00 in vinyl. But multi-color designs eat vinyl fast. Specialty vinyl (glitter, metallic) costs more. Waste from weeding adds up.
ROI Comparison:
Low volume, simple designs: HTV wins on cost. High volume or complex designs: DTF wins on cost.
9. Design Flexibility and Customization
DTF imposes almost no design limitations. Photographs? Yes. Watercolor illustrations? Yes. Gradients? Yes. Fine text? Yes. A million colors? Yes, and it costs the same as one color.
You design it, you print it. Simple as that.
HTV requires designs that can be cut. Vector graphics with clean edges work best. No gradients (unless you’re using printable HTV). Every color is a separate layer. Complex designs get complicated fast.
You can still make amazing stuff with HTV. But you’re working within constraints. Some designers love constraints—they force creativity. But if you want total freedom, DTF gives you that.
Creative freedom winner: DTF.
10. Environmental and Safety Considerations
Neither method is perfect. Both have considerations.
DTF:
- Water-based pigment inks are relatively eco-friendly
- Powder adhesive is a thermoplastic (usually TPU-based), not hazardous but proper handling matters
- Minimal fumes, but ventilation is still recommended
- PET film isn’t biodegradable, but it’s recyclable in some areas
HTV:
- Standard HTV is often PVC-based, which isn’t great environmentally
- PU-based HTV (polyurethane) is a more eco-friendly option—look for this if sustainability matters to you
- Minimal fumes during application
- Proper ventilation still recommended
- Vinyl waste from weeding adds up
For either method, good airflow in your workspace is smart. Don’t work in a closet with no ventilation. A simple fan or open window helps.
If environmental impact is a major concern, look for eco-conscious suppliers. They exist for both methods.
Equipment and Material Requirements

Here’s a practical breakdown of what you actually need to get started.
DTF Printing Equipment & Materials
Required equipment:
- DTF Printer — Either a modified inkjet (Epson models are common base printers) or a dedicated DTF machine. Entry-level starts around $1,500. Professional-grade machines run $5,000-$15,000+. XC Inkjet offers DTF solutions worth checking out if you’re evaluating options.
- DTF Inks — CMYK plus White. Buy inks formulated for your specific printer. Don’t mix brands. Budget around $200-$400 for an initial ink set.
- PET Film — Sold in rolls or sheets. Hot peel or cold peel. Cost varies but roughly $30-$60 per 100-foot roll.
- Hot Melt Powder — White or black (white is more common). About $30-$50 per kilogram.
- Powder Shaker — Automated machines range from $200-$800. You can apply powder manually but it’s tedious and inconsistent.
- Curing Solution — Small oven, curing drawer, or tunnel. Some all-in-one printers include this. Budget $100-$500 separately.
- Heat Press — 15×15″ press is standard. Budget $200-$800 depending on quality.
Price range overview: Expect $2,500-$7,000 for a functional entry-level setup. Commercial operations spend more for faster, more reliable equipment.
HTV Equipment & Materials
Required equipment:
- Vinyl Cutter/Plotter — Cricut ($200-$400), Silhouette ($200-$400), or commercial-grade cutters like Roland or Graphtec ($1,000-$5,000+). Blade sharpness matters—keep spare blades.
- Heat Press — Same as DTF. 15×15″ press works for most garments. $200-$800. You can use a household iron for small projects but results are inconsistent.
- HTV Rolls — Prices vary by type. Standard HTV: $5-$15 per roll. Specialty vinyl: $10-$30+. You’ll need multiple colors.
- Weeding Tools — Hook tools, tweezers, pickers. $10-$30 for a set.
- Transfer Tape/Carrier Sheets — Usually comes on the HTV roll. Some projects need additional application tape.
- Cutting Mat — For your cutter. $10-$40.
Price range overview: $400-$1,000 gets you started. You can technically begin for under $300 with a budget cutter and household iron, but results won’t be professional quality.
Bottom line: HTV has a much lower barrier to entry. DTF requires more upfront investment but offers more capability.
DTF vs HTV: Side-by-Side Comparison Table
| Factor | DTF | HTV |
| Print Quality | Photographic, fine detail | Clean shapes, limited detail |
| Color Options | Unlimited (CMYK+W) | Limited to vinyl colors |
| Fabric Types | Cotton, polyester, blends, nylon, leather, more | Cotton, polyester, blends (caution on heat-sensitive) |
| Hand Feel | Soft, thin, breathable | Thicker, raised, less breathable |
| Durability | Excellent (50+ washes) | Excellent when applied correctly |
| Production Speed | Fast for complex designs | Fast for simple designs |
| Learning Curve | Moderate | Easy |
| Initial Investment | Higher ($2,500-$7,000+) | Lower ($400-$1,500) |
| Per-Print Cost | Lower for complex/bulk | Lower for simple designs |
| Design Complexity | Unlimited | Limited to cuttable shapes |
| Best For | High-volume, complex designs, photos | Simple designs, text, specialty effects |
Common Issues and Troubleshooting
Stuff goes wrong. It’s part of the process. Here’s what you’ll likely encounter and how to fix it.
DTF Printing Common Issues
Powder not adhering properly:
- Check curing temperature. Too low and it won’t melt. Too high and it over-cures.
- Make sure ink is still wet when powder is applied. If the ink dries first, powder won’t stick.
- Could be a humidity issue. DTF doesn’t love high humidity.
Colors not vibrant:
- Ink quality matters. Cheap ink gives cheap results.
- Check your print settings. Make sure white ink is actually laying down.
- Old or clogged ink can cause faded colors. Run print head cleaning cycles.
Transfer not sticking to fabric:
- The temperature is too low. Try increasing by 5-10°F.
- Pressure too light. Medium-firm pressure is usually needed.
- Time too short. Make sure you’re hitting the full press time.
- Fabric has a coating (like waterproofing) blocking adhesion.
Film wrinkling:
- Storage issue. Keep film in cool, dry conditions.
- Rough handling during powder application.
- Moisture in the film. Let film acclimate to room temperature before use.
HTV Common Issues
Vinyl not sticking:
- Temperature, pressure, or time is off. Check your vinyl’s recommended settings.
- You’re pressing on the wrong side. HTV has a carrier side and a vinyl side—don’t mix them up.
- Fabric has a coating that’s blocking adhesion.
- Not enough pressure. Lean into it or adjust your press.
Peeling after washing:
- Improper application. The vinyl looked stuck but wasn’t fully bonded.
- Go back and re-press with correct settings.
- Could be using the wrong type of HTV for the fabric.
- Customer washed it wrong (hot water, harsh detergent, wrong dryer setting).
Bubbles or wrinkles in applied vinyl:
- Air trapped during application. Press firmly from center outward.
- Vinyl shifted during pressing.
- Carrier sheet peeled too fast. Let it cool more on cold-peel vinyl.
Vinyl stretching during weeding:
- Pulling too fast or at the wrong angle.
- Blade cutting too deep (through the carrier).
- Vinyl is low quality or too thin.
Best practices: Always test on a scrap piece of the same fabric before doing the final product. Every fabric-vinyl combination can behave slightly differently.
Is DTF better than heat transfer vinyl?
Depends what you mean by “better.”
DTF is better for complex designs, photographic quality, production volume, and fabric versatility. If you’re doing full-color work, DTF wins.
HTV is better for simple designs, lower startup cost, specialty effects (glitter, metallic, flock), and quick single-color work. If you’re making sports jerseys with names and numbers, HTV makes sense.
Neither is universally better. They’re different tools for different jobs.
Which lasts longer, DTF or HTV?
Both can last 50+ washes when properly applied and properly cared for.
Longevity depends more on:
- Correct application (temperature, pressure, time)
- Quality of materials
- How the customer cares for the garment
Follow application instructions. Advise customers on care (wash inside out, low heat dry). Both methods will last.
Anecdotally, vinyl can sometimes outlast DTF in extreme conditions, but DTF handles stretching better. Real-world difference is minimal.
Can you use DTF and HTV on the same garment?
Yes. People do this all the time.
Order of application matters. Generally:
- Apply DTF first (lower heat tolerance items first)
- Apply HTV second, avoiding pressing directly over the DTF print
Or design strategically so they don’t overlap.
Temperature compatibility: Make sure your HTV application temperature won’t damage the DTF print.
How long does it take to learn DTF vs HTV?
HTV: You can make basic, sellable products within a day or two. Weeding skills develop over a week or two. Mastery of different vinyl types, tricky weeds, and consistent application takes a few weeks of practice.
DTF: Expect a week to get comfortable with the workflow. A few weeks to really dial in your settings for consistent results. Troubleshooting printer issues (especially white ink maintenance) takes ongoing learning. Full competence in a month or two of regular use.
HTV has a gentler learning curve. DTF requires more patience upfront but becomes more hands-off once you’ve got it down.
DTF and HTV are both legitimate methods for custom apparel. They’re not competing for the same jobs—they’re serving different needs.
If you want to start small, keep costs low, and focus on simple designs or specialty effects, HTV makes more sense.
Or do both. A lot of successful businesses offer both methods because it lets them serve more customer needs.
Whatever you choose, the fundamentals matter: good equipment, quality materials, proper technique, and understanding your market.
XC Inkjet has DTF solutions if you’re looking to go that route. Worth exploring if you’re serious about building printing capability.