Making ink isn’t simple. Most people think you just mix some color with liquid and call it a day. Not even close.
Modern ink manufacturing is a sophisticated chemical-industrial process. We’ve come a long way from ancient formulas where someone collected soot from oil lamps and mixed it with animal glue. Today’s inks involve precise chemistry, specialized equipment, and rigorous quality control at every step.
The process involves selecting raw materials, developing formulations, mixing, grinding particles down to microscopic sizes, filtering out impurities, and testing everything multiple times before packaging. Each stage matters. Skip one or do it poorly, and you end up with ink that clogs printheads, fades in sunlight, or bleeds across the page.
At xcinkjet.net, we’ve spent nearly two decades perfecting this process. Manufacturing over 5,000 tons of ink annually teaches you things that textbooks don’t cover. You learn what actually works versus what should work in theory.
This guide breaks down how ink is manufactured from start to finish. The real process, not the simplified version.
What is Ink? Understanding the Basics
Ink is a liquid or paste containing pigments or dyes. That’s the simple definition. You use it for printing, writing, and drawing. But what’s actually in there is more interesting.
Modern ink contains solvents, pigments or dyes, resins, lubricants, surfactants, and various other materials depending on application. Each component does something specific. Remove one and the ink doesn’t perform correctly.
The evolution from ancient lampblack to today’s chemical formulations happened gradually. Ancient Egyptians and Chinese used carbon-based inks made from soot. Worked fine for calligraphy and basic writing. But modern printing demands more. We need inks that dry instantly, resist fading for decades, work with high-speed printing equipment, and bond properly to dozens of different substrates.
That evolution required chemistry. Lots of it.
Key Components of Printing Ink
Every ink formula contains four main categories of ingredients. Colorants give you color. Binders hold everything together. Solvents make it flow. Additives fine-tune specific properties.
Each component serves a specific purpose. Change the ratio and you change how the ink performs. This is why ink formulation is genuinely complicated. You’re balancing multiple variables simultaneously.
1. Colorants (Pigments and Dyes)
Colorants provide the actual color. Obvious, right? But there’s a fundamental split here that matters enormously.
Pigments are finely ground solid particles. They don’t dissolve. They remain suspended in the ink. This gives you water resistance and lightfastness. The particles physically sit on the substrate after printing.
Common pigments include carbon black for deep blacks, titanium dioxide for whites and opacity, peacock blue, yellow lake, diarylide orange, and phthalocyanine green. Industrial names, sure. But these are what create the colors you see in printed materials every day.
Dyes work differently. They actually dissolve in the liquid medium. This gives you brighter, more vivid colors. The trade-off? Less fade-resistant. Dyes penetrate the substrate rather than sitting on top.
For photos where vibrancy matters more than archival permanence, dyes often win. For documents that need to last decades or resist water exposure, pigments are better. Most professional ink manufacturers produce both types because applications vary.
2. Binders and Resins
Binders hold pigment particles together. They also bind the ink to whatever surface you’re printing on. Without proper binders, your pigments would just sit loosely on the paper and smear off.
Resins commonly used include alkyds, ketones, acrylics, and formaldehydes. Different resins create different properties. Some produce glossy finishes. Others prioritize water resistance. Some provide flexibility so the printed material can bend without cracking.
The resin choice affects surface appearance, mechanical strength, flexibility, and resistance to various environmental factors. You want a glossy finish on coated paper? Specific resin combination. Need the ink to survive outdoor exposure? Different resin entirely.
Polymers work alongside resins as binders in many formulations. The chemistry gets technical, but the concept is straightforward: something needs to make the colorant stick.
3. Solvents and Carriers
Solvents dissolve the binders and control viscosity, flow characteristics, and drying time. They’re what make ink liquid enough to apply.
Common solvents include water, various organic compounds like hydrocarbons and alcohols, petroleum distillate, linseed oil, and soybean oil. The choice depends entirely on the ink type and application.
Oil-based inks use petroleum or vegetable oil carriers. They dry differently than water-based inks. Usually through absorption into the substrate or oxidation rather than evaporation.
Water-based inks are increasingly popular for environmental reasons. The solvent evaporates cleanly. But water-based formulations require different chemistry to achieve the same performance characteristics.
How solvents affect drying matters for production speed. Some inks dry through evaporation. Heat or air movement accelerates this. Others dry through absorption. The substrate pulls the solvent in while pigment stays on the surface. Understanding this determines which ink works for which printing method.
4. Additives and Modifiers
Here’s where formulation gets interesting. Additives fine-tune specific properties. Each one does something particular.
Dispersants facilitate ink flow and stabilize pigment particles so they don’t clump together. Without them, you get uneven color and clogged equipment.
Viscosity modifiers adjust flow properties. Too thick and the ink won’t transfer properly. Too thin and it bleeds everywhere.
Wetting agents improve how ink spreads on the substrate and enhance adhesion. Important for non-porous surfaces that naturally repel liquid.
Anti-foaming agents prevent bubbles from forming during mixing and printing. Seems minor until bubbles ruin a print run.
UV stabilizers prevent fading from sunlight exposure. Critical for anything used outdoors or near windows.
Drying accelerators speed up curing time. Production lines don’t wait.
pH modifiers maintain chemical stability.
Humectants prevent premature aging in the container.
Defoamers work alongside anti-foaming agents during production.
Biocides and bacteriostats prevent bacterial and fungal growth. Water-based inks especially need this protection.
Surfactants reduce surface tension and improve printing characteristics.
The exact additive package varies by ink type. DTG ink for fabric printing needs different additives than UV ink for rigid substrates. Formulators balance these based on end-use requirements.
How is Ink Manufactured: The Complete Production Process

The systematic manufacturing process follows a logical sequence. Each step builds on the previous one.
Ink is manufactured in two main stages. First, you create varnish by mixing solvent, resins, and additives together. Then pigments are dispersed into this varnish. Sounds simple stated that way. The execution requires precision at every step.
Step 1: Raw Material Selection and Preparation
Everything starts with choosing the right materials. This determines final ink quality more than most people realize.
First decision: dye-based or pigment-based ink? This affects every subsequent choice.
Then you select specific colorants based on target colors. Not all carbon blacks are identical. Not all phthalocyanine blues perform the same. Grade matters.
Additional components get specified based on the formulation requirements. Which solvents? Which resins? What additive package? All determined by what the ink needs to do.
High-quality raw materials come from domestic and international suppliers. Some specialty pigments only come from certain manufacturers. Some resins have single sources. Supply chain matters in ink production.
At xcinkjet.net, raw material selection receives serious attention. Nearly 20 years of production experience teaches you which suppliers deliver consistent quality and which cause problems downstream. We’ve learned the hard way that saving money on raw materials costs more in rejected batches.
Step 2: Formulation Development
Ink formulas don’t happen accidentally. They’re developed methodically to meet specific requirements.
Target specifications include color accuracy, viscosity range, drying time parameters, substrate compatibility, and printer compatibility. Miss any of these and the ink fails in application.
R&D teams develop and refine formulations continuously. What worked last year might not match current printer head technology. New substrates enter the market. Customer requirements evolve.
Formulations vary significantly based on application. Offset printing ink differs from flexographic ink differs from inkjet ink differs from UV printing ink. Each printing method has unique requirements. The chemistry must match.
Step 3: Mixing and Blending
Raw materials get added to mixing vats according to the formulation. Order matters. Timing matters.
Batch mixers with automatic controls add ingredients at specific times and temperatures. Some components need to dissolve fully before others get introduced. Premature addition causes problems.
Computerized mixers inject correct pigments and dyes to create target colors. Color matching requires precision. Being close isn’t good enough when customers expect exact matches.
The goal is a homogeneous mixture. Everything distributed evenly throughout. Any inconsistency shows up in the final print.
Advanced mixing equipment like vacuum emulsifier homogenizers and high shear batch mixers handle different formulation types. Some inks need gentle mixing. Others require aggressive shearing action to properly disperse pigments. The equipment matches the formulation requirements.
Step 4: Milling and Grinding
The mixed paste goes into milling equipment. This is where pigments get broken down.
Milling disintegrates pigment particles and distributes them uniformly within the binder and solvent system. The initial pigment particles are too large. They need reduction.
Grinding brings color pigments down to finer particles. Sub-micron particle size in many cases. This enhances stability and prevents clogging of inkjet nozzles. A particle that’s slightly too large destroys a printhead.
Particle size reduction achieves smooth texture and uniform color. Coarse particles create grainy prints. Inconsistent particle sizes cause color variation across print runs.
Different milling equipment suits different ink types. Three-roll mills, bead mills, ball mills. Each has applications where it excels. The choice depends on pigment type, target particle size, and production volume.
Step 5: Filtering
Filtering removes impurities, agglomerates, and remaining oversized particles. Even after milling, some particles need removal.
This step ensures a clean, consistent, and stable mixture free from contaminants. Contamination causes defects. Agglomerates clog equipment. Neither is acceptable.
Achieving agglomerate-free ink requires proper filtration. Multiple passes through progressively finer filters in some cases. The final product must be absolutely clean.
This seems like a minor step. It isn’t. Poor filtration ruins otherwise good batches.
Step 6: Quality Control and Testing
Testing happens throughout production, but comprehensive evaluation occurs before packaging. No exceptions.
Viscosity tests measure flow and thickness. Ink must fall within specified parameters for proper printer function.
Color accuracy measurement using spectrophotometry ensures batches match targets. Visual inspection isn’t sufficient. Instruments don’t lie.
Print testing on professional brand printers verifies compatibility and quality. The ink must work correctly with actual equipment customers use.
Fluency and performance tests confirm proper flow through printing systems.
Stability and compatibility analysis predicts shelf life and interaction with substrates.
Adhesion tests verify the ink bonds properly to intended surfaces.
Resistance tests check fading, water exposure, heat tolerance, and abrasion durability.
Drying time evaluation confirms the ink cures within acceptable parameters.
Strict quality control standards and industry specifications govern all testing. Batches that fail get rejected. Period. Shipping substandard ink damages reputation faster than any other mistake.
Step 7: Dispensing and Packaging
Final manufacturing involves dispensing ink into standardized containers for distribution.
Integrated production handles dispensing, sealing, labeling, and packaging as a continuous process. Efficiency matters at production volumes.
Proper sealing prevents evaporation, contamination, and chemical alterations during storage and shipping. A container that leaks or allows air exchange degrades the ink inside.
Labeling includes essential information: color designation, ink type, manufacturer identification, and safety instructions. Regulatory requirements specify minimum labeling. Professional manufacturers exceed minimums.
Xcinkjet’s Ink Manufacturing Expertise

Talk is easy. Capability requires investment and experience. Here’s what actually backs up xcinkjet.net’s ink manufacturing.
Manufacturing Capacity and Facilities
Production capacity matters when customers need consistent supply. We deliver.
Over 5,000 tons of annual ink production capacity. That’s not theoretical maximum. That’s operational reality.
Production base of 5,000+ square meters houses the equipment, materials, and processes required for industrial-scale manufacturing.
Nearly 20 years of experience in ink formulation and production. We’ve solved problems that newer manufacturers haven’t encountered yet.
Factory-level supply capabilities mean we serve other ink brands, not just end users. When companies need reliable manufacturing partners, they choose operations that can deliver consistently.
Supplies reach 100+ countries and regions worldwide. Global logistics are part of our capability, not an afterthought.
R&D and Innovation Capabilities
Manufacturing at scale requires continuous development. Markets change. Technology advances. Customer requirements evolve.
Experienced in-house R&D team works on ink formulations constantly. Not outsourced. Not occasional. Continuous improvement as core function.
Custom OEM/ODM service means we develop inks for other brands’ specifications. Analysis, research, and development tailored to specific customer requirements. You tell us what you need. We formulate it.
Numerous patents and technological advancements protect our innovations and demonstrate technical capability. Patents require genuine novelty. You can’t patent obvious solutions.
Product Range
Comprehensive ink offerings cover major application categories.
DTG ink for direct-to-garment printing with 300 tons annual capacity dedicated to this category alone.
UV DTF ink for UV-cured direct-to-film applications.
Sublimation ink for heat-transfer printing onto polyester and coated substrates.
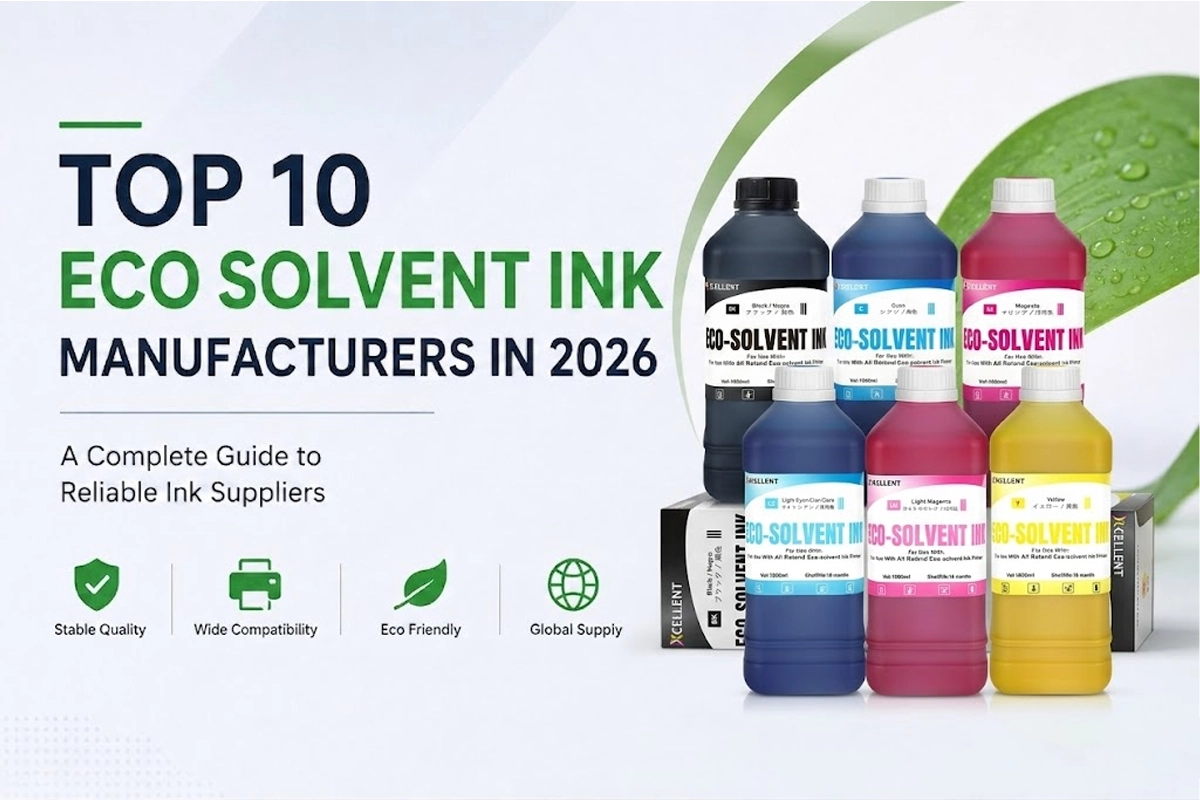
Eco-solvent ink for signage and graphics applications.
Dye sublimation ink variations for different sublimation workflows.
Compatibility with major printer brands including Epson, Brother, Roland, Sawgrass, and Ricoh. We test on actual equipment customers use, not just theoretical specifications.
Quality Assurance Process
Quality control runs throughout production, not just at the end.
Strict protocols at each manufacturing stage catch problems early. Finding issues before packaging saves materials and time.
Professional brand printer testing confirms real-world performance. Lab specifications mean nothing if the ink fails in actual printers.
Factory-direct supply with high customer repurchase rate demonstrates satisfaction. Customers who return repeatedly signal quality better than marketing claims.
Responsive technical service and support handles issues when they arise. Problems happen occasionally. Response capability matters.