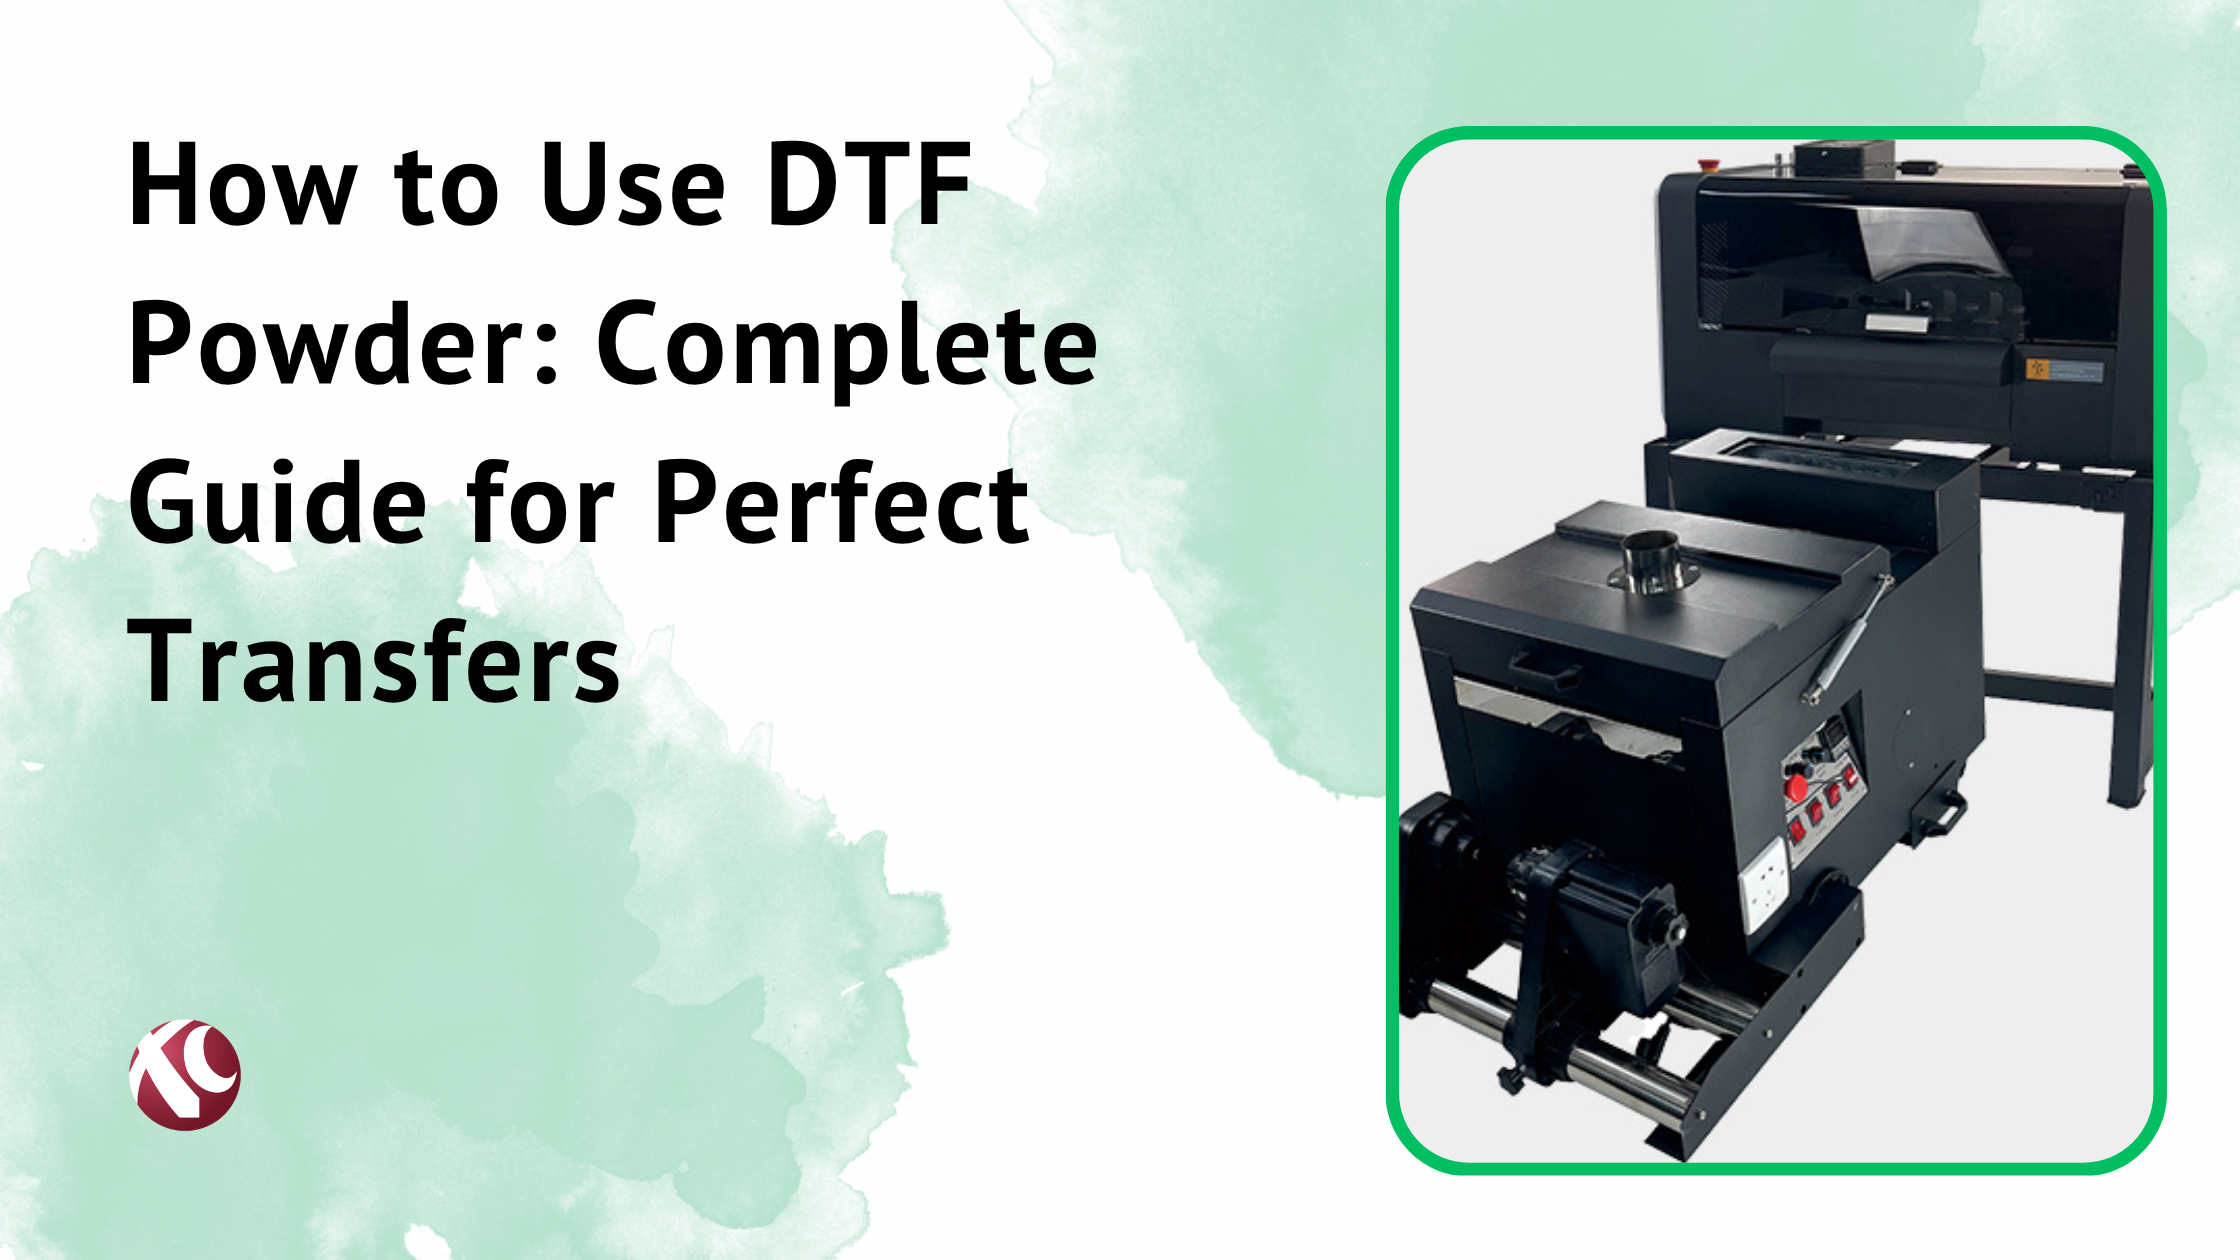
So you just bought your first DTF printer. Congrats. Also… good luck.
I’m not saying that to scare you. But I am saying this: the setup matters. A lot. DTF printing—that’s Direct to Film printing—is genuinely amazing technology. But it’s also finicky. Get the setup wrong and you’ll be chasing problems for weeks. Print head clogs. White ink settling. Weird banding on your prints. All of it usually traces back to something that went sideways during installation.
This guide is for people who just unboxed their printer and are staring at it wondering where to start. I’ve been there. I’ll walk you through the whole thing. Step by step. We’ll cover unboxing, ink installation, software setup, your first test print—everything.
Take your time with this. Seriously. Rushing a DTF printer setup is how you end up with a very expensive paperweight.
What is a DTF Printer?
DTF stands for Direct to Film. The basic idea is simple: you print your design onto a special PET film, apply adhesive powder to the wet ink, cure it, and then heat press the transfer onto fabric. That’s it. That’s the whole process.
It’s different from DTG (Direct to Garment), where you print directly onto the shirt. DTG needs pretreatment. DTG is picky about fabric types. DTF doesn’t care. Cotton, polyester, blends, leather, nylon—DTF handles basically everything.
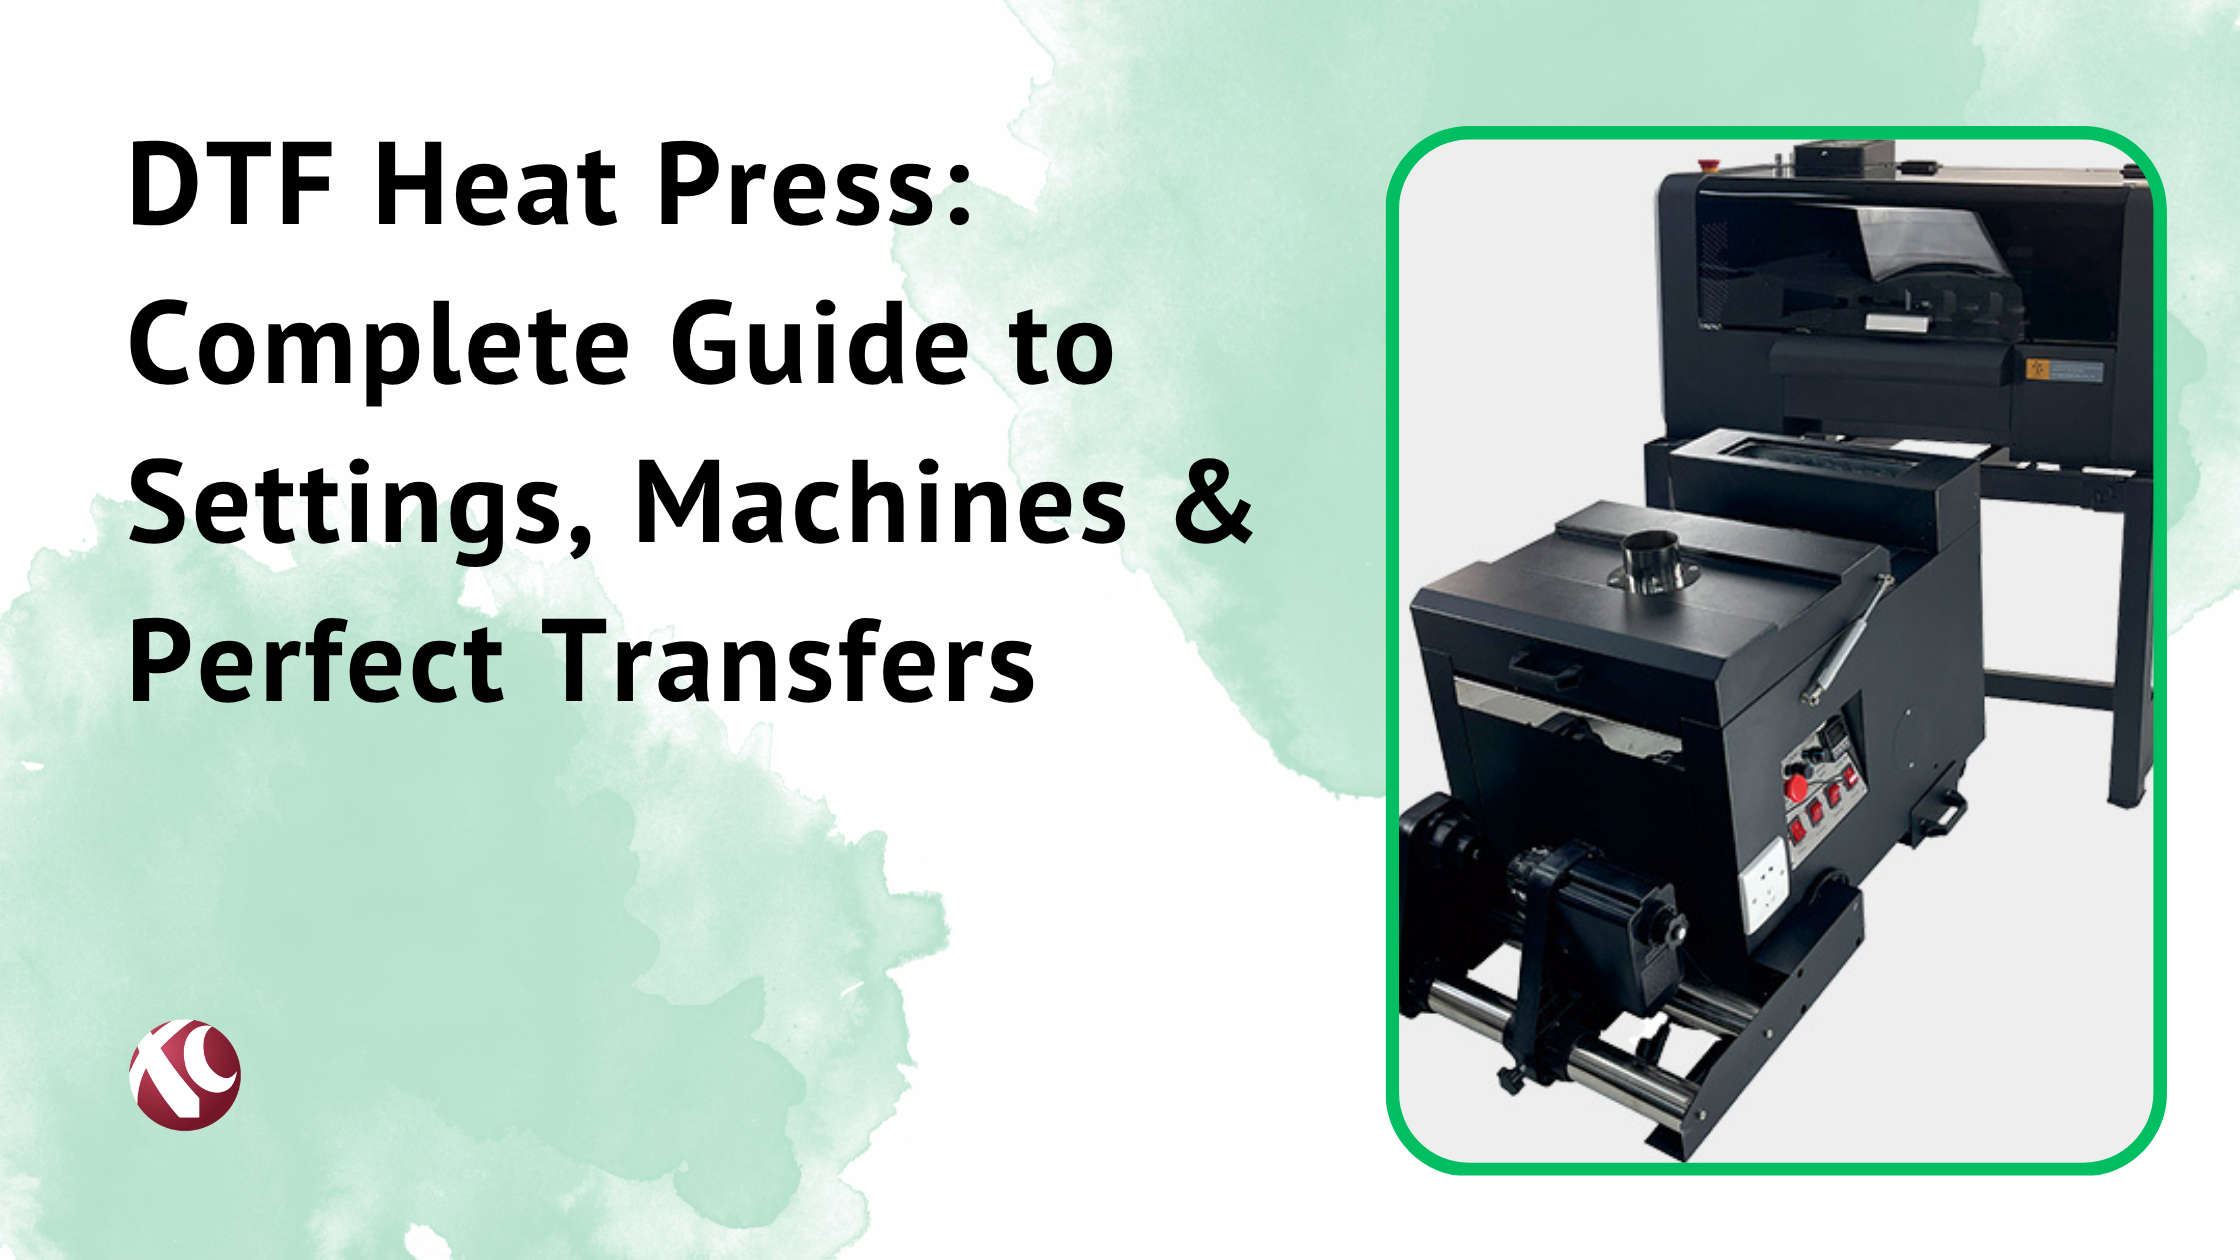
A typical DTF system has a few main parts: the printer itself (usually modified inkjet technology), special DTF inks including white ink, PET film, adhesive powder, and a powder shaker or curing unit. Some setups combine the shaker and curer. Others keep them separate. Then you need a heat press for the actual transfer. The printer does the printing. Everything else gets that print onto fabric.
Why does proper setup matter so much? Because DTF printers use white ink. And white ink is… temperamental. It settles. It clogs. It does not forgive neglect. If your ink lines aren’t primed right, or your print head gets air bubbles during setup, you’ll have problems. Problems that compound over time.
Benefits of DTF Printing Technology
Look, I’m biased. I think DTF is the best option for most small apparel businesses right now. Here’s why:
- Works on pretty much any fabric — Dark shirts, light shirts, polyester jerseys, cotton hoodies. Doesn’t matter. One process handles it all.
- Colors are genuinely vibrant — The white ink layer underneath makes colors pop. Even on black fabric. It’s not washed out like some sublimation transfers.
- Prints hold up — Done right, DTF transfers survive dozens of washes. They don’t crack like cheap vinyl. They don’t fade like mediocre screen prints.
- No pretreatment required — This alone saves so much time compared to DTG. No spraying. No waiting. No heat pressing before you print.
- Cost-effective for small runs — You’re not paying for screens. You’re not buying bulk minimums. Print one shirt or fifty. The per-unit cost scales reasonably.
- Gang sheets save material — You can fit multiple designs on one sheet of film. Print them all at once. Transfer them to different shirts. Efficient.
Before You Start: Pre-Installation Checklist
Don’t skip this part. I know you want to start printing. But prep work prevents headaches.
Workspace Requirements:
- You need ventilation. Not optional. DTF ink has fumes. The powder is fine particles you shouldn’t breathe. Open a window. Get a fan. Better yet, get proper extraction.
- Space matters. You need room around the printer for loading film, accessing maintenance areas, and not bumping into things.
- Flat, stable surface. Not a wobbly table. Not something that vibrates. The printer needs to be level.
- Away from direct sunlight. UV degrades ink and film.
- Keep dust down. Dust is the enemy of print heads.
Power Requirements:
- Check your printer’s voltage requirements. Most are standard, but some larger units need specific circuits.
- Use a surge protector. At minimum.
Temperature and Humidity:
- Aim for 20-25°C (68-77°F)
- Humidity between 40-60%
- Too dry and ink dries in the nozzles. Too humid and film gets weird.
Consumables to Have Ready:
- DTF film (PET film rolls)
- DTF ink (CMYK plus white—usually two white cartridges or channels)
- Hot melt adhesive powder
- Parchment paper for testing transfers
Safety Gear:
- Nitrile gloves (ink stains and irritates)
- Dust mask or respirator for powder handling
- Safety glasses aren’t a bad idea either
What Comes in Your DTF Printer Package?
Before you start, open everything. Spread it out. Check that it’s all there.
Most DTF printers include:
- Main printer unit
- Ink bottles or cartridges (CMYK + White)
- Power cable
- USB cable (sometimes network capability too)
- User manual
- Software disc or download instructions for RIP software
- Some cleaning supplies—usually syringes, cleaning solution, lint-free cloths
- Waste ink bottle or tank
- Possibly a powder shaker unit (depends on the package)
Some printers come as a complete system. Others require you to buy the powder shaker, curing unit, or heat press separately. Know which one you have before you get frustrated looking for parts that don’t exist.
Check everything. Match the packing list to what’s actually in the box. If something’s missing or damaged, contact your supplier now. Not after you’ve partially assembled everything.
Photograph any damage. Keep the packaging. You might need it for warranty claims or returns.
Tools and Materials You’ll Need
Some of this comes with the printer. Some doesn’t.
Usually included:
- Ink bottles/cartridges
- Basic cleaning supplies
- USB cable
- Power cable
You’ll probably need to buy:
- DTF film rolls (sometimes a sample roll is included, but it won’t last)
- Hot melt adhesive powder (same deal—sample amounts run out fast)
- Isopropyl alcohol (99% preferred for cleaning)
- Extra lint-free cloths
- Nitrile gloves (buy in bulk, you’ll go through them)
- Parchment paper
- Screwdriver set (Phillips and flathead)
- Scissors or cutting tools
You definitely need separately:
- Heat press (the printer doesn’t come with this unless you bought a package deal)
Step-by-Step DTF Printer Setup Guide

Alright. Here we go.
The order matters here. These steps build on each other. Don’t jump ahead because you’re excited. I get it. But discipline now means fewer problems later.
Depending on your specific printer, some steps might vary slightly. When in doubt, follow your manufacturer’s manual for that specific step. These are the general principles that apply to most DTF printers.
Step 1: Unboxing and Inspection
This sounds basic. It’s not.
DTF printers have delicate print heads. They have sensors and moving parts. Shipping is rough on them. Even when the box looks fine.
- Cut the box open carefully. Don’t stab inward with a knife.
- Remove outer packaging material.
- Lift the printer out. Most require two people. These things are heavier than they look.
- Remove ALL external tape and plastic wrap.
- Now here’s what people miss: check INSIDE the printer. There are usually protective materials, foam pieces, tape strips, or clips securing the print head carriage for shipping. Remove all of them. Check the print head area especially. I’ve seen people run their printer with tape still on the carriage rails. Bad idea.
- Look for shipping locks. Some printers have physical locks that prevent carriage movement during transit. Unlock them.
- Inspect everything for damage. Cracks. Dents. Loose parts.
- If anything looks wrong, photograph it immediately. Contact your seller before going further.
Keep all the packaging. If you need to ship it back or move it later, you’ll want the original foam and box.
Step 2: Choosing the Right Location
Already mentioned this in the checklist, but now you’re actually placing the printer.
What you need:
- Minimum 60cm clearance on sides and back for maintenance access
- At least 30cm above for loading film and accessing ink system
- Front clearance for where prints exit and film unrolls
- Stable surface that doesn’t vibrate
- Level. Use an actual level if you need to.
- Within reach of your computer (for USB) or network connection
- Away from windows, direct sunlight, heaters, AC vents
- Good ventilation but not drafty—you don’t want dust blowing around
- Comfortable working height. You’ll be standing here a lot.
Don’t put it where you’ll bump into it. Don’t put it where humidity fluctuates wildly. Don’t put it in a dusty garage corner and expect good results.
Step 3: Physical Installation and Assembly
Now you’re putting things together.
- Place the printer on your prepared surface. Get it centered where you want it.
- Check that it’s level. Adjust feet if your printer has them.
- Install any removable components:
- Media holder/roll holder for film
- Catch tray or basket for printed material
- Powder shaker unit if it attaches to the printer
- Waste ink bottle/tank connection
- Double check inside again for any remaining shipping materials you might have missed.
- Connect the waste ink tube to the waste ink bottle. This catches excess ink during cleaning and printing. Make sure it’s secure. A disconnected waste ink tube = ink everywhere.
What NOT to do:
- Don’t force anything. If something doesn’t fit, you’re probably doing it wrong.
- Don’t tip the printer excessively. Keep it level.
- Don’t touch the print head or print head contacts with your fingers.
- Don’t leave the printer in direct sunlight even temporarily while you’re setting up.
Step 4: Installing the Ink System
This is where things get real. And where a lot of setups go wrong.
DTF printers use CMYK plus white ink. Some systems have one white channel. Better systems have two (white ink is used heavily and depletes faster). Know what your printer uses.
For cartridge-based systems:
- Identify which cartridge goes where. They’re usually color-coded or labeled.
- Remove the protective tape or cap from each cartridge.
- Insert cartridges firmly until they click into place.
- Don’t force. If it won’t go in, check orientation.
For bulk ink tank systems:
- Shake white ink bottles gently before opening. White ink settles.
- Open the ink tank caps on the printer.
- Pour ink carefully. Don’t overfill.
- Some systems use syringes or tubes to fill. Follow your specific printer’s method.
- Avoid introducing air bubbles. Pour slowly.
After ink installation:
- Run the initial ink charging cycle. This is usually done through the printer’s control panel or software. It primes the ink lines and fills the print head.
- This takes time. Could be 10-30 minutes depending on the printer.
- You’ll use some ink during charging. That’s normal.
- Check for leaks around cartridges and ink lines.
- The printer should run automatically through this. Don’t interrupt it.
Safety notes:
- Wear gloves. DTF ink stains skin and clothes.
- Work in a ventilated area.
- Wipe up any spills immediately with damp cloth.
- Don’t get ink in your eyes. If you do, rinse immediately.
Step 5: Print Head Alignment and Calibration
Once ink is charged, you need to make sure the print head is aligned properly.
On most printers:
- Access the maintenance or setup menu on the control panel (or through software).
- Run a nozzle check first. This prints a test pattern showing if all nozzles are firing.
- If nozzles are missing, run a cleaning cycle and check again.
- Then run the automatic alignment routine. This prints a calibration pattern and adjusts print head positioning.
- Some printers require you to select the best alignment from printed samples. Others do it automatically.
If your printer has adjustable print head height:
- Set it according to your film thickness. Usually 1.5-2.5mm gap.
- Too close and the head might touch wet ink. Too far and you lose print quality.
Print a test pattern after alignment. Look for:
- Sharp edges
- No banding (horizontal lines)
- Consistent color
- All nozzles firing (no white lines through the image)
If alignment fails or results look bad:
- Run additional cleaning cycles.
- Check that ink tanks have enough ink.
- Make sure no air bubbles are in the lines.
- Verify the print head isn’t clogged from sitting too long.
- Some printers need manual head cleaning—follow your manual for this.
Step 6: Software and Driver Installation
You need software to send print jobs to your DTF printer. This is usually a combination of drivers and RIP software.
System requirements:
- Most DTF printers work with Windows. Mac support varies—check before assuming.
- You’ll need decent RAM (8GB minimum, 16GB better)
- USB 2.0 or 3.0 port, or network connection depending on your printer
Installation process:
- Download the latest drivers from your manufacturer’s website. The disc that came with the printer might have outdated versions.
- Install drivers first. Follow the prompts.
- Connect your printer via USB or network when prompted.
- The computer should recognize the printer and add it to devices.
RIP software:
- DTF printing needs RIP software for proper ink management, especially white ink handling.
- Common options: Maintop, Photoprint, Acrorip, Kothari.
- Some printers come with licensed RIP software. Others require purchase.
- Install the RIP software and activate your license.
- Add your printer within the RIP software.
- Configure print profiles. Start with the manufacturer’s defaults.
Initial settings to configure:
- Select your printer model
- Set print resolution (usually 720×1440 or 1440×1440 to start)
- Configure white ink channels
- Set up print modes (draft, normal, high quality)
- Define film type/media type
Don’t overthink the settings initially. Get the defaults working first. Optimize later.
Step 7: Loading DTF Film
Now you need to load the film you’ll print on.
Understanding DTF film:
- DTF film has a coated side and an uncoated side.
- You print on the coated side. This is usually the slightly tacky or textured side.
- The shiny/smooth side faces down.
- If you print on the wrong side, ink won’t adhere properly.
How to tell which side is coated:
- The coated side feels slightly tacky or grippy.
- The coated side is usually facing outward on the roll.
- Some films have a slight matte appearance on the coated side.
- When in doubt, test print a small area on a piece of film. Correct side holds ink. Wrong side, ink smears immediately.
Loading the film:
- Install the roll on the media holder. Film should unroll from the back of the printer.
- Thread the film through the printer’s feed path. Follow the guides in your printer.
- Make sure film feeds straight—not at an angle.
- Adjust edge guides to hold film in position.
- Some printers have automatic or semi-automatic feeding. Others are fully manual.
- Set the correct media type in your software.
Setting film tension:
- Film should be taut but not stretched.
- Too loose causes jams and misalignment.
- Too tight can cause feeding issues or film curl.
Run a test feed. Let the printer advance film and retract. Make sure it moves smoothly without bunching or skewing.
Common mistakes:
- Loading film wrong-side up (most common error)
- Film not aligned straight
- Tension too loose or too tight
- Not setting media type in software
Step 8: Powder Shaker Setup (If Applicable)
If your DTF system includes a powder shaker unit, here’s how to set it up.
The powder shaker applies hot melt adhesive powder to wet prints and then cures it. Some are attached to the printer. Some are standalone units.
Setup process:
- Position the shaker unit to receive prints as they exit the printer.
- Ensure proper alignment—prints should feed directly into the powder application area.
- Fill the powder hopper with hot melt adhesive powder. Don’t overfill.
- Adjust powder application settings. Too much powder wastes material. Too little causes adhesion problems.
- Set curing temperature. Typically 100-120°C for the curing section. Check your powder specifications.
- Run test to check powder application evenness.
Testing powder application:
- Print a solid block of color.
- Let it run through the shaker.
- Powder should cover all inked areas evenly.
- After curing, excess powder should shake off easily.
- If powder isn’t sticking to wet ink, you have a timing issue—prints are drying before powder application.
If you don’t have an automatic shaker, you’ll apply powder manually:
- Print your design
- While ink is still wet, sprinkle powder over all inked areas
- Shake off excess
- Cure with a heat gun or conveyor dryer at 100-120°C
- Excess powder should fall away when cured
Step 9: Running Your First Test Print
This is the moment. Time to actually print something.
Start simple. Don’t print your most complex design yet.
Choose a test image:
- Something with all colors (CMYK)
- Some white elements
- A gradient is helpful for checking banding
- Text in different sizes
- A solid color block
Many RIP programs include test images. Use those.
Configure print settings:
- Resolution: Start at 720×1440 or 1440×720
- Print mode: Normal or standard (not draft, not highest quality)
- White ink: Use default white underbase settings
- Passes: 4-8 passes depending on your printer
- Speed: Medium
Print process:
- Send the job from your RIP software to the printer.
- Watch the printing. Seriously. Watch it.
- Look for: proper ink coverage, no skipping, no banding, film feeding smoothly.
- When printing finishes, apply powder (automatically or manually).
- Cure the powder.
- Let the print cool slightly before handling.
Evaluate results:
- Colors look right?
- No horizontal banding?
- White ink coverage solid?
- Edges sharp?
- Any missing nozzles visible?
If something’s wrong, don’t panic. Note what’s wrong. We’ll troubleshoot in a moment.
Step 10: Heat Press Integration
You’ve printed a transfer. Now you need to get it onto fabric.
Your heat press should be set up separately from the printer. Different equipment.
Heat press settings for DTF:
- Temperature: 160-170°C (320-340°F) is typical. Start at 165°C.
- Pressure: Medium to firm. Enough to make solid contact but not crushing.
- Time: 10-15 seconds initial press.
- Peel: Usually cold peel (let it cool completely before peeling) or warm peel depending on film. Check your film specifications.
Transfer process:
- Place your garment on the heat press. Smooth out wrinkles.
- Position the DTF transfer on the fabric. Design faces down (powder side touches fabric).
- Close the heat press.
- Press for 10-15 seconds at temperature.
- Open the press.
- If cold peel: wait until transfer is cool (about 30 seconds to a minute). Then peel the film away slowly.
- If warm peel: wait a few seconds, then peel while still warm.
Testing adhesion:
- After peeling, the design should be solidly adhered.
- Try scratching a corner gently with your fingernail.
- Properly transferred prints shouldn’t lift or crack.
If transfer isn’t adhering:
- Temperature might be too low—increase by 5°C.
- Pressure might be insufficient.
- Press time might be too short.
- Powder might not have cured properly.
Do a test wash on your sample. Wash and dry normally. Check for cracking, peeling, or color loss. This tells you if your process is dialed in.
How long does DTF printer setup take?

Real talk? Budget 2-4 hours for initial setup if everything goes smoothly.
That includes:
- Unboxing and inspection: 15-30 minutes
- Physical setup: 20-30 minutes
- Ink installation and charging: 30-60 minutes
- Software installation: 20-30 minutes
- Film loading and calibration: 20-30 minutes
- Test printing and adjustments: 30-60 minutes
Could be faster if you’ve done this before. Could be longer if you hit snags.
Don’t rush. Seriously. Taking your time during setup prevents days of troubleshooting later.
Take breaks if you’re getting frustrated. Better to walk away for 10 minutes than force something and break it.
Do I need special training to set up a DTF printer?
Technically? No. If you can follow instructions and you’re reasonably comfortable with technology, you can set up a DTF printer.
That said, it helps if you:
- Have some experience with inkjet printers generally
- Are comfortable installing software and drivers
- Can follow detailed instructions
- Are patient
If your printer supplier offers setup assistance or training, take it. Even if it costs extra. Especially for your first printer.
Online resources are plentiful. YouTube has tons of DTF setup videos. Watch a few specific to your printer model before starting. Seeing someone else do it helps.
Manufacturer support varies wildly. Some are great. Some are useless. Join a DTF printing community or forum online. Real users often have better troubleshooting advice than official support.
Read your manual. I know, boring advice. But the manual has specifics for your exact printer that generic guides (including this one) won’t cover.
What is the typical lifespan of a DTF printer?
Depends heavily on the printer quality and how you maintain it.
Entry-level converted Epson-based printers: 1-3 years of heavy use, longer with light use and excellent maintenance.
Mid-range dedicated DTF printers: 3-5 years typically.
Professional/industrial units: 5-7+ years.
Print heads have their own lifespan—typically rated for a certain number of prints or volume of ink. White ink is harder on heads than color. Expect print head replacement at some point.
Factors that shorten lifespan:
- Infrequent use (ink dries and clogs)
- Skipping maintenance
- Cheap or incompatible ink
- Dusty environment
- Temperature/humidity extremes
Factors that extend lifespan:
- Daily use (or at least running nozzle checks)
- Regular cleaning routines
- Quality consumables
- Proper environment
- Following manufacturer maintenance schedules
When repairs cost more than 50% of a new printer, it’s usually time to consider replacement.
Can I use any DTF ink with my printer?
No. And this matters.
DTF ink isn’t universal. Different printers use different ink formulations, different print head technologies, and different ink delivery systems.
OEM ink (manufacturer’s brand):
- Guaranteed compatible
- Usually maintains warranty
- Typically more expensive
- Quality is consistent
Third-party ink:
- Cheaper
- May void warranty
- Quality varies wildly
- Must be specifically formulated for your printer type
Using the wrong ink can:
- Clog your print head permanently
- Cause color inaccuracy
- Create adhesion problems
- Void your warranty
If you go third-party, do your research. Find inks specifically made for your printer’s head type (Epson, Ricoh, etc.). Buy from reputable DTF suppliers with good reviews. Test before committing to a large purchase.
My recommendation: Start with OEM or manufacturer-recommended ink. Once you know what good output looks like, then experiment with alternatives if cost is an issue.
How often should I run cleaning cycles?
This is one of those “it depends” answers. But I’ll give you guidelines.
Minimum:
- Run a nozzle check daily if you print daily
- Run a cleaning cycle whenever you see missing nozzles
- Run a nozzle check before starting work after the printer sat overnight
If you print daily:
- Nozzle check every morning
- Light cleaning if a few nozzles are out
- Heavy cleaning only when light cleaning doesn’t fix issues
- Deep cleaning maybe once a month, or as needed
If you print occasionally (few times per week):
- Nozzle check before every print session
- You’ll probably need more frequent light cleanings
- Consider printing at least a small test daily to keep ink flowing
Don’t over-clean. Cleaning cycles waste ink. Excessive cleaning wears out components. Only clean when you actually need to.
Signs you need to clean:
- Lines or gaps in nozzle check pattern
- Banding in prints
- Color shifts or weak colors
- White ink coverage looking spotty
If cleaning cycles don’t fix the problem after 2-3 attempts, you might have a more serious clog requiring manual cleaning or professional service.
What room temperature is best for DTF printing?
The sweet spot is 20-25°C (68-77°F).
At this range:
- Ink viscosity is optimal
- Ink doesn’t dry too fast in nozzles
- Film behaves normally
- Adhesive powder works properly
Too cold (below 18°C/64°F):
- Ink becomes thicker, affects flow
- White ink especially problematic
- Print quality suffers
- Powder may not cure properly
Too hot (above 30°C/86°F):
- Ink dries faster, increases clogging risk
- Film can curl or behave unpredictably
- Electronics may have issues with extended operation
Humidity matters too:
- Ideal: 40-60%
- Too dry (below 30%): ink dries in nozzles, static electricity issues
- Too humid (above 70%): film absorbs moisture, adhesion problems, powder clumps
If you can’t control room temperature, at least try to avoid extremes. In cold weather, let the printer warm up before printing. In hot weather, ensure good ventilation and don’t push the printer too hard.
Some people put DTF printers in climate-controlled rooms or enclosures. For professional production, this is worth considering. For hobby/small business use, just avoid garages in winter and non-air-conditioned spaces in summer.